
String Heddles
Let’s talk about string heddles, what they are, how to make them and why you might use them.
If you follow me, you know I like to push the limits of rigid heddle weaving, but at the same time, I want weaving to be easy and fun. And I love pick-up sticks!!! Often when I use multiple pick-up sticks they slide over each other so need to be inserted only once. However, I also have patterns where one pick-up stick needs to be reinserted each time it is needed. When I first started weaving with multiple sticks, I didn’t mind reinserting the stick each time. And really, I still don’t most of the time. I put off using string heddles because I didn’t want to stop weaving long enough to make them. Then I didn’t really like them because they sometimes came untied while weaving. But I’ve learned a few things and now I like string heddles!
What are String heddles?
String heddles are exactly what they sound like…string that acts as a heddle around a single warp end. Your rigid heddle has slots and holes. Each warp end is threaded into a slot or hole and the movement of the heddle determines which ends go up and which stay down. When you weave you will notice that the slots stay level and the holes either move up or down. String heddles will only be used on ends that are in slots are used the same way as a pick-up stick adding up to 2 extra sheds!
How to Make String Heddles
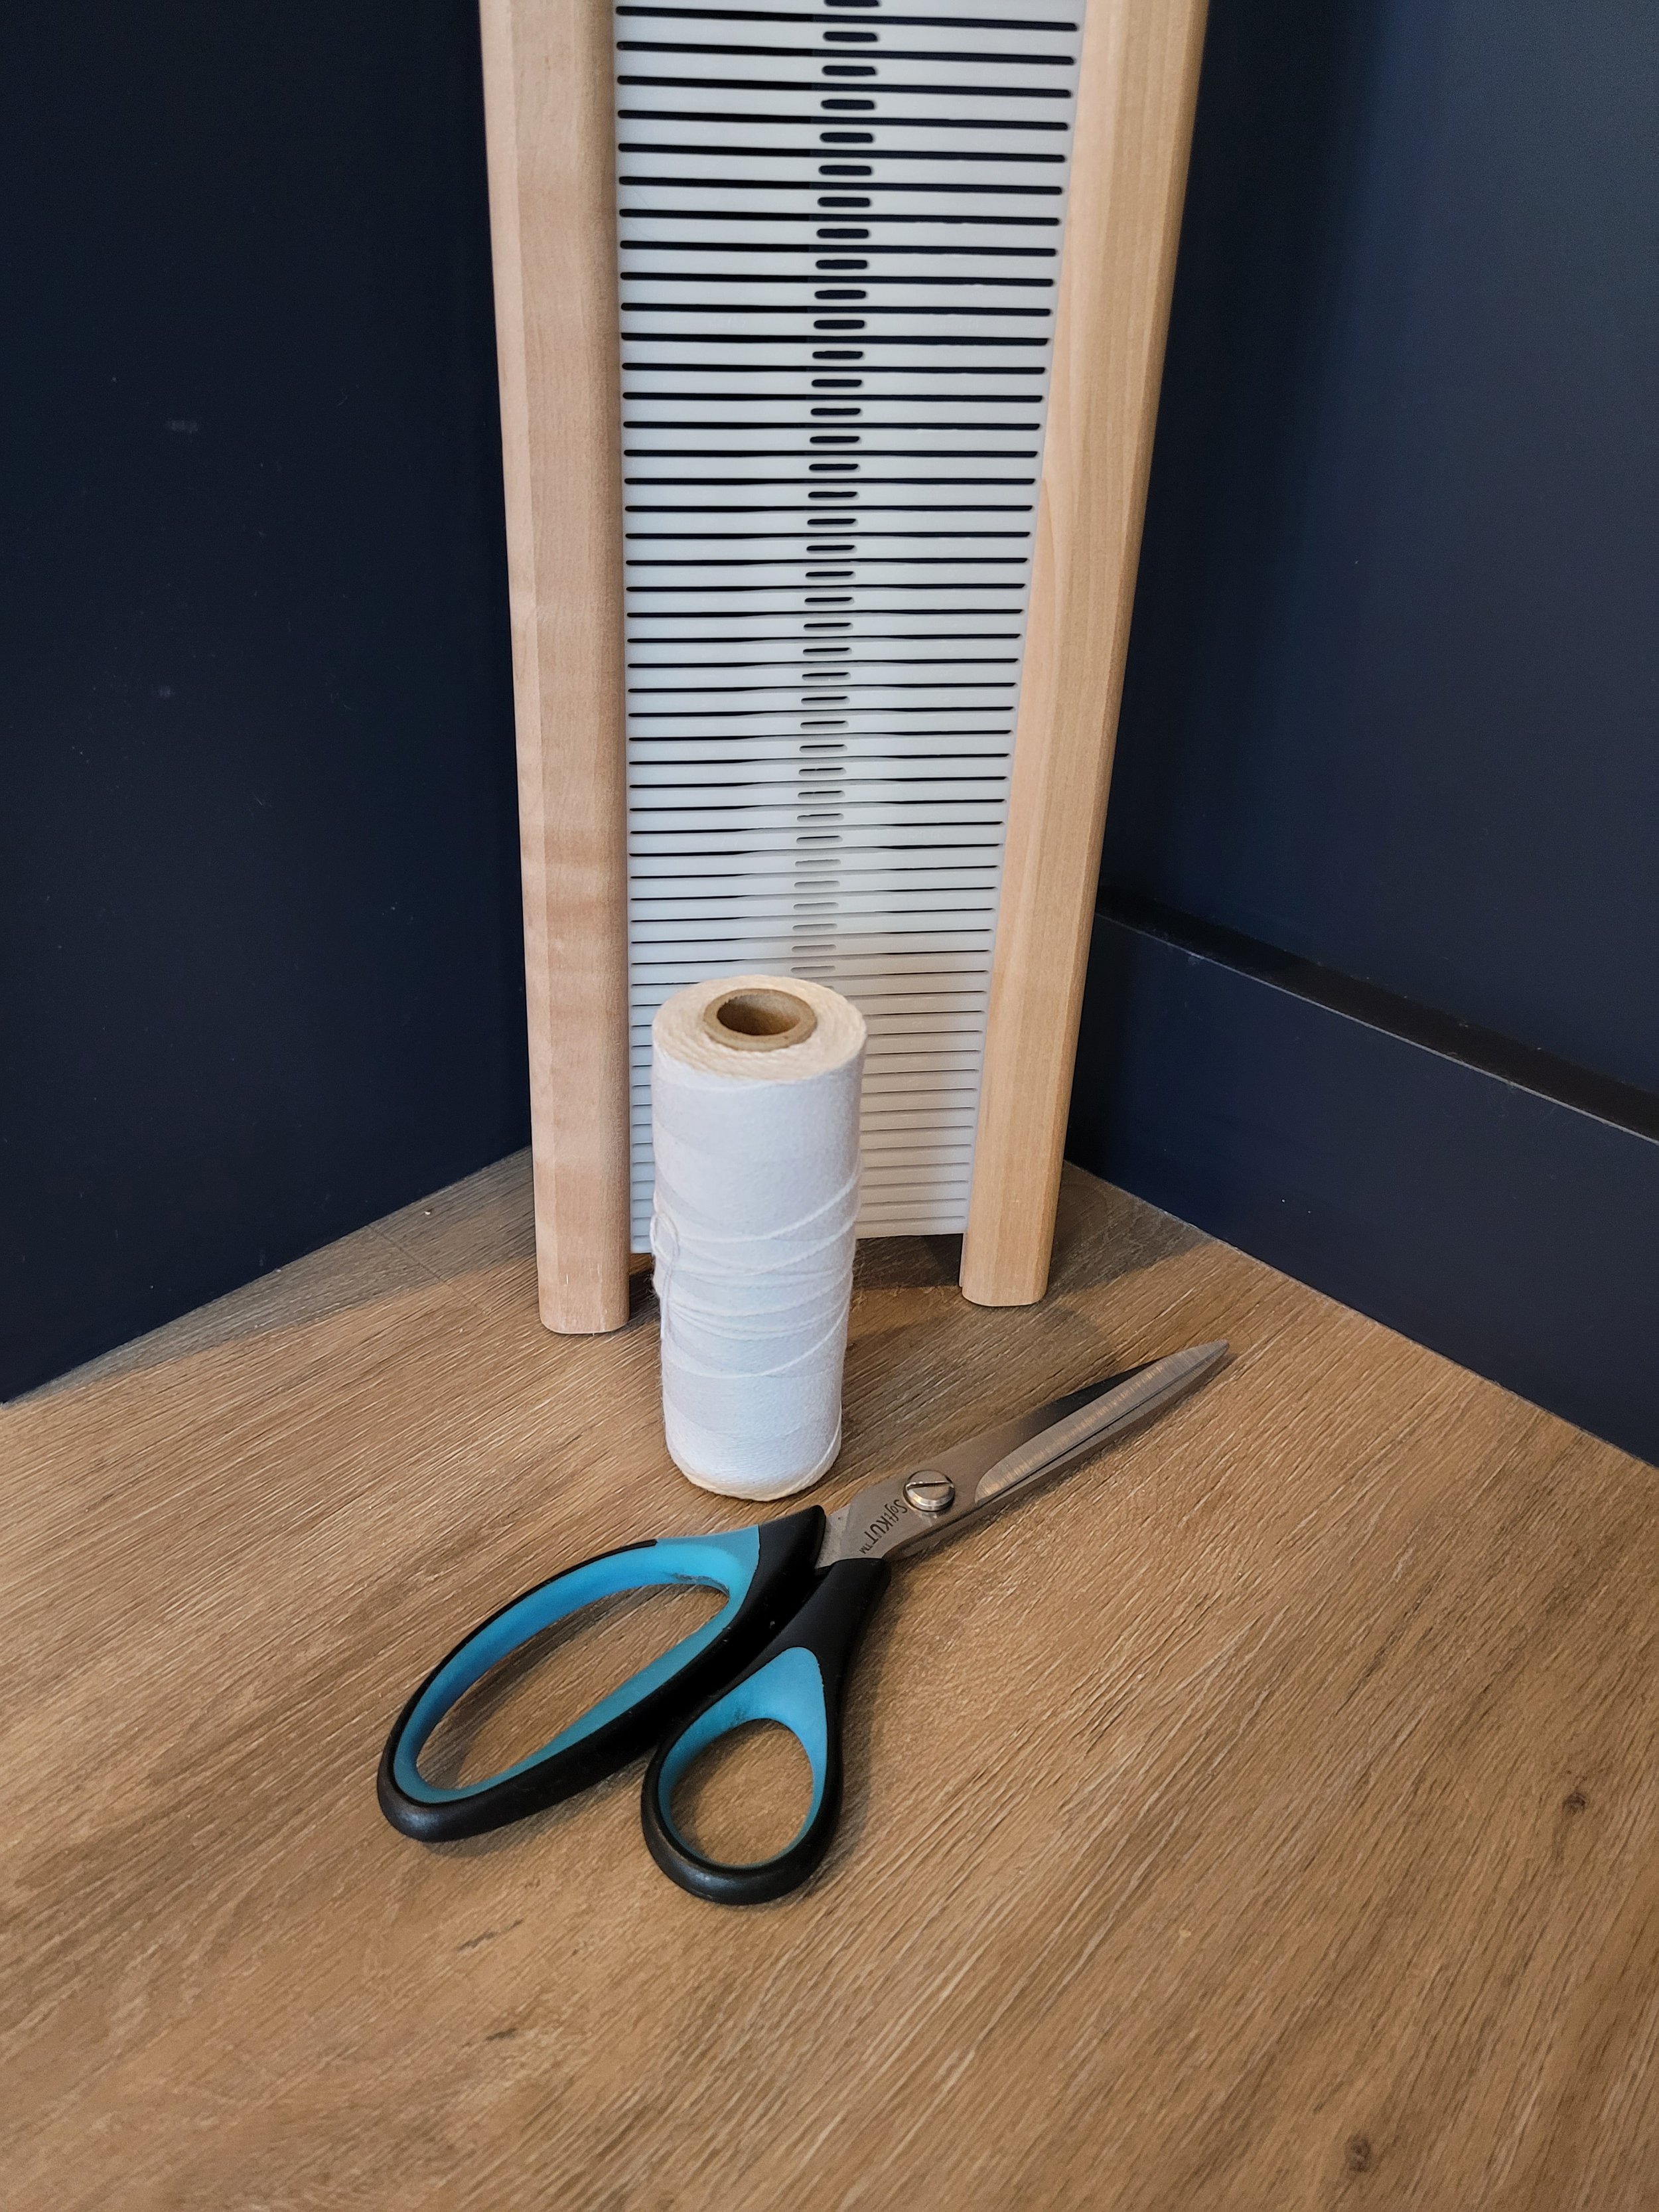
You can make your own string heddles. It really isn’t hard, just time consuming. You will need an extra reed, 8/4 cotton and a pair of scissors.
Sitting in a comfortable chair, rest one end of the reed on the floor and hold the reed between your knees. Wrap the cotton once around the reed and tie a square knot. Cut the ends short. Done, you now have 1 string heddle! I leave the heddles on the reed until I have made them all. I keep them in groups of 10 to make counting easier. So after I have 10, I slide them all together down the reed, then make the next 10, slide them down leaving a space between them and the previous 10. Here’s a video: https://youtu.be/MkjMSigjMOs

As I mentioned earlier, I put off using string heddle because I didn’t want to take the time to make them. And I have a solution for that…texsolv heddles!!!! These are premade heddles for floor looms, but they work great as string heddles and have several advantages: they do not come untied, they do not stick or get fuzzy, they are all the same size and best of all, you do not have to tie them!! They are more expensive, I bought the 9.5” heddles from LeClerc for about $27/100. They come as a single long “string” so do need to be cut apart. Be careful when cutting to ensure that you are cutting in the right spot. Switching from handmade cotton heddles to texsolv has definitely improved my weaving life! If you have a choice, buy the shortest heddles available. (Bonus, you can use these on your inkle loom too!)
Inserting String Heddles
If you can insert a pick-up stick, you can insert string heddles. You will need 2 pick-up sticks or shuttles a little longer than the warped width in the reed, string heddles, and painter’s tape.
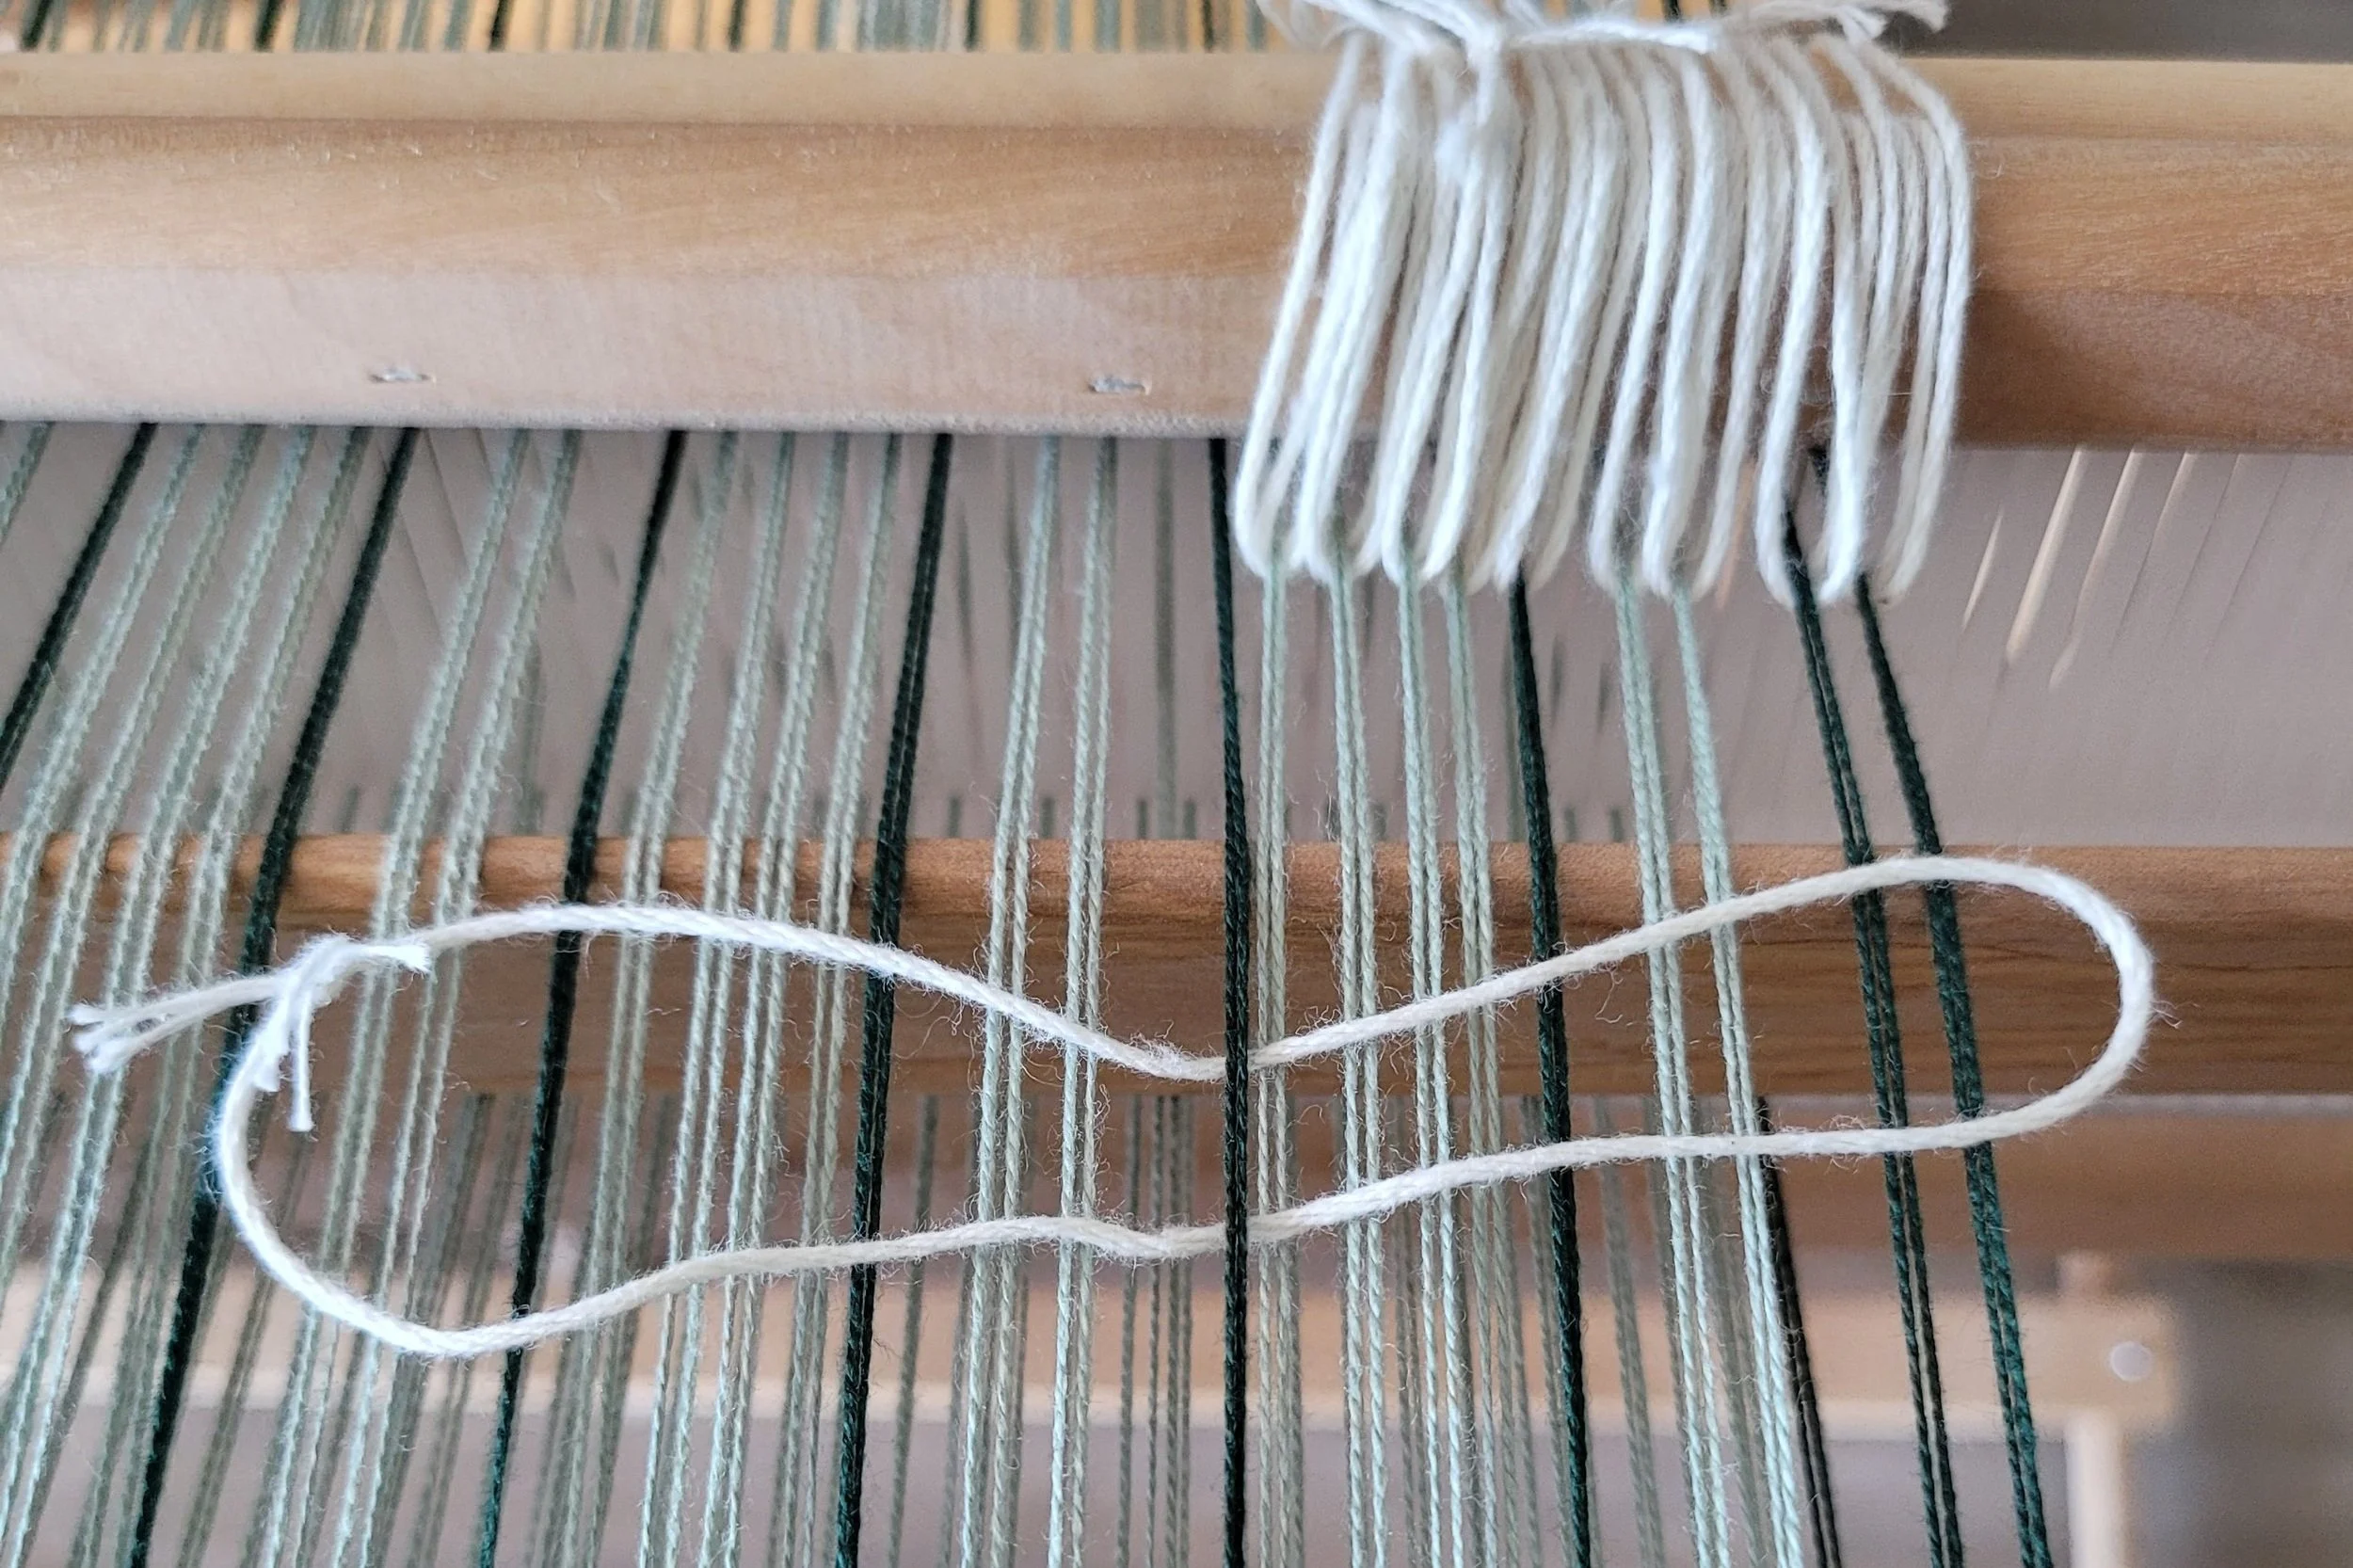
Insert the pick-up stick as usual. The string heddles will go around the warp ends that are on top of the pick-up stick. Count these ends and count out the right number of heddles (this acts as a check at the end). Starting at one end, add the first string heddle. Put it under the warp end, then fold the heddle up and place both ends on the second pick-up stick. I usually wait until I have a number of string heddles inserted and on my fingers before putting them on the second stick. Here’s a video: https://youtu.be/zw3FRtq5yQ4

Work your way across the loom. If you counted out the right number of heddles before you started, you should have no heddles left. As a second check, place the heddle in neutral and flip the pick-up on edge. Every end on the pick-up should have a heddle. Flip the pick-up flat and pull up the stick with the heddles: it should lift all the ends off the pick-up stick. You can now remove the pick-up stick.
Use painter’s tape to tape the heddles so they can’t slide off the pick-up stick (now called a heddle rod). I run one strip from end to end then wrap tape around each end.
Here’s a few things to note when using string heddles:
If you are using a pick-up stick and string heddles, the string heddles must be inserted in front of the pick-up stick.
When you are using the pick-up stick, the heddle rod will slide forward to the back of the reed. This won’t cause any problem with the shed.
Remember to slide the pick-up stick back to the back of the loom when using the string heddle rod.
If you are getting a small shed in the plain weave sections check to make sure that the string heddles are all moved to the back of the loom.
Why Use String Heddles?
String heddles are best used when there are multiple pick-up sticks in a repeating pattern. You will see in many patterns that when 2 pick-up sticks are used, one is inserted and remains in the project for the entire weaving process. The second needs to be replaced each time it is needed. Every time you inset a stick, there is opportunity for error. Using string heddles means you only need to do it once. I will often weave the first repeat with just pick-up sticks. After examining the cloth and confirmed the pick-up stick is correctly inserted, I will add the string heddles. It’s easier to correct a misplaced pick-up stick than a misplaced string heddle.
It takes time to insert a pick-up stick. We aren’t running a marathon, and weaving should be fun, not time driven, but some patterns can mean more time is spent inserting the pick-up stick than weaving! Once we switch to string heddles things move a little faster.
Finally, string heddles open a whole new range of possibilities for you and your rigid heddle! Complex lace work suddenly becomes very possible!


Looking for some projects to try out string heddles? Check out these patterns: