
Fringe Twisting

Fringe twisting is just one more step in finishing your weaving. And just like every other thing in the weaving process, you need to think about your fringe before the project ever gets on the loom. Let’s look at fringe generally first.
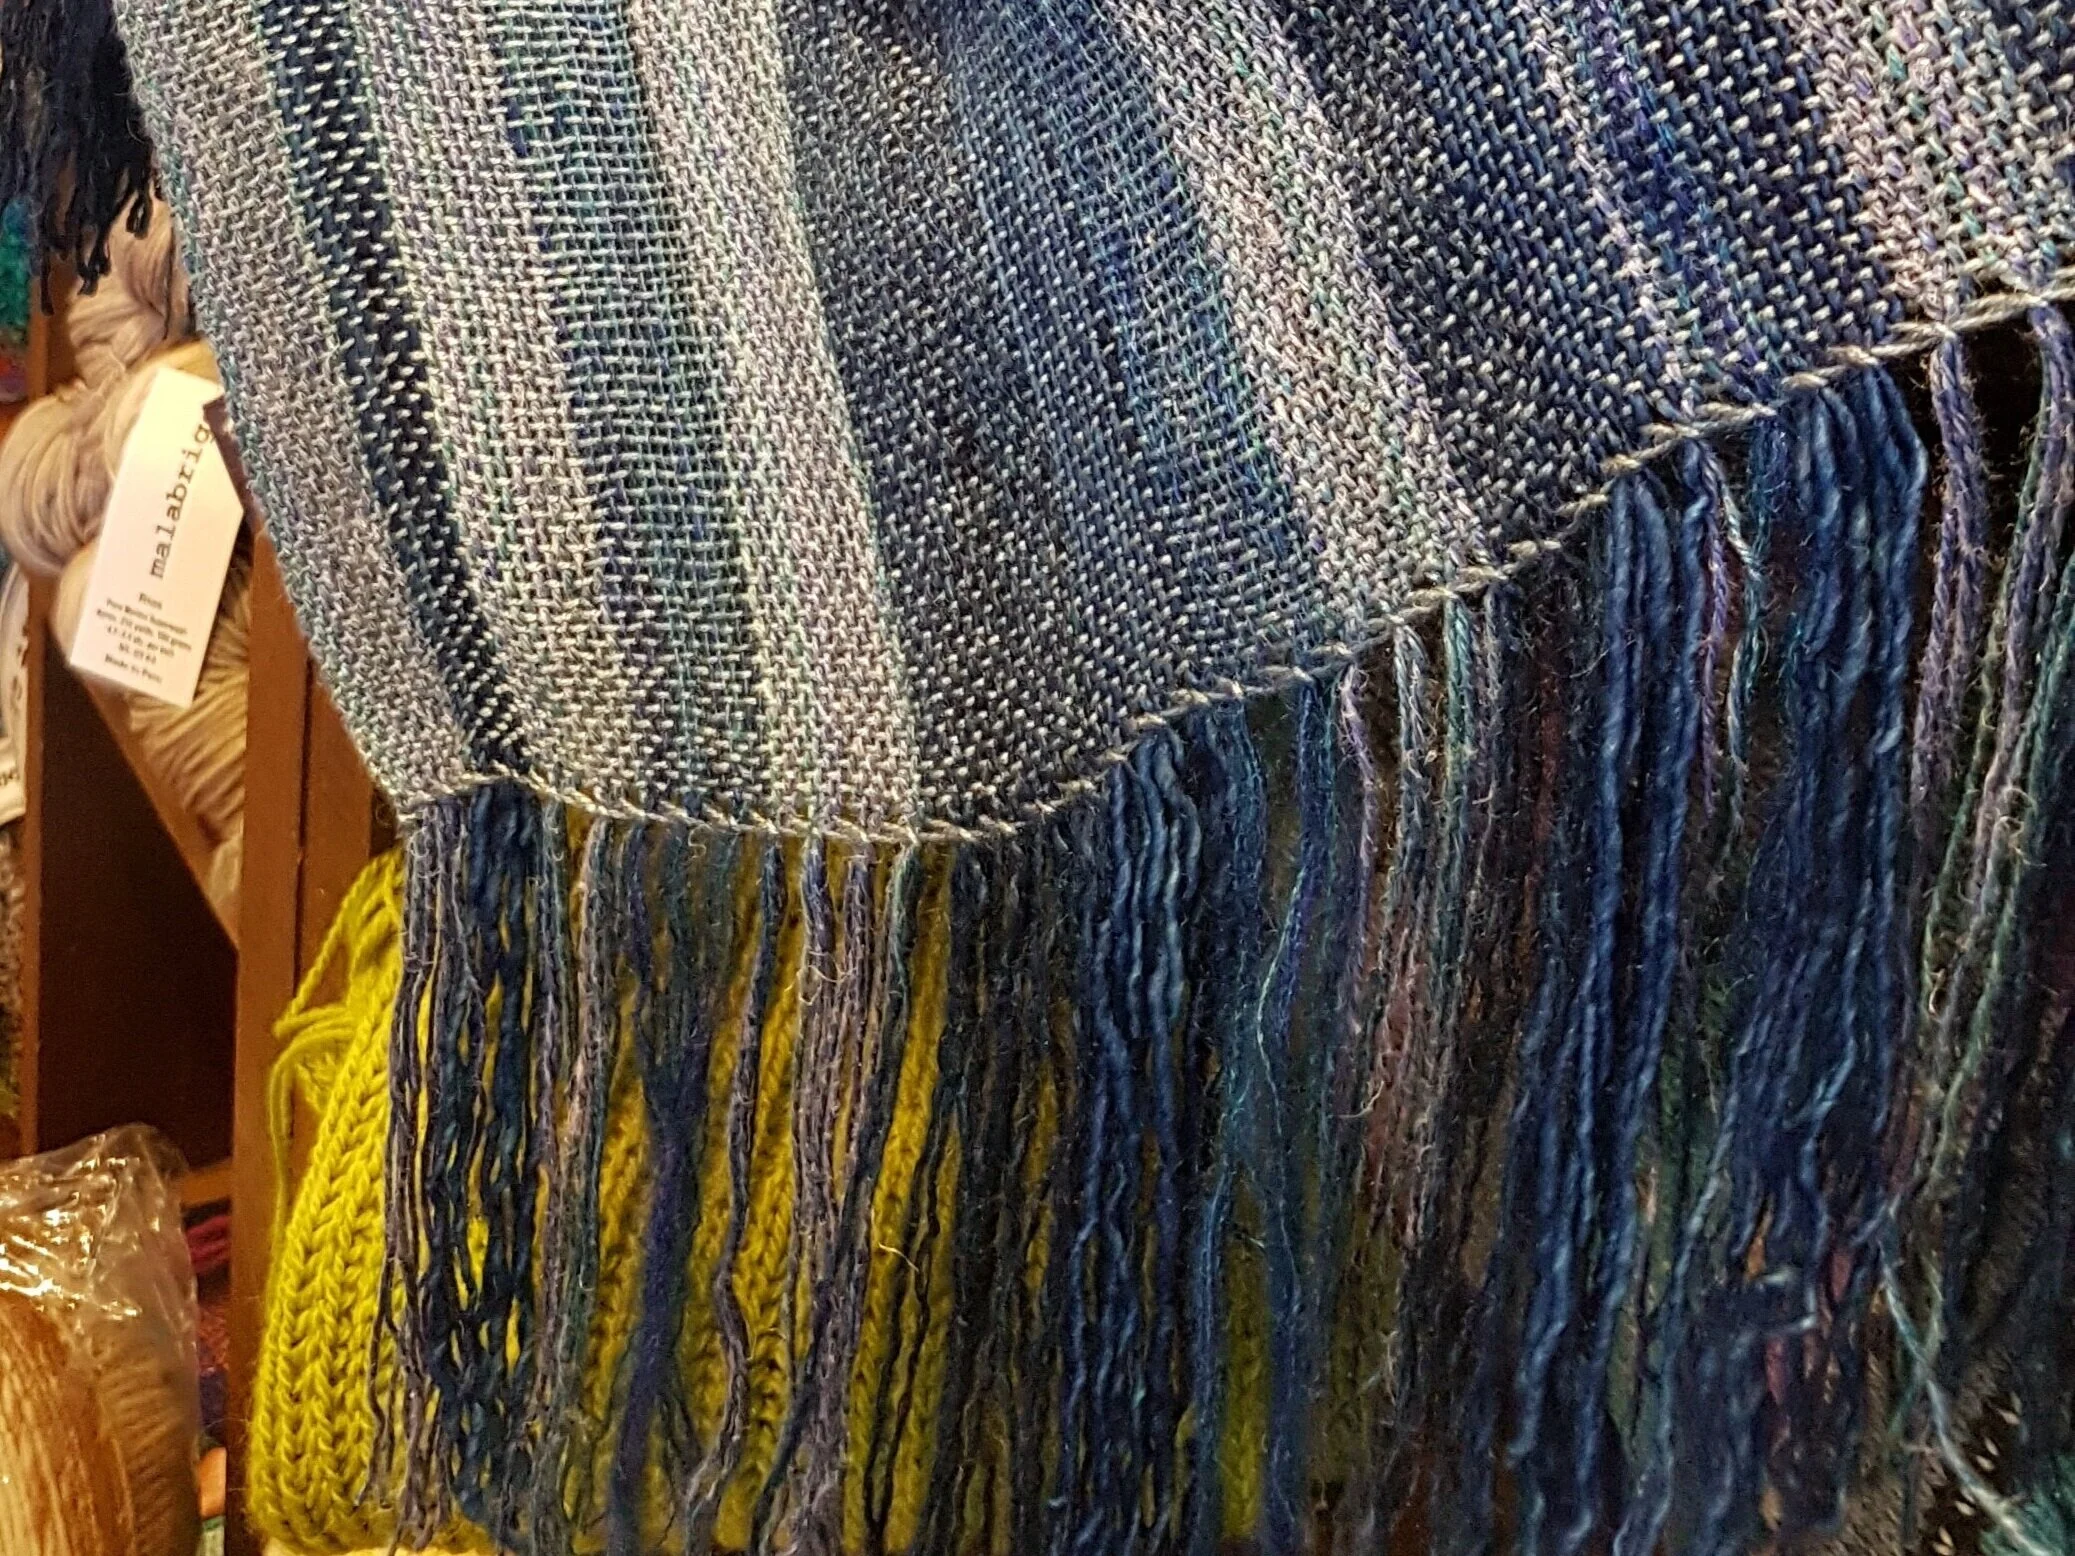
Why twist? The most important reason is because it looks nice and stays looking nice. An untwisted fringe looks great when it is freshly trimmed and pressed. After that the yarns begin to unravel, shred, tangle and, let’s face it, start looking a bit ratty. If you are making something for baby, a blanket for example, long thin threads can wrap around little fingers and cut off circulation.
There are times you may decide not to fringe twist. Sometimes the yarn is so beautiful you want the colours to shine (I can’t bear to twist Handmaidens’ Maiden Hair) Or the fringe will look too heavy for the item. When I make loose gauzy mohair wraps, I don’t twist. And of course, there are other ways of finishing a fringe that don’t require twisting…various types of knots for example.
As I said earlier, fringe begins before the yarn goes on the loom. Fringe is made with the loom waste. That means when you are calculating warp you do not have to add extra for fringe but on the other hand, when you tie on, you want to leave enough waste to have the desired length of fringe. This is never and issue for me, I always have enough! Also, be sure that when you cut your work off the loom that you have left enough for fringe.

Having a fringe requires a hemstitch. Well, you could do it without a hemstitch, but it will look much better if you have hemstitched. So, when you hemstitch, think about how many ends you want in each bundle and hemstitch accordingly. Fingering weight I usually hemstitch in bundles of 4 and do a 2x2 fringe twist.
And now, what you have all been waiting for…the actual fringe twisting, step by step!

You will need: t-pins, something to stick your pins into (foam blocks work well) a ruler and sharp scissors.
1. Trim your fringe (remember that it will be shorter after twisting so don’t over trim) I use a rotary cutter and mat for this step.
2. It works best if you have your work anchored. Pin the edge of your work to the foam blocks…don’t skimp on the pins!

3. Clip the yarn into your fringe twister (I love my Leclerc quad) If I’m doing a 2x2 fringe I’ll take my first bundle of 4, divide it into 2 groups of 2 and place each group of 2 in one clip. With my quad twister I can do 2 bundles at a time.
4. Start twisting! Count the number of turns (this will vary depending on the yarn and the length of the fringe. Counting will ensure your fringe looks uniform across the work.
5. Hold the ends of 2 bundles and unclip. Tie a knot in the bottom and release. Gaze in awe as the yarn twists around itself.

6. After the first bundle is twisted, have a look. Is it twisted enough? Not enough? Do you like the length? Adjust as needed, then continue across the work . Repeat for the other side. Keep your ruler handy to make sure you are making the fringe the same length. Knotting a little higher or little lower can have a big impact!
7. Check to be sure the fringe is even and knots are tight. Trim close to knot.
You now have a lovely fringe that will keep your scarf, or blanket or table runner, or whatever you have woven, looking beautiful for years of use!
