

The Making of a Rug
I’m always interested in trying something different. In a previous post I mentioned having a little sitting room. It’s the coziest room in the house. The only thing missing is a rug for the floor.
As soon as I saw this yarn I knew that it was perfect. The colours are exactly the same as the picture on the wall! It even has a tiny bit of purple.

Here’s all my wasted ends!
I’ve said before that sampling is very important, but I never do it. I tell everyone that they should always sample. But I hate it, I just want to weave. I might have learned my lesson with this one though. I wanted a good sturdy rug but also wanted the yarn, not the cotton, to take center stage. I warped the cotton double and very quickly realized it would overwhelm the yarn. I ended up unthreading half the cotton

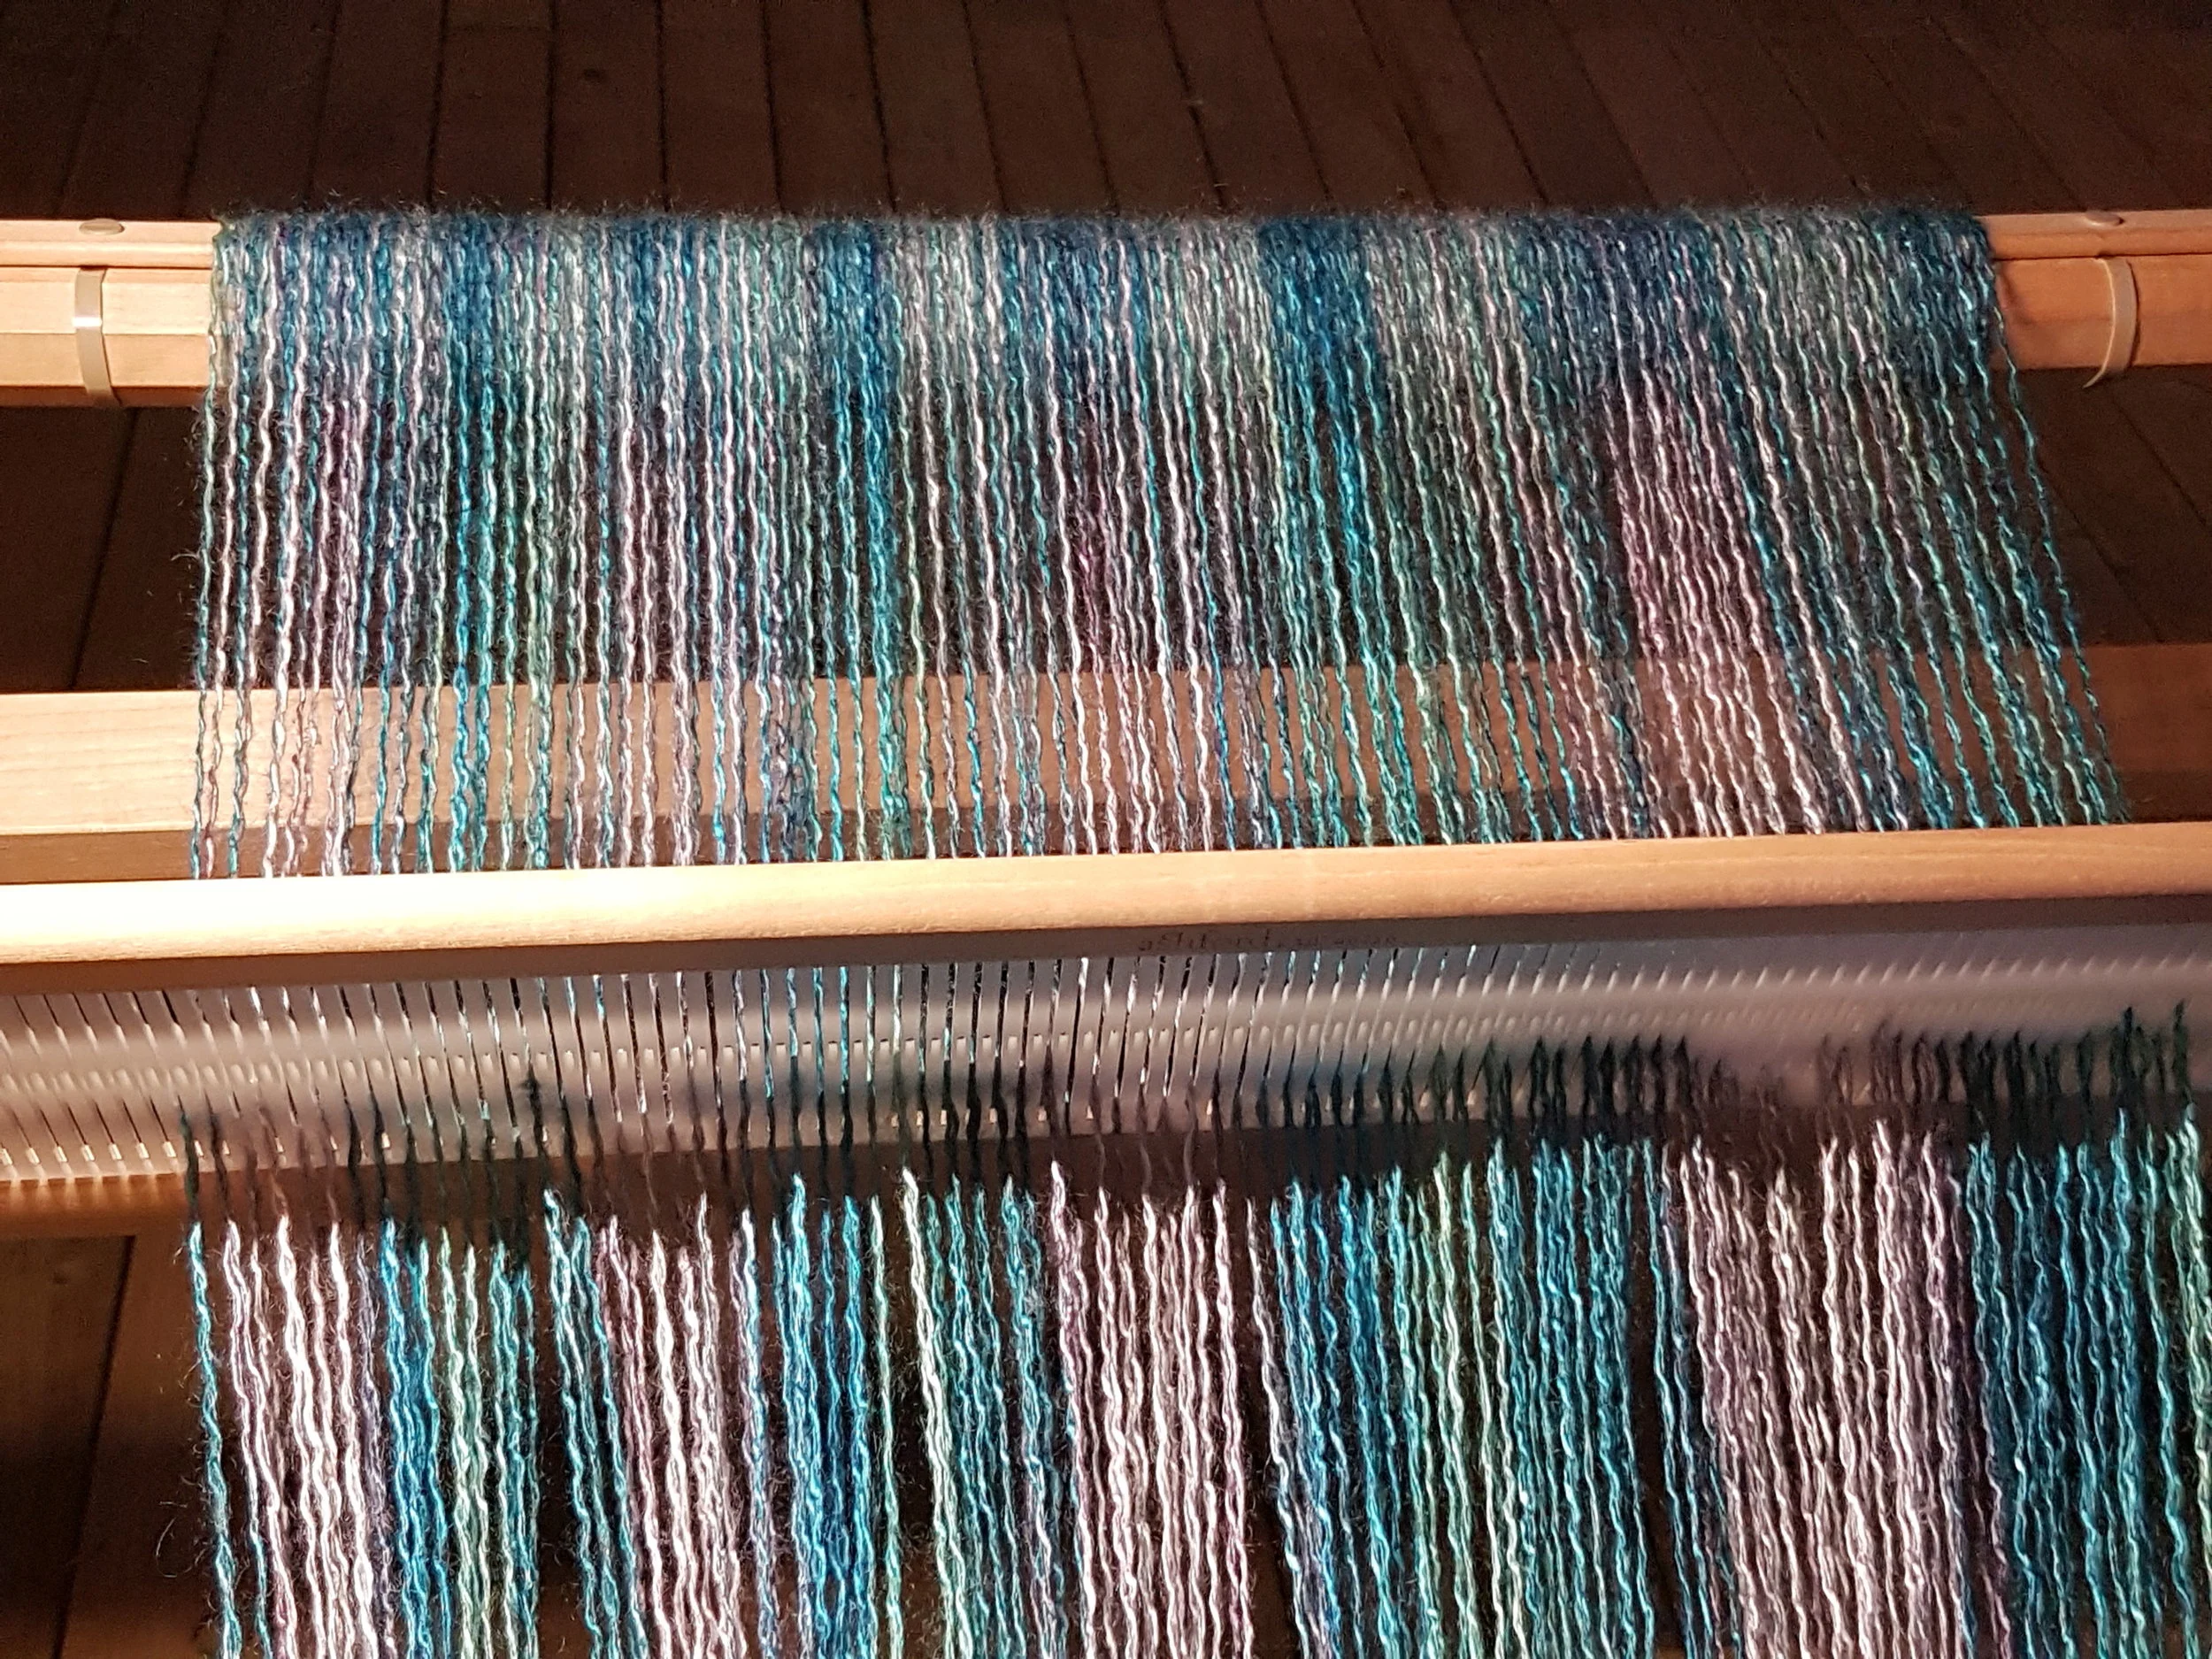
Plain weave is beautiful, but I wanted some texture for this mat. I thought I would try pulling loops out to create a diamond pattern. Then I needed something to hold the loops in place. In the end I wove one row yarn pulling out individual loops and giving them a little twist, then a row of cotton pressed firmly to hold everything all together.

I’m really pleased with the results. It shrunk more than I had anticipated (I warped for 32” width, finished it is only 24”) and boy it takes a lot of yarn on to make all those loops! But I love the texture! It’s possible I am going to need a bigger loom though; I’d love to make this wider and longer. Longer I think it would make a fabulous hall runner. In my little sitting room though it is perfect!
Double Width Weaving
Some People might think that a rigid heddle loom is just a beginner loom. The loom to get if you can’t get a “real” loom. But a rigid heddle loom, even one that is small, has endless potential. Mine is a 32”. It’s about as big as I think I can comfortably weave on with stick shuttles. But I just recently wove a 48” blanket, in one piece. And the pattern is actually designed for a 24” loom.

What? 48” on a 24” loom? How does that work? It’s really quite simple. All you need are 2 heddles, a double heddle kit and a couple pick up sticks. The trick is to create 2 layers to weave at the same time. On the loom, it looks like one layer, but if you look from the side, you will see 2 layers. One side closed, one side open. When the blanket comes off the loom, you can open it up and voila! A blanket twice the width of the loom! This was actually the first weaving class I taught. The hardest part is setting up the loom. We started at 10 am and finally got to the actual weaving at about 3pm! If that seems a bit daunting, relax, we took breaks and we waited until everyone completed each step before moving on. With practice, it takes just a few hours to get to weaving.


I love working with the Berroco Ultra Wool for double width weaving. It’s 100% superwash wool, it isn’t too stretchy or sticky and it fulls beautifully. Plus there are dozens of colours to choose from. The wash-ability means that it is perfect for baby blankets. But there is no reason to limit this to only a blanket. It makes a great wrap…check out the drape! Or picnic blanket. Take it camping, dress up your living room or carry it in your car for emergencies.
The colours of this blanket were inspired by a trip to Lunenburg, NS. Lunenburg is a beautiful seaside town with the typical brightly painted houses. I was amazed by the number of shades of orange houses. Clementine and orange, orange and purple, orange and green. And they all looked beautiful! I really wanted a tiny bit of yellow/green in this blanket, but we didn’t have it and I was too impatient to wait for it, so orange and rust it is. I took many pictures of the houses though, I’m sure they will inspire other colour combinations in the future.
Want this blanket for yourself? Click here to purchase.

My Craft Room
I dream of a ‘ real’ craft room. I think all crafters do. I dream of a big airy space filled with giant windows and sunshine. And sky lights! My dream room has a big center work table, my 32” rigid heddle, room for a 60” 8 shaft loom, a wall of shelves to keep all my skeins and cones and fibres for spinning in view and easy reach. A corner for spinning and a corner for planning, drinking tea and dreaming.
I dream of a ‘ real’ craft room. I think all crafters do. I dream of a big airy space filled with giant windows and sunshine. And sky lights! My dream room has a big center work table, my 32” rigid heddle, room for a 60” 8 shaft loom, a wall of shelves to keep all my skeins and cones and fibres for spinning in view and easy reach. A corner for spinning and a corner for planning, drinking tea and dreaming.

The Rigid Heddle Corner

I’ll bet you also have a dream craft room. But so much can be done without it. I am fortunate enough to have a craft room. It’s pretty tiny, an 8’ x 9’ basement room. (One small window, no sun) Until recently it held a 36” 4-shaft floor loom, a 32” rigid heddle loom, a dresser that acted as storage and sewing station, a warping station, a spinning wheel and a dressmaker’s dummy. I really couldn’t move in it. Both the spinning wheel and the rigid heddle loom needed to move out to be used. So they moved into the rec room. (Come on, be honest, your craft stuff is quietly taking over your house too!) The rec room worked well until my husband’s office moved into it. I may have shed a tear. Then I pulled myself together and redirected my takeover. My rigid heddle temporarily moved into the living room (along with all my rec room furniture, it was a mess!) I didn’t have room to warp so it moved into the kitchen or to the back deck for the warping process.
In the office moving process, we freed up a room in the house (the old office). I seriously considered just taking over that room (in addition to the one I already have) but decided that wasn’t really fair (my kids think they need space too) so I took over the closet instead. It isn’t very wide but it is quite deep. I moved my dresser/sewing station, dressmaker’s dummy and spinning wheel into it. I can close the door and we have a lovely sitting room. I can open up the closet and have a lovely sewing station or pull out my wheel to spin. And my rigid heddle moved back down to the basement craft room. Except when I’m doing a longer warp, then it moves to the kitchen, or I’m using the full width, then it’s back in the living room.

Warping in the kitchen
So don’t let lack of space stop you from weaving. If it weren’t for the floor loom I could quite easily manage without a room altogether. If my house were more open I wouldn’t need a room even with the floor loom. If you really want to do something you can make it happen in the space you have. You get creative, find solutions and weave on.
Do you have a dream craft room? Or have you found ways to manage in small spaces? I’d love to hear about them!

Introduction to Weaving
I realized, as I was writing another post, that this should have been my very first post. If you are a rigid heddle weaver you might want to skip this one, you know it all already. Or you can read it and correct me in the comments (seriously, I’m ok with constructive criticism). I know that some people are reading this who really don’t know anything about weaving, but you know me and so you graciously read my blog (thank you, please comment so I know who you are). So here’s a crash course on weaving.
I realized, as I was writing another post, that this should have been my very first post. If you are a rigid heddle weaver you might want to skip this one, you know it all already. Or you can read it and correct me in the comments (seriously, I’m ok with constructive criticism). I know that some people are reading this who really don’t know anything about weaving, but you know me and so you graciously read my blog (thank you, please comment so I know who you are). So here’s a crash course on weaving.

If you look at a piece of woven fabric (a cotton dress shirt or a pair of jeans) you will see fibres going from top to bottom and others from side to side. The top to bottom threads are called “warp threads” and the side to side threads are called “weft threads”. If you look carefully, you can see that the weft threads are going over and under the warp threads. This over under is what holds the fabric together. Theoretically you could take the weft thread and manually weave it over and under every weft thread. But that would take forever and be incredibly boring. So, mankind, in a quest for efficiency and a hatred of boredom, invented a very simple machine to lift certain threads up while leaving the rest alone. I might do a blog another time on the history of the loom, but for today, let’s just jump to the simple rigid heddle loom.
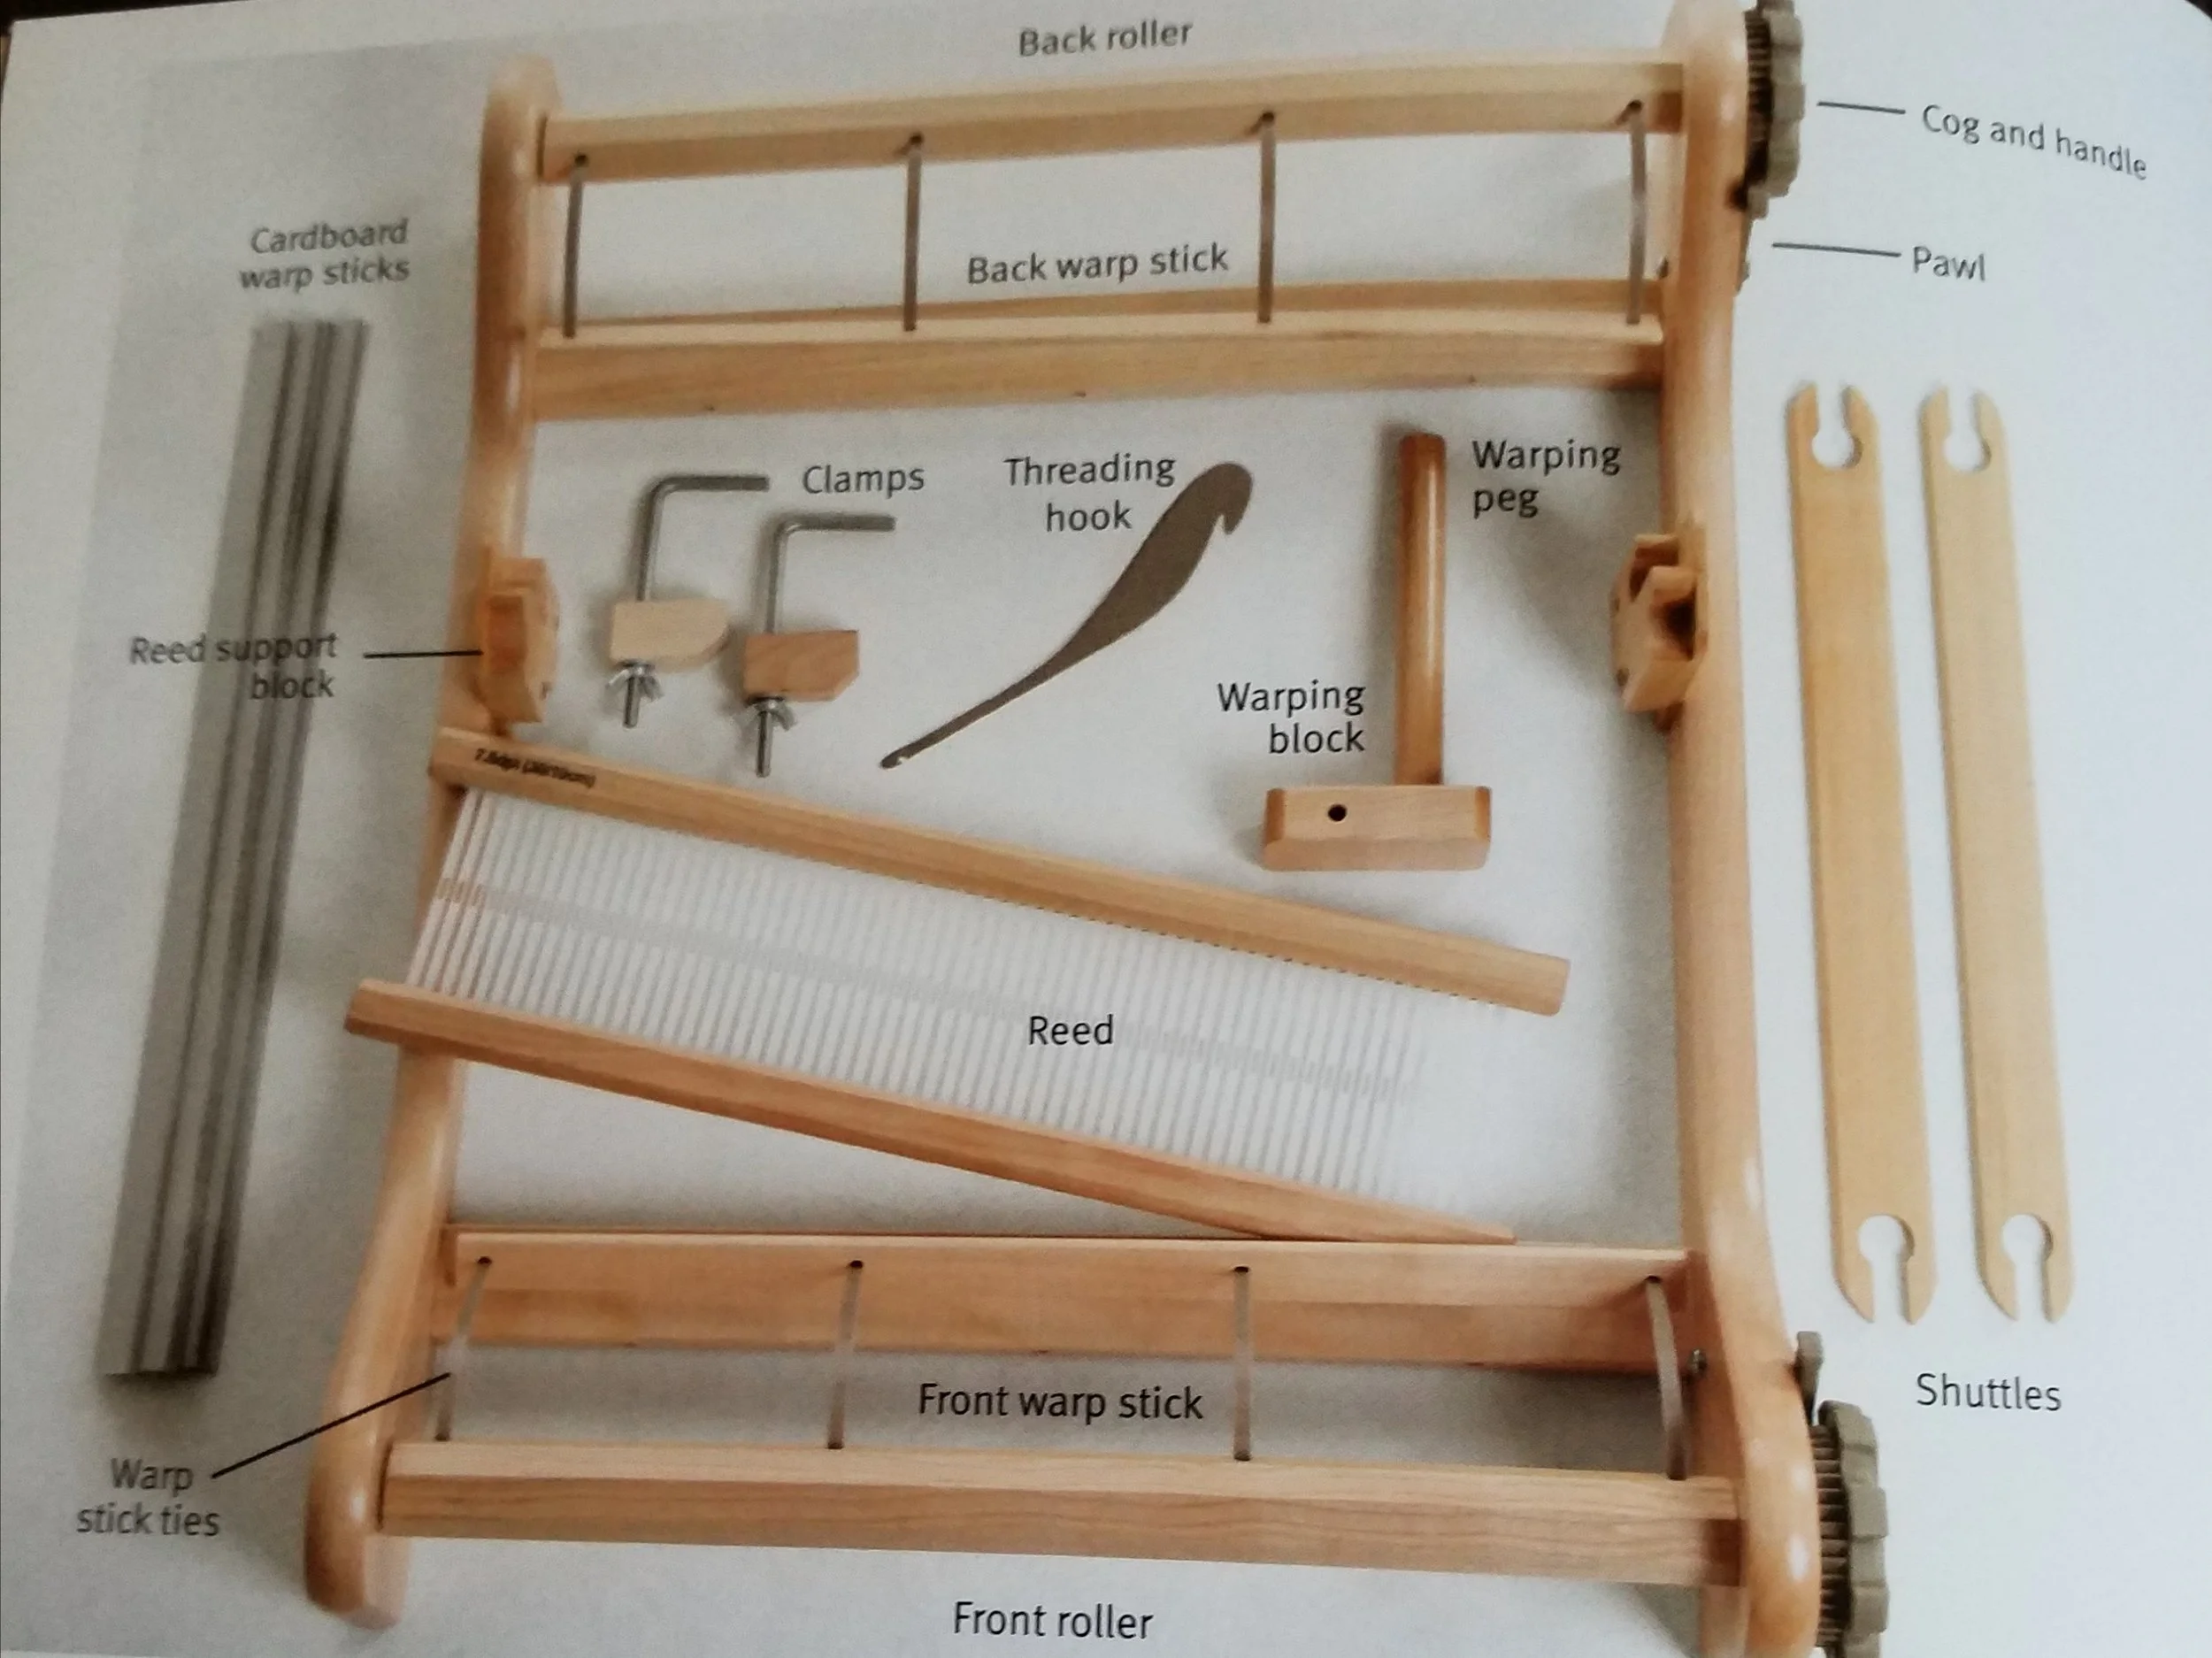
Pic from The Ashford Book of Rigid Heddle Weaving
It’s pretty basic. We have a wooden frame with a front and back roller and we have a heddle. The heddle has slots and holes that the yarn goes through. Yarn in the slots can move up and down with the heddle; when the heddle moves up, the threads move down; when the heddle moves down, the threads go up. Yarn in the holes doesn’t move around. As the heddle moves up and down, a “shed” is created for the weft thread (wound onto a shuttle) to travel though.

The warp threads are threaded onto the back warp stick, through the slots in the heddle then all the threads are wound onto the back roller. The yarn is threaded though the holes in the heddle, then the yarn is tied to the front warp stick. This is called “warping the loom” and can take any where from an hour to several hours.
Once the loom is warped weaving can (finally) begin. And it’s easy! Heddle up, slide shuttle through, press yarn into place, heddle down, slide shuttle through, press weft into place, repeat until finished. If that sounds boring, the pattern possibilities are endless! You can add pick up sticks, a second (or even a third) heddle, play with colour or texture, even weave tubes!


Clothes from Scratch
Once upon a time I used to cook everything from scratch. And from scratch I mean from seed, or egg or goat. We grew all our own veggies, most of our fruit and meat, all our own milk, made cheese, yogurt and canned dozens of jars of jam, apple sauce, salsa, peaches, pears, pickles... I don't do that anymore. Now I make clothing from scratch. Or at least I try to.

Once upon a time I used to cook everything from scratch. And from scratch I mean from seed, or egg or goat. We grew all our own veggies, most of our fruit and meat, all our own milk, made cheese, yogurt and canned dozens of jars of jam, apple sauce, salsa, peaches, pears, pickles... I don't do that anymore. Now I make clothing from scratch. Or at least I try to.

There is something very satisfying about starting out with a couple cones of cotton and ending up with a blouse, or pair of shorts. I find it a challenge though. It's hard to go back to the beginning to learn how to do something well. I want to just sit at my sewing machine and turn out a perfect blouse. I do not want to practice on something simple, I want to make what I really want and I want to do it first!

This is The Valley Blouse, a pattern I found online by Cali-Faye. I love the look of it, so drapey and beautiful! I wove a lovely huck pattern with bamboo and tencel and it was so beautiful! I spent several nights with this gorgeous fabric laid out on the floor placing the pattern pieces in various ways to minimize waste and simply because I was afraid to cut my handwoven fabric. I painstakingly cut out each piece and immediately took it to the sewing machine and zigzaged the edges.

I started sewing. It was hard! I didn't actually understand the language of the pattern. (It was english, but sewing language is different from weaving english-which I am still only learning.) So I looked at the pictures and tried to fake it. It was pinned and repinned, put on and off my mannequin over and over again. I did at least baste most of my seams first just to make sure I did it right.
In the end the blouse worked out. Well, it looks like a blouse, but it doesn't fit. It fit my mannequin, and she's supposed to be my size.
I'm going to have to practice.
Beginning
Passing the shuttle back and forth and watching the fabric grow is only a tiny part of the weaving process. Before one ever throws the shuttle there has already been hours of prep work, even days if you count the dreaming time. First inspiration strikes. Perhaps it’s the clouds in the sky, the way the grass waves in the wind, a colour combination or the feel of a fibre. It can be anything really. Then comes the gestational time. The idea floats around in my thoughts for a few days, taking shape, changing and developing.

I start planning on my tablet, it's a bit of a mess but it helps me visualize.
Passing the shuttle back and forth and watching the fabric grow is only a tiny part of the weaving process. Before one ever throws the shuttle there has already been hours of prep work, even days if you count the dreaming time. First inspiration strikes. Perhaps it’s the clouds in the sky, the way the grass waves in the wind, a colour combination or the feel of a fibre. It can be anything really. Then comes the gestational time. The idea floats around in my thoughts for a few days, taking shape, changing and developing. At this point I might put pencil to paper (or s-pen to tablet) and start drawing and jotting down finished measurements, warp and weft materials. If colour plays a starring role I’ll start adding colours too.

Sometimes when I start drawing I realize that my idea can’t work as I thought it would. Then I either rework, or sometimes leave that idea for another time. Because I’m a new weaver, and an intuitive weaver, many times I realize I need to learn more before I can achieve the effect I’m looking for. If you are a crafter you know you are supposed to sample sample sample! I hate sampling! I know it is important, but to me it seems a waste. So, I make tea towels. Tea towels act as a productive way to sample and learn new skills. In the end, if my finished project doesn’t match the picture in my head it’s ok. I’ve learned something AND I get a useful tea towel instead of a failed project I’ll never use but can’t bear to throw away.