Chart Reading Made Easy
I have a confession to make. I can’t read a draft designed for rigid heddle looms! Terrible isn’t it? But they just don’t make sense to me. So, as is my wont, I designed my own way of writing things. They make perfect sense to me. Many of you are already familiar with my way of writing the pick-up patterns for weaving. I hope that once you get the hang of it you end up finding it as intuitive as I do. (Seriously, I’d love your feedback on my style!)
You may have noticed that some of my more recent pick-up patterns have included charts for inserting the sticks (don’t worry, I still include step-by-step written instructions and pictures). I know that we all have different learning styles, so I really strive to make sure I include as many ways to explain things as possible…that’s part of the reason my patterns are soooo long! I did think it might be worth just explaining my method in hopes that when you see the patterns you will have the confidence to give them a try instead of running for the hills!
Let’s start with a brief overview. A rigid heddle has 2 sheds, created by slots and holes. A shed is the open space between warp ends that the weft passes through. When the heddle is lifted, all the holes are pulled up over the slot ends (Shed 1). When the heddle is lowered, all the holes are pushed down, under the slot ends (Shed 2). Alternating between these 2 sheds, we get what is called plain weave. Plain weave is beautiful, and if all you ever do is plain weave, you are a weaver!
We can, however, add extra “sheds” to our loom by adding pick-up sticks. (You can add extra heddles and string heddles too, but today we are focused on pick-up sticks.) Each pick-up stick adds an extra shed for our weft yarn to pass through. If we are willing to do the work, there is really no end to the number of sheds you can have on a rigid heddle. (Check out this scarf, I haven’t counted, but I’ve been told one would need 24 shafts to do this on a floor loom!) Pick-up sticks change the space between the warp ends creating new pathways for the weft to travel. You can read more about using pick-up sticks here.
Ok, on to my charts! Let’s look at one from my most recent pattern, Lace Napkins. It looks complicated but it really isn’t. I promise. First, here’s a few things to know:
All charts are read from left to right.
The top row represents the ends in slots that are on top of the pick-up stick.
The middle row represents the ends in slots and are under the pick-up stick.
The bottom row represents all the ends in holes.
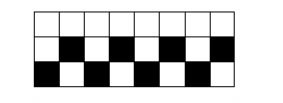
Perfect sense, right? Not quite? Let’s look at something simpler first. Although there are three rows, only the bottom and middle have ends in them. If we go back up to the rules above, we will see that we have the holes on the bottom and the slots in the middle. There is nothing in the top row (where the pick-up stick would be). So we can ignore this and we have a simple plain weave pattern. Two sheds, 1 up, 1 down.
Let’s look at a slightly more complicated chart. This one also has just two rows used, but this time it is the holes and the pick-up row that are being used. We can actually ignore that bottom row because a pick-up stick will never pick up an end in a hole. So if we look at the middle and top row, we can see that every slot end will be on top of the pick-up stick. If you’re ahead of the class, you probably realize that using this pattern will create very long floats. In this case, this is maintaining the plain weave structure while the pick-up stick is doing something else at the same time. Completely confused yet? Let’s put it all together and see if it makes sense.
Let’s go back to the first chart: in this chart we have ends in all three rows. First, we can ignore the bottom row. That is all the holes, and if you remember, the pick-up stick will never pick up ends that are in a hole.
So we will only look at the slot ends, those in the middle and the top row. (There is a reason for the bottom row, we’ll get to that in a bit.)
Remember that the middle row is under the pick-up stick. The top row is on top of the pick-up stick. This means the pick-up stick needs to “pick up” the ends. (Get it?)
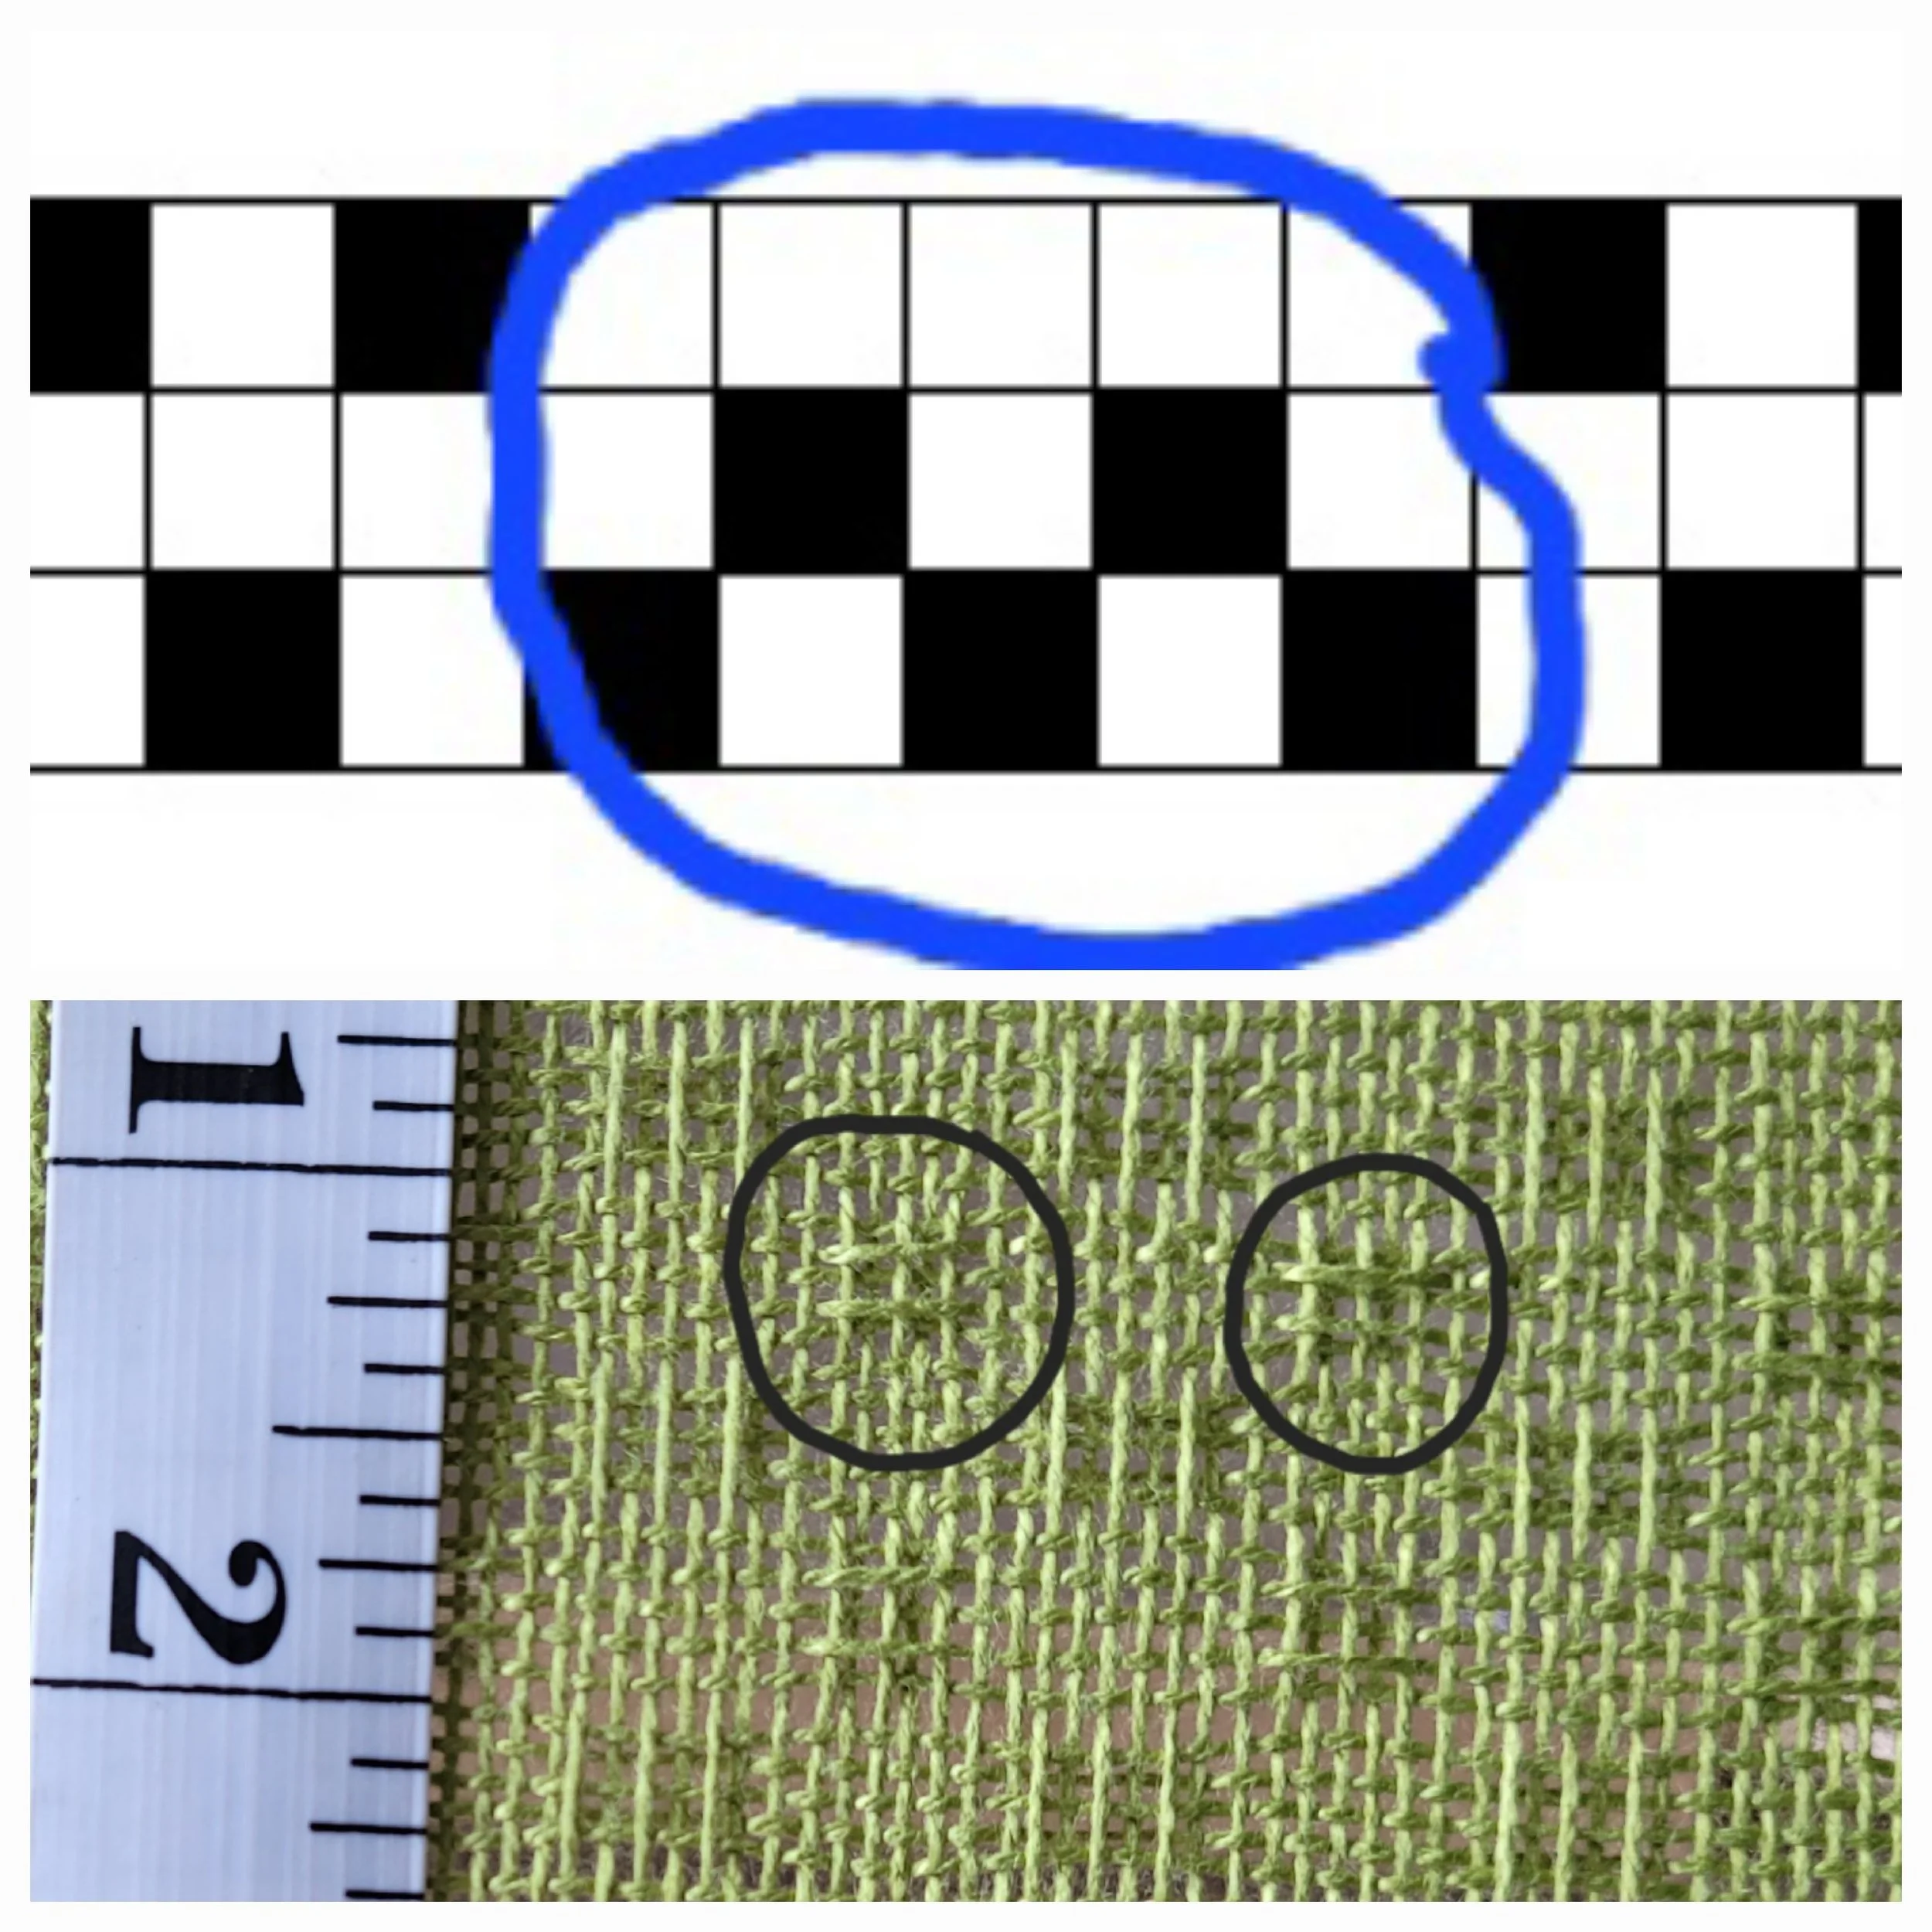
So for this chart, the pick-up stick will go over the first 2 ends, then it will “pick up” the next 5 ends by going under them. It will go over the next 2 ends, then under the next 5. If you were to flip your pick-up stick on edge, you would see groups of 5 ends on top of the pick-up stick. See the picture to the right.
If the instructions were written, it would look like this:
With the pick-up stick, go over the first 2 ends then:
Go under 5 ends, over 2 ends then under the final 5 ends.
Now, if you can visualize, imagine this: the heddle is in neutral and the pick-up stick is behind the reed and on edge. This will push down all the ends that are under the pick-up stick creating a 5-end weft float (2 ends that are under the pick-up + the three ends in the holes—this is why the bottom row is there!) The 5 ends on top of the pick-up stick are actually maintaining the plain-weave structure in between the floats. Now you can look at a chart and “see” what will happen!
If this doesn’t make sense yet, don’t despair! I also do not learn by reading. I need pictures and experience! When following a pattern, use all the methods available! Use the written instructions, compare it to the chart and look at the pictures. After a few projects I know that you will get it!
Feel ready to try it out? Here’s a few patterns to try out:
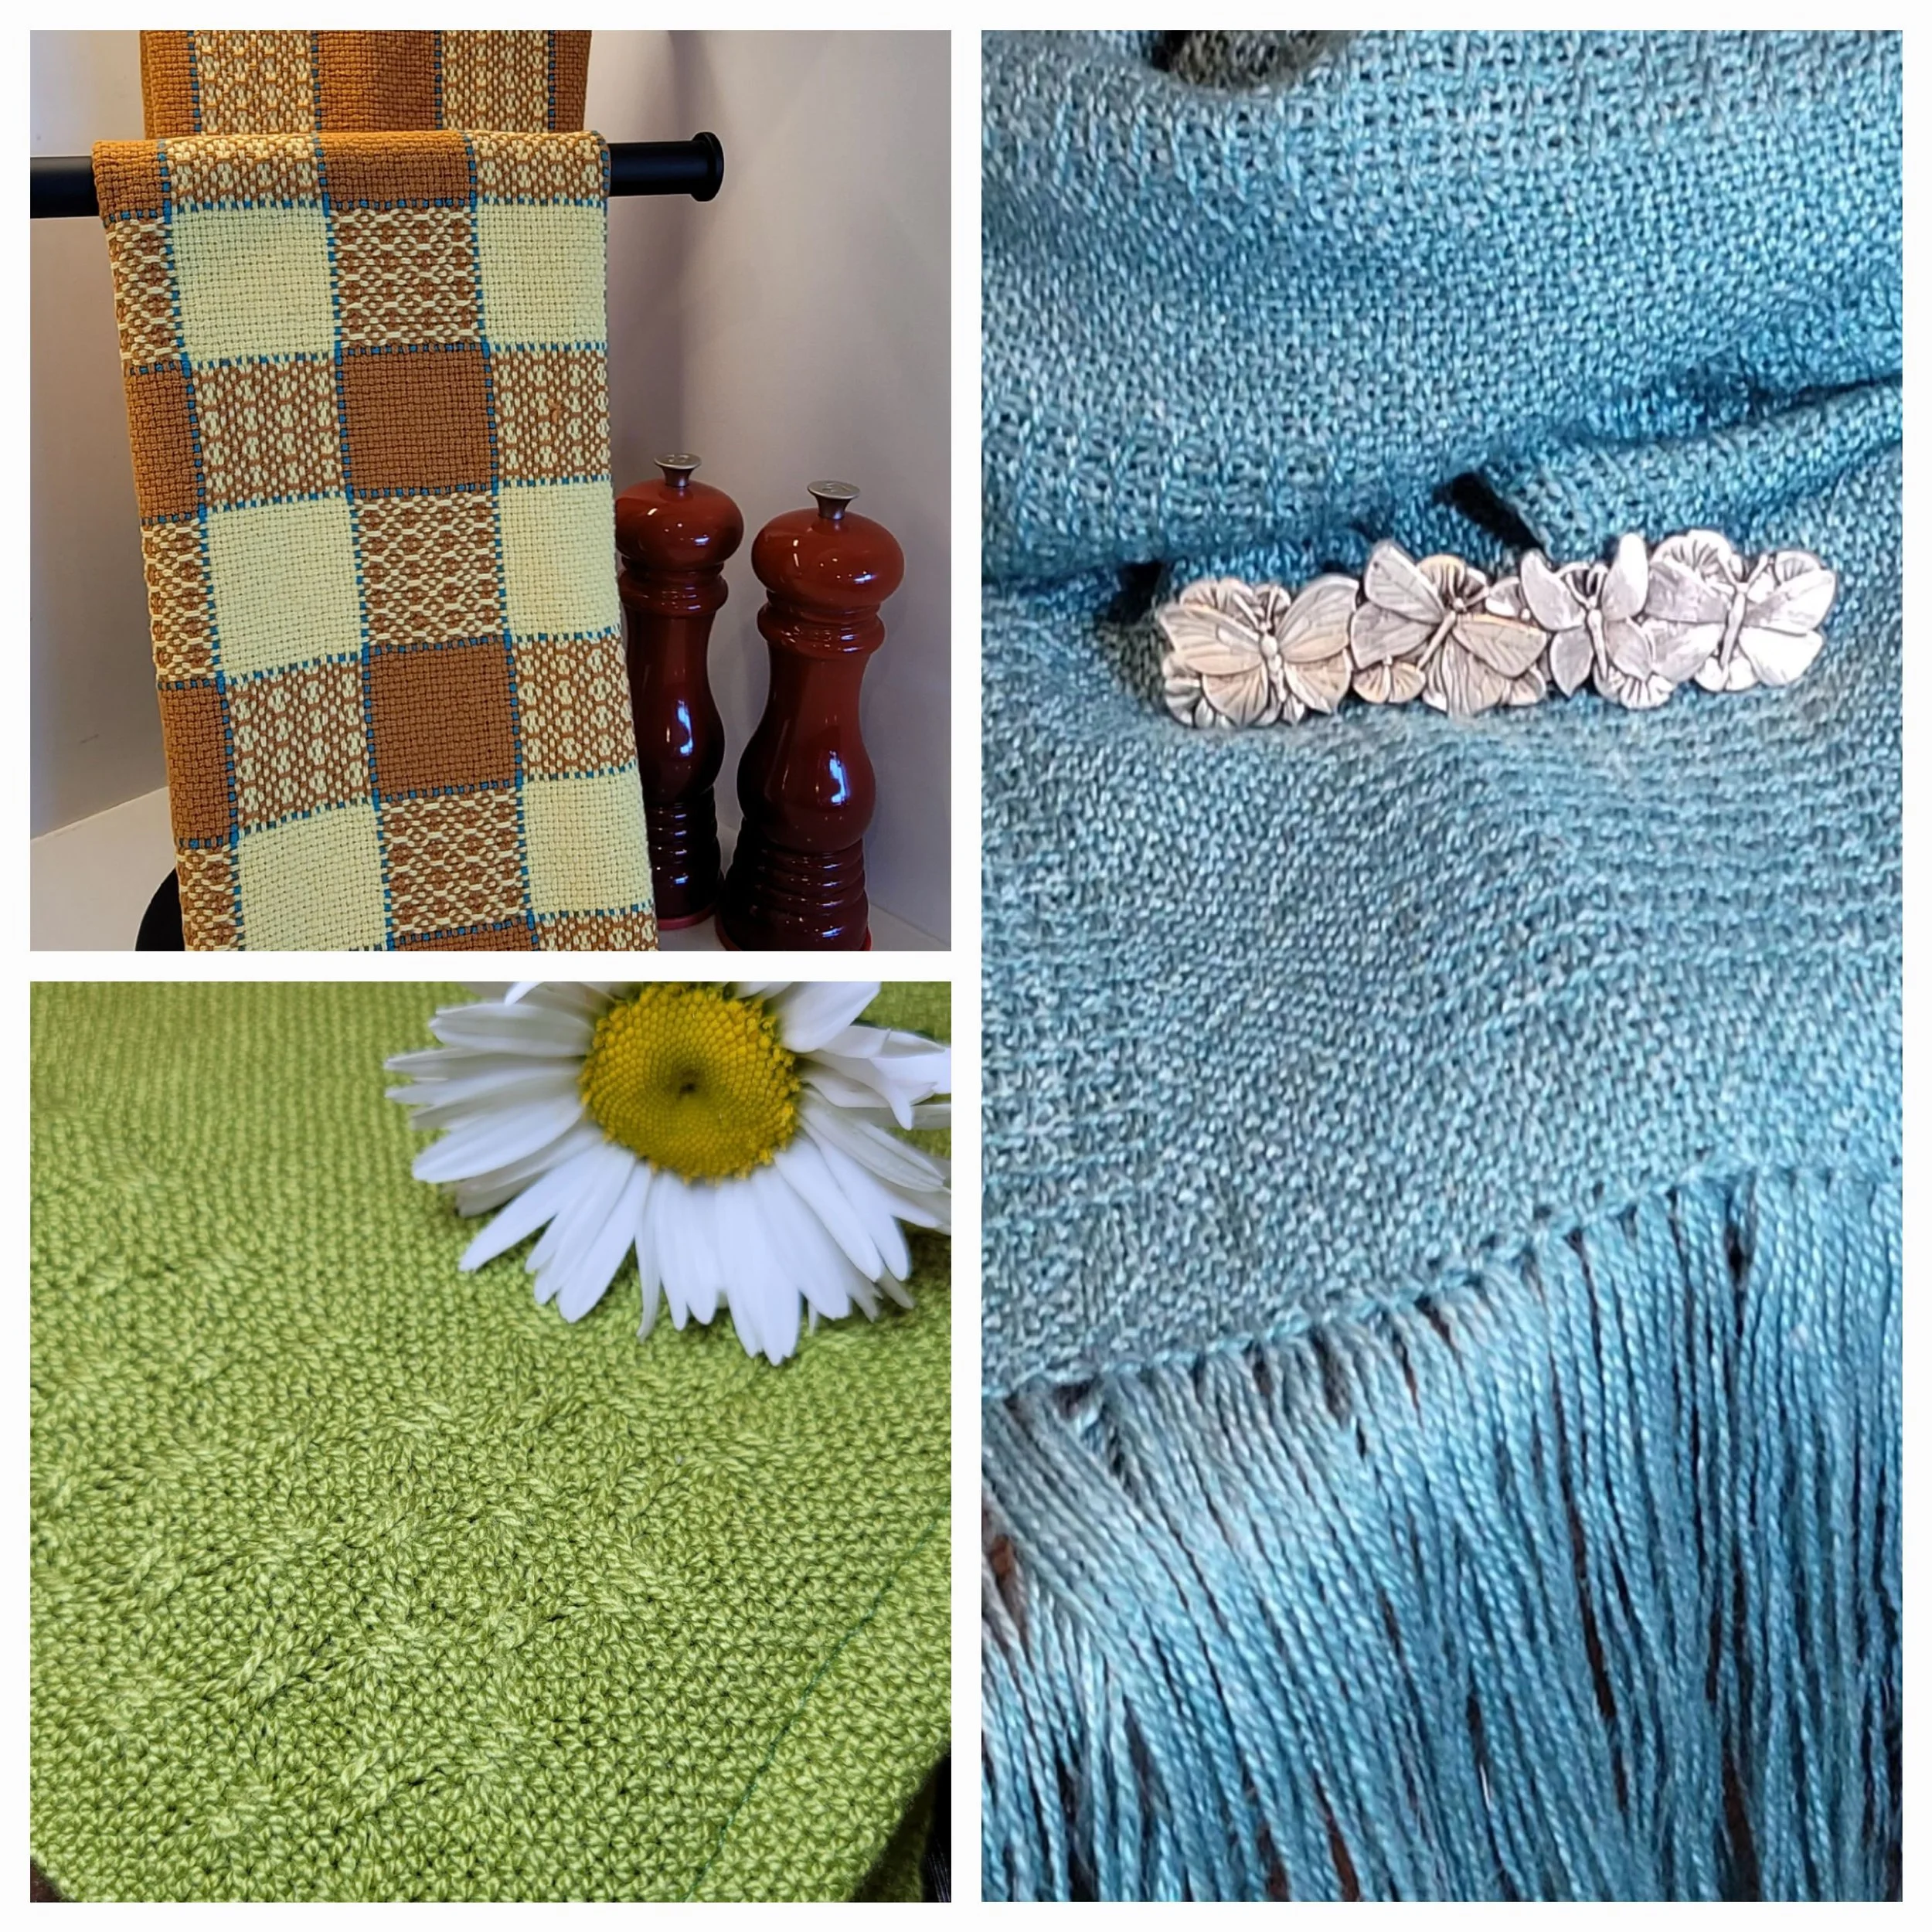
Silver Linings shawl, HopScotch Tea Towels and my new Lace Napkin pattern.


