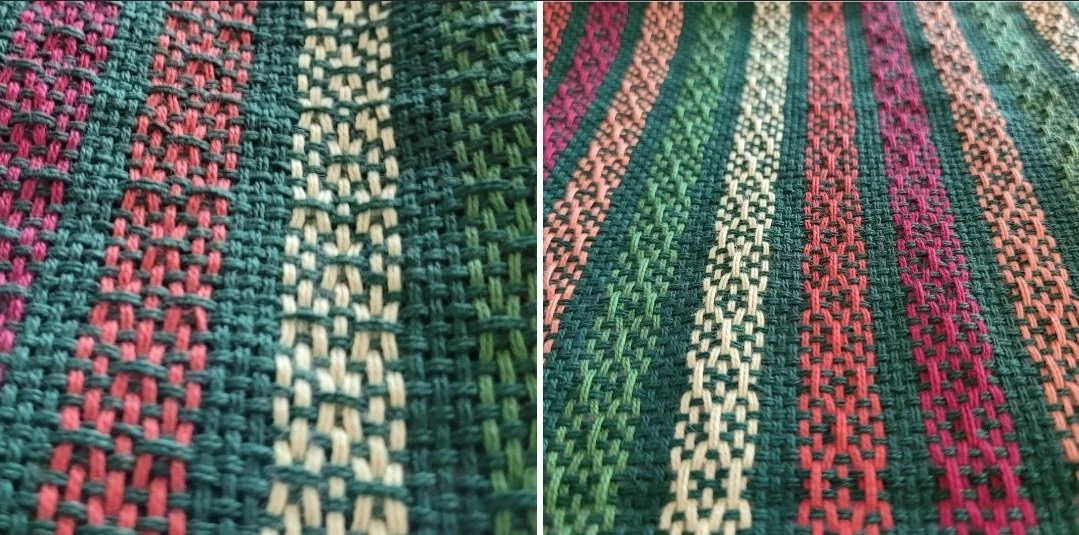
Right side / Wrong side How Floats Visually Impact Weaving
We all know that fabrics have a “right side” and a “wrong side”. Now, if you have only ever woven plain weave fabrics, both sides will look the same. But, if you have added pick-up patterns to your weaving, you will notice that what you see on top of the loom is different from what is underneath. That is what we are going to talk about today.
A few weeks ago I received an email from a weaver wondering what she had done wrong. The top of her work looked great, but what was wrong with the back? I was able to reassure her that she had done nothing wrong, this was just how the pattern works. But let’s take a look at what happens on a rigid heddle when we use pick-up sticks.
There’s really only one thing to know: warp floats on the top make weft floats on the bottom and weft floats on the top make warp floats on the bottom. That’s it! Let’s look a little more closely though.
Below is my Bumberet Inspired Tea Towels. The first picture shows the right side with warp floats. The weft is navy, and since we have warp floats, the warp colours really pop out. But if you look at the other side, you will see weft floats in navy. It still looks great, but the warp doesn’t pop. In a pattern like this, you can decide after weaving which side you like best!
Now let’s look at another pattern. In the picture below is the Surprise Twill pattern. In this pattern, we are weaving weft floats. However, in this case the “right side” pattern is actually on the “wrong side”. Since I think weft floats are easier to weave than warp floats, I purposely wove this wrong side up! You will note in the second picture, you can see a twill-like pattern made with warp floats.
Now let’s look at lace. Cameras do funny things to colours, so believe me when I say this is the same project with the same cotton! The picture on the left is the right side. You can see that there are tiny weft floats. However, because of the weaving pattern, on the wrong side, there are long warp floats. While both sides look pretty, I definitely would use the left as the right side!
Float length is something to consider. You may not mind a longer float on a tea towel, but might find it unpleasant on a scarf as floats do tend to get caught on buttons, jewelry, and anything else! Sticky yarns work better for longer floats in scarfs as in the wet finishing they tend to almost felt into place making them less likely to catch. Also, using a smaller reed will make the floats smaller!
So far, I have only shown pictures of warp floats or weft floats…but what happens when you combine them? Let’s look at a the Waffle Weave scarf. Can you see the difference? Me neither! When warp and weft floats work together, both sides can end up looking the same.
But not always! In the picture below, because I am using the same colour for warp and weft, it is easy to see that the left has weft floats where the right has warp floats.
So there’s a little lesson on floats and how they show on the finished projects! Want to play around with floats yourself? Check out the patterns I mentioned in this post:
and
Happy Weaving!


