
Creating Beautiful Scarves with Your Stash Part 1
Some of my favourite projects have been woven with yarns in my stash. Well, in theory it all comes from my stash. In reality I always need to buy at least one more skein. Please tell me you understand!
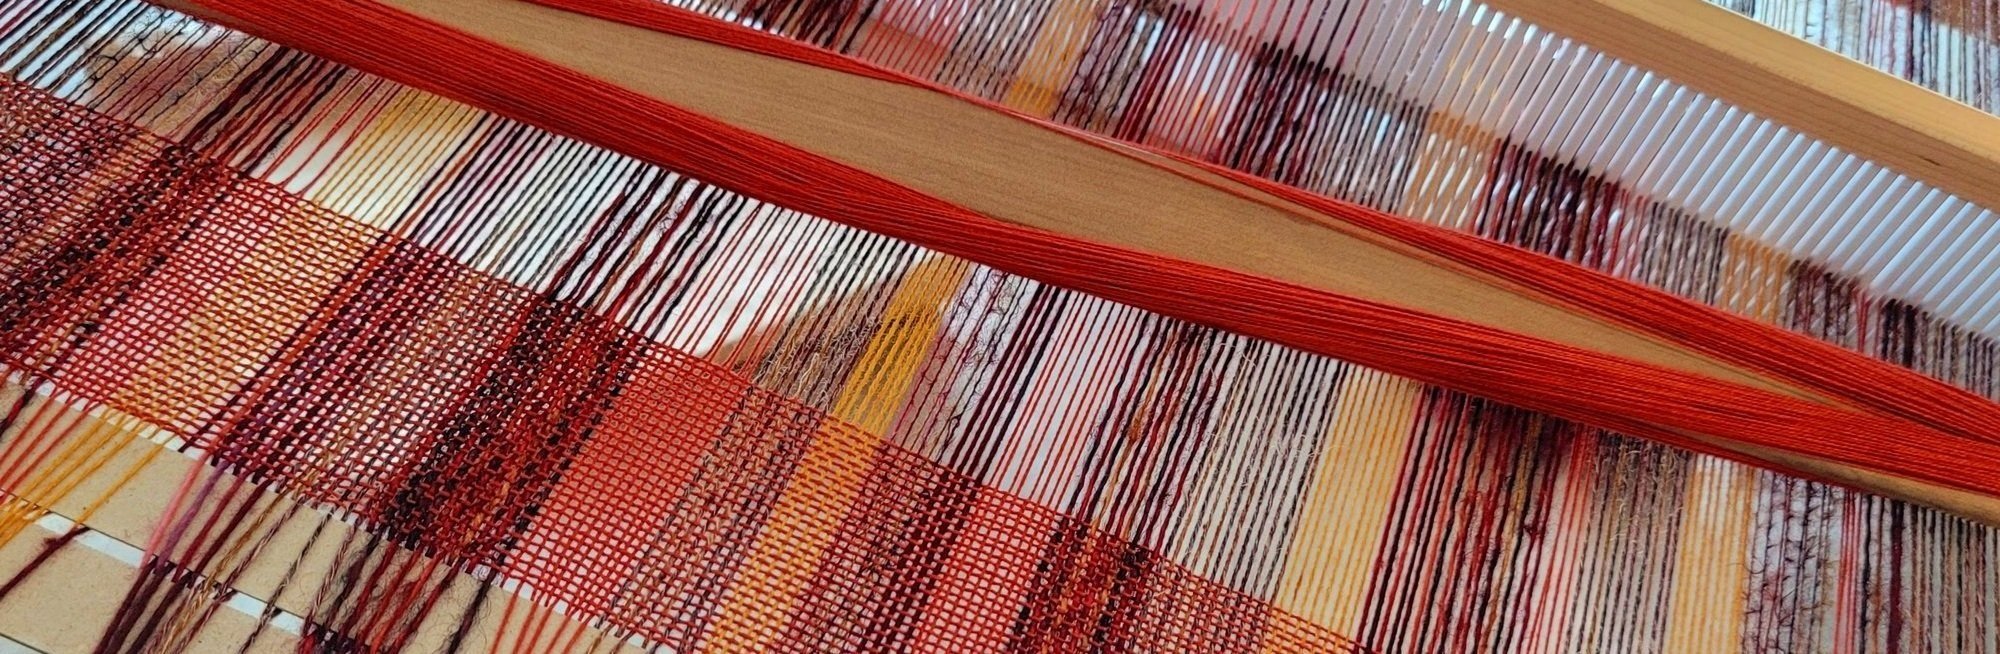
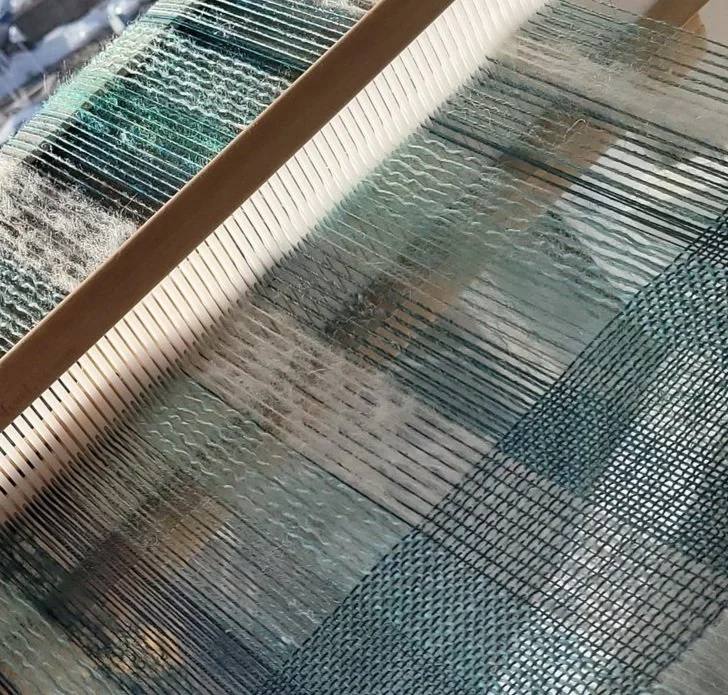
Multi warp weaves are fun and are a great way to use up all the little bits that aren’t enough for a project but too much to throw away. Today I’ll walk you through how I put together a multi warp scarf using a standard reed. I like a 10 or 12.5, but it will depend on the yarns you are choosing.
On a side note, you need to be in the right place mentally for these warps! They can be super easy but more likely they will have trouble spots. Usually there are a couple of areas that want to stick or have tension issues. Prepare yourself for a slower weave with some finger work to clear sheds, particularly if you are using mohair or textured yarns. After you have seen the results of your first scarf, you won’t mind the extra work at all!
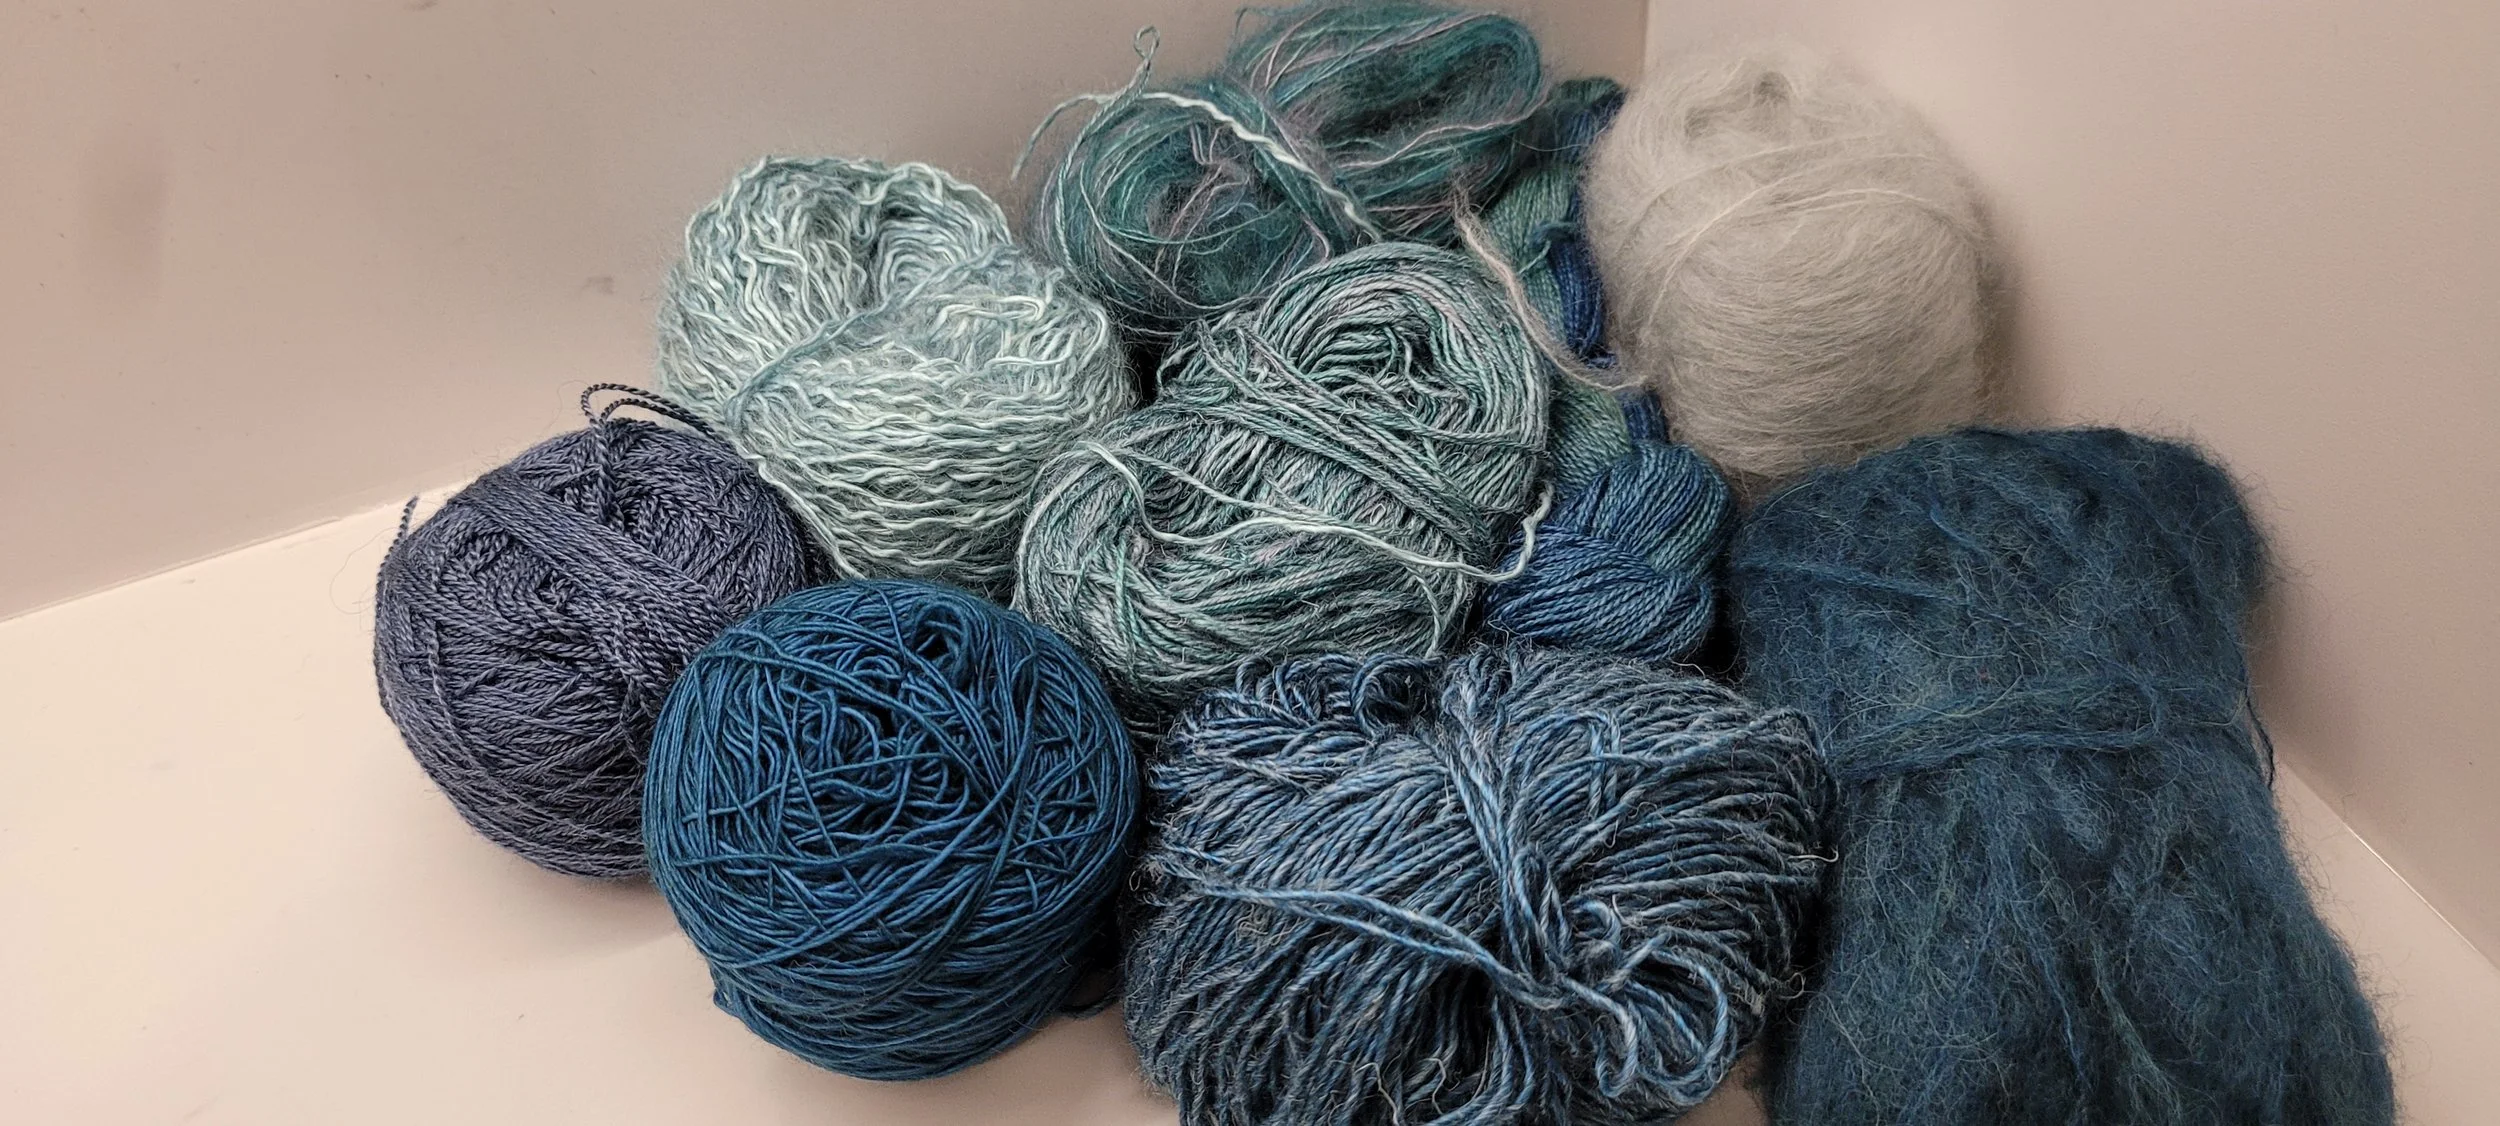
Step 1 Gather Your Yarn
Gather up the yarns you could use. This may involve gathering up all your ends, or maybe you have a skein that you want to use but it isn’t enough for the width you want. After you have gathered all the yarns, lay them out and sort them by weight. Lace, fingering, DK/Worsted, bulky and super bulky. Since we are using a standard reed and not a vari-dent, you will need to narrow down your selection to similar weights. Lace and fingering can work together, fingering and DK/worsted or DK/worsted and bulky.

Of course, you can double some of your yarns to fit a larger reed. You can also space heavier yarns to fit. Heavier yarns will usually be fine in a slot but not in a hole, so it is possible to warp the holes with one yarn and the slots with another.
Step 2 Sort Your Yarn
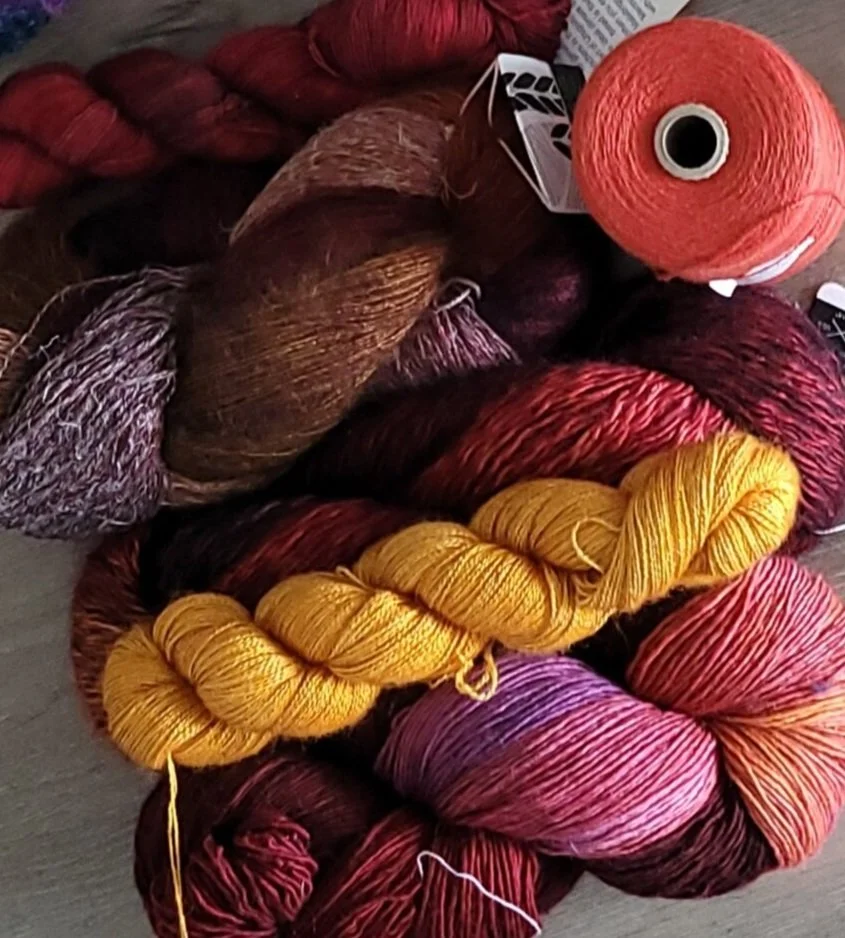
After you have gathered all your yarn and sorted it, take a look at what you have. Do the colours look ok? If you are working on a monochromatic scarf, do all the colours blend well? If for example you have decided on a blue, and most of the blues are on the blue/green side a blue/purple might not fit. If you have a multi mixed in, do you need to add an extra colour from the multi to pull things together? Does your scarf need a “pop” colour? The “spice” blend above was quite dull until I added the gold. Pinterest colour schemes is my favourite place to go when I’m not sure of my colour scheme.
Don’t forget to consider how each yarn will finish. Mixing super-wash and non-super-wash can lead to interesting results as can mixing linen, silk, wool, alpaca cotton ect. Keeping the stripes narrow will reduce surprises. On the other hand, strategically placing a super-wash amidst the non-super-wash can create lovely scalloped ends on your scarf.
Step 3 Choose Your weft
For these scarves I like to use a thin weft so the warp shines. I also like to use the same weft through the whole project. My favourites are:
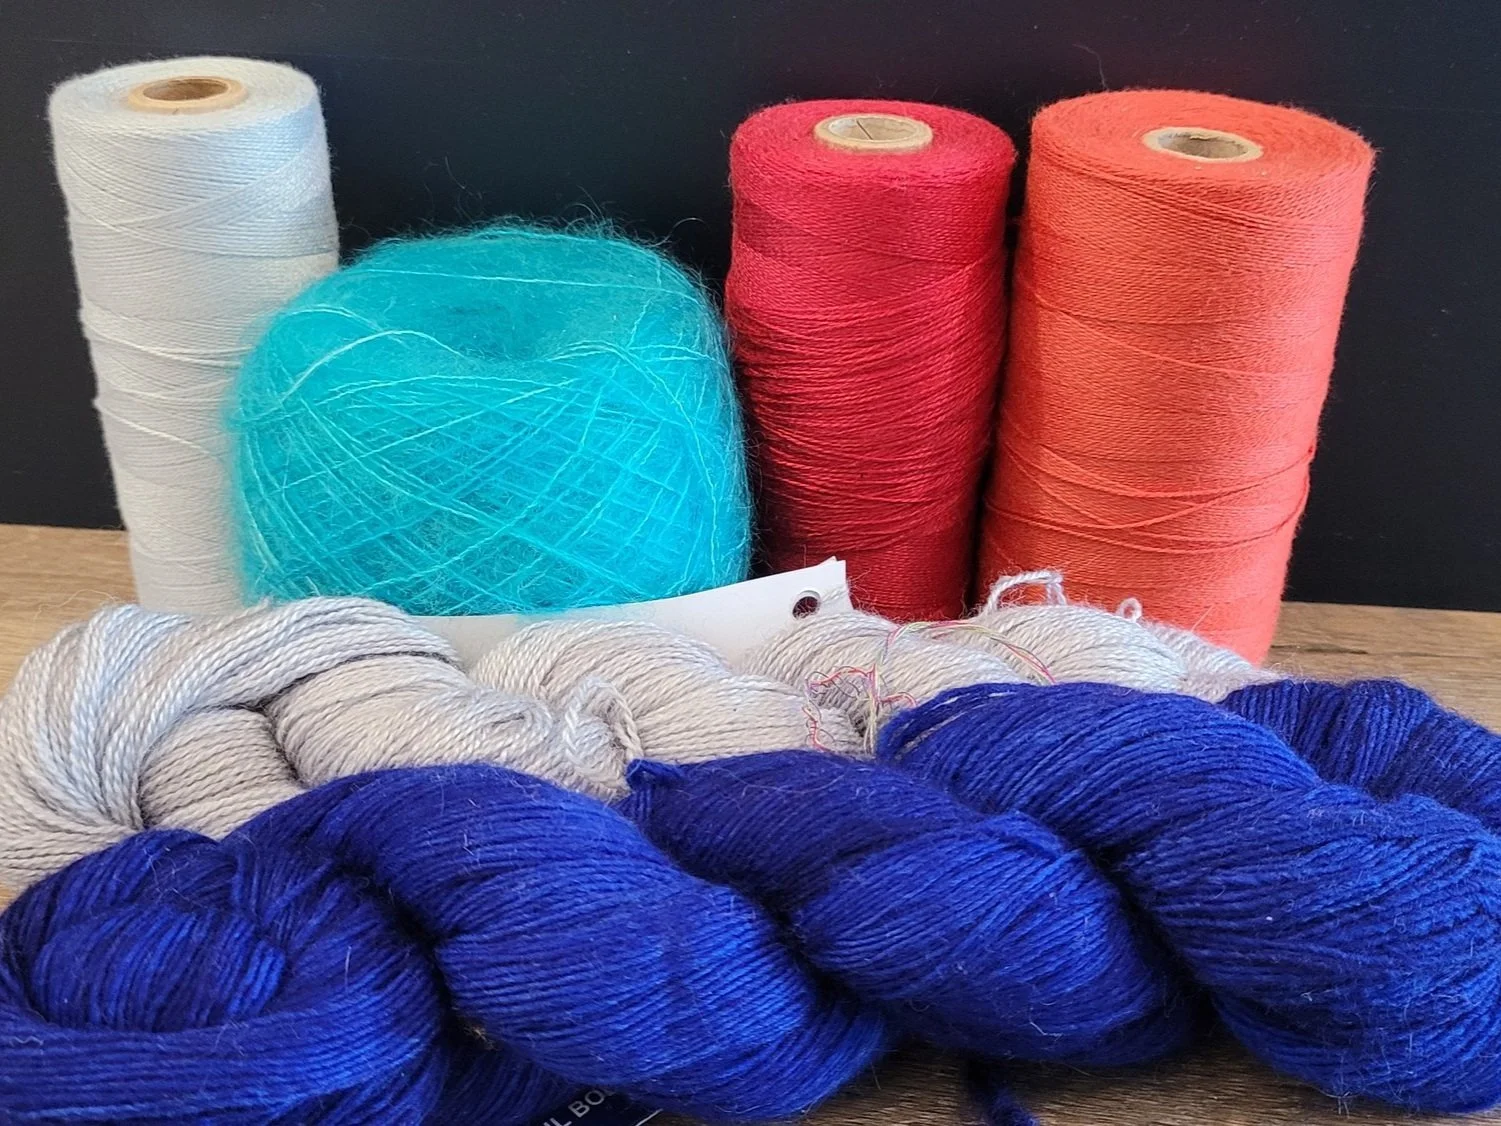
Mohair (Handmaiden Angel Hair, or Super Kid Silk, Rowan Super Kid, Malabrigo Mohair)
8/2 tencel, I get if from Maurice Brassard. It has a lovely shine and comes in so many colours;
Bamboo Cotton, again Maurice Brassard. The shine is a little less than Tencel.
8/2 cotton, again from Maurice Brassard. This has a matte finish, and there is every colour available!
Any lace weight yarn. If your warp is mostly slippery yarns use a woolie lace. If you warp is mostly sticky yarns, silk or other slippery yarns will work well.
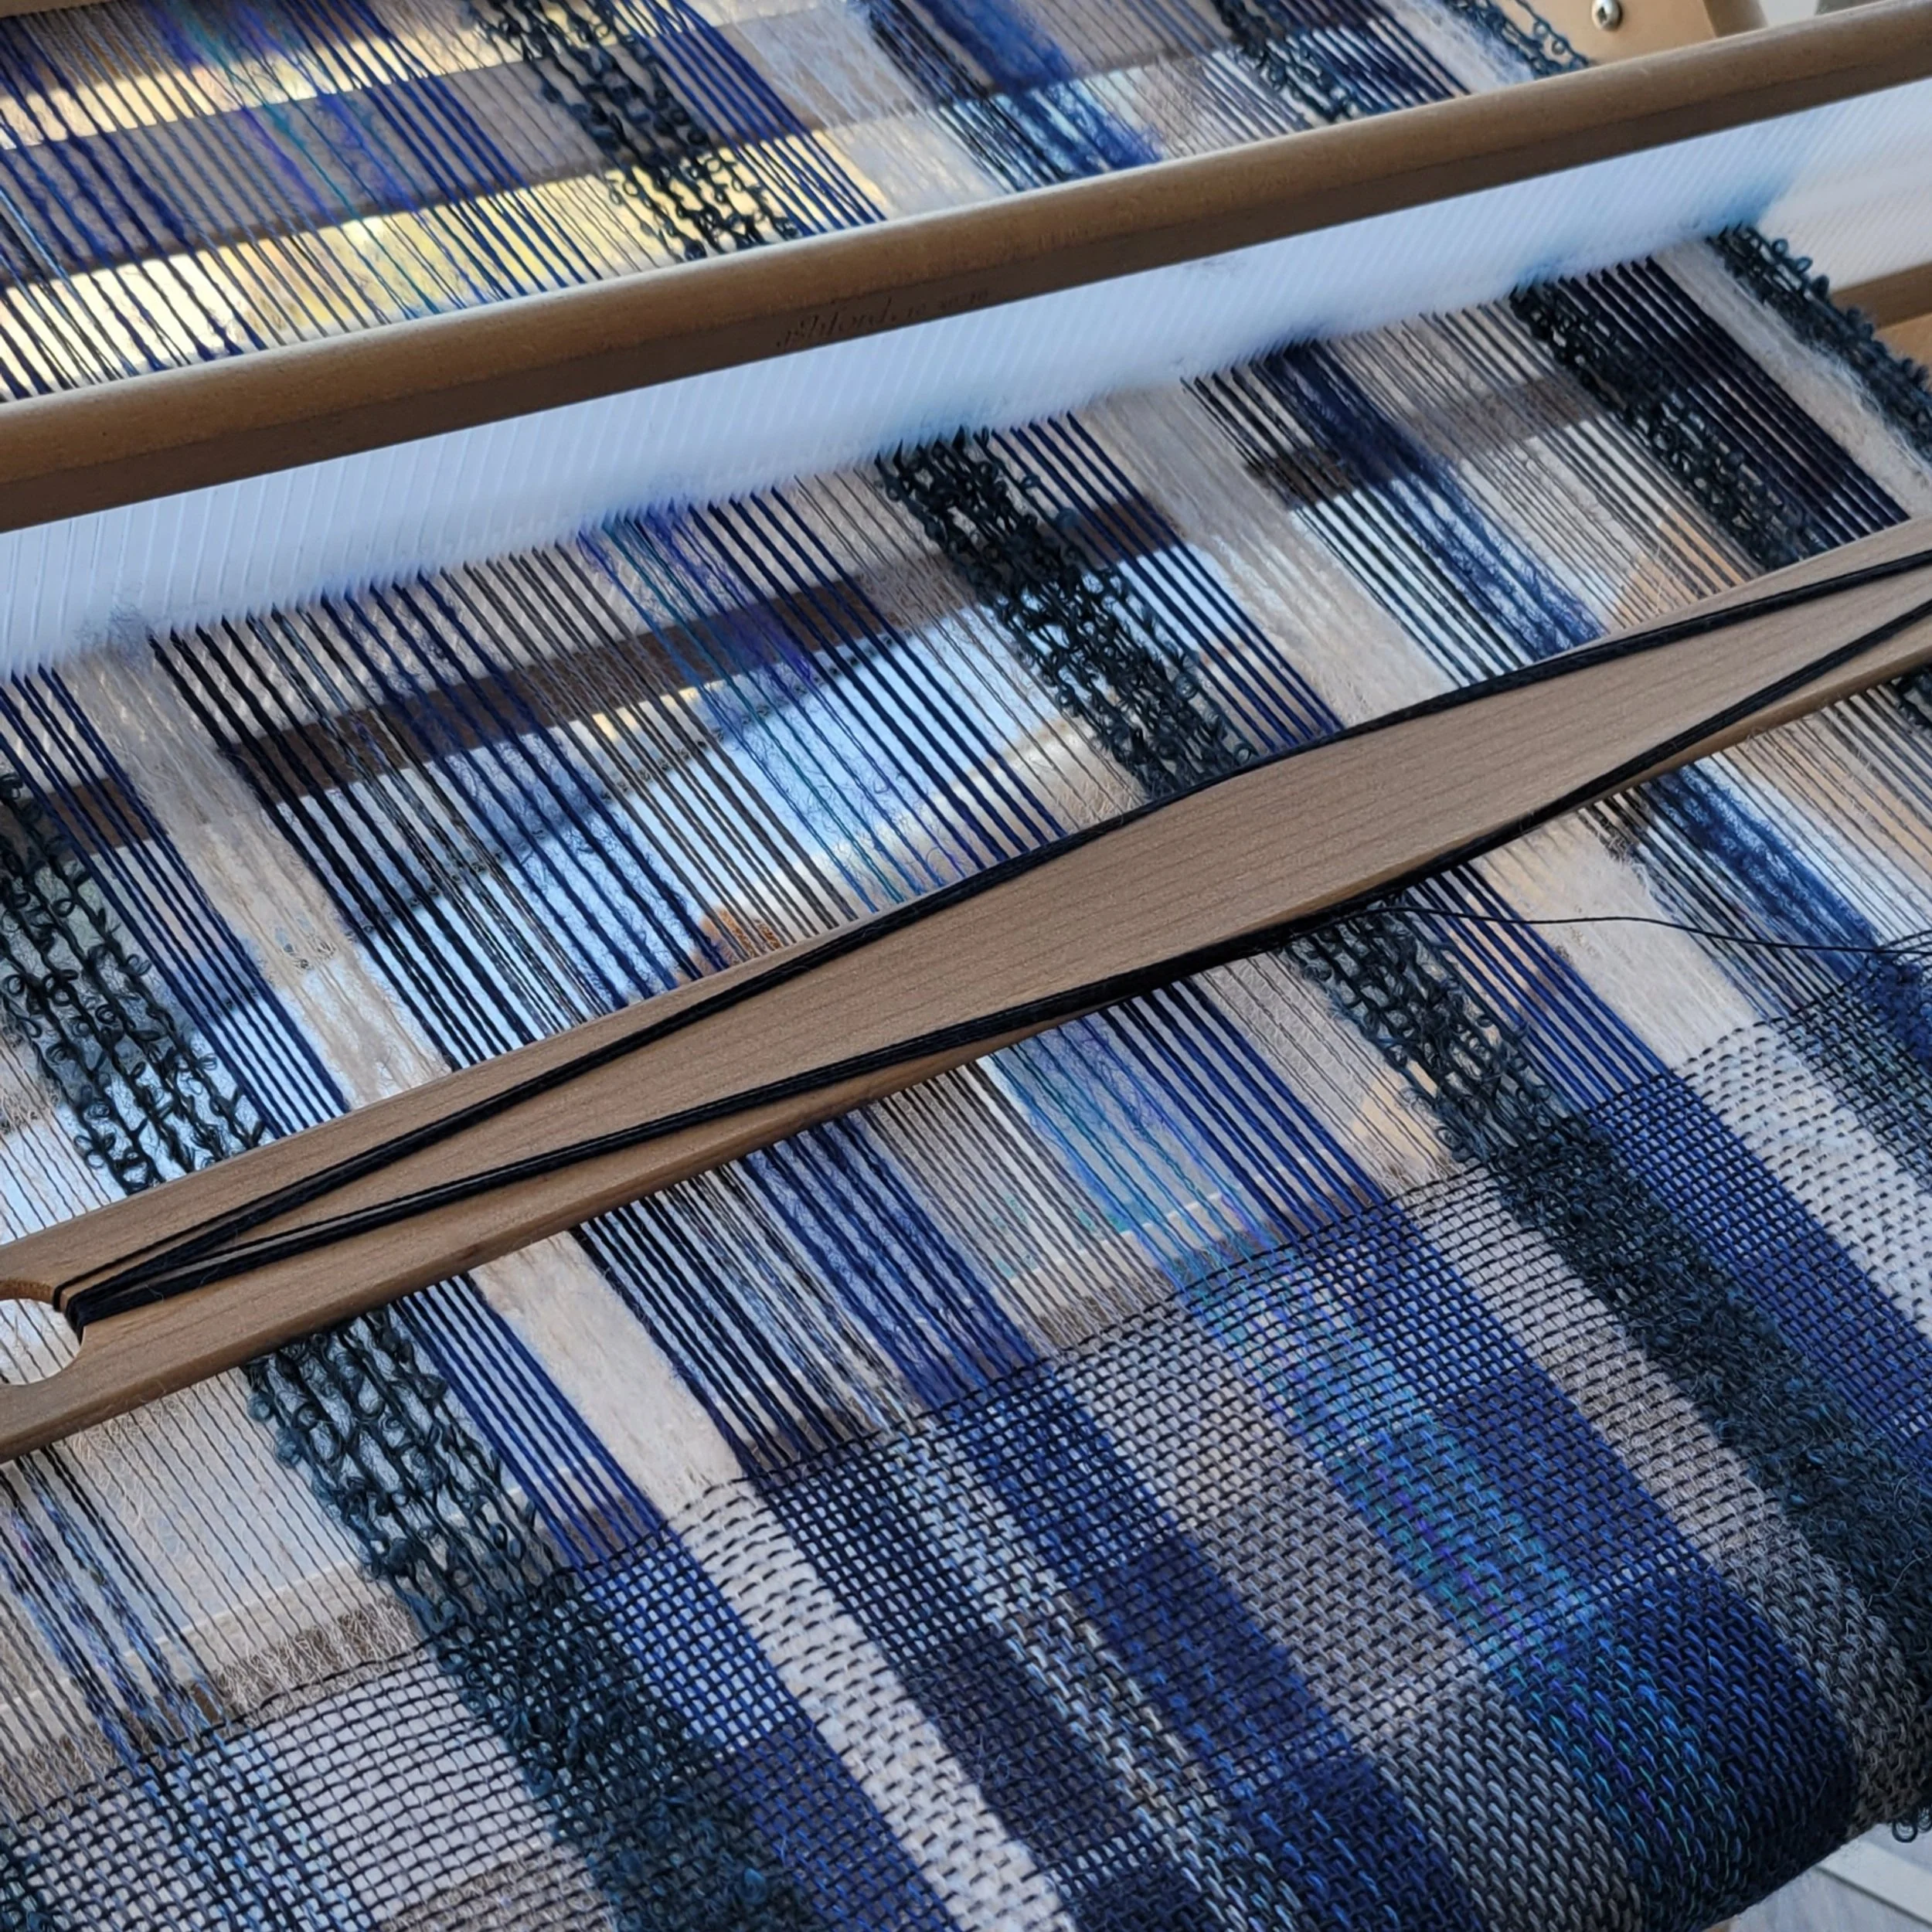
Step 4 Warp and Weave!
Now it’s time to warp! I place all my yarns on the floor behind my loom and warp randomly. As a general rule, I do not cut and tie. However, if my yarns start to tangle, I will, just to save my sanity! It helps if you keep your balls of yarn spread far apart. Also, working from the center of the ball rather than the outside will help. You will have lots of crossed threads behind the reed which will pose no problem until the end. Here’s my solution: https://youtu.be/vPPT_RXdqb4
If you have some yarns that you want in slots only, remember this while warping and then also while threading the heddle.
You will need to pay special attention to winding. With many warp yarns, things can get a little sticky. Just keep an eye on that’s happening in front of the reed. I use a combination of walking my loom to the pegs and crank and yank for these shawls to ensure the best tension possible.
After the first inch or so of weaving, you will know which yarns are going to give you trouble. Add S-hooks as needed and use your fingers and shuttle to clear the sheds. If you have mohair in the warp, it sheds as you weave. The shedded fluff can gather behind the reed, clear this out regularly.
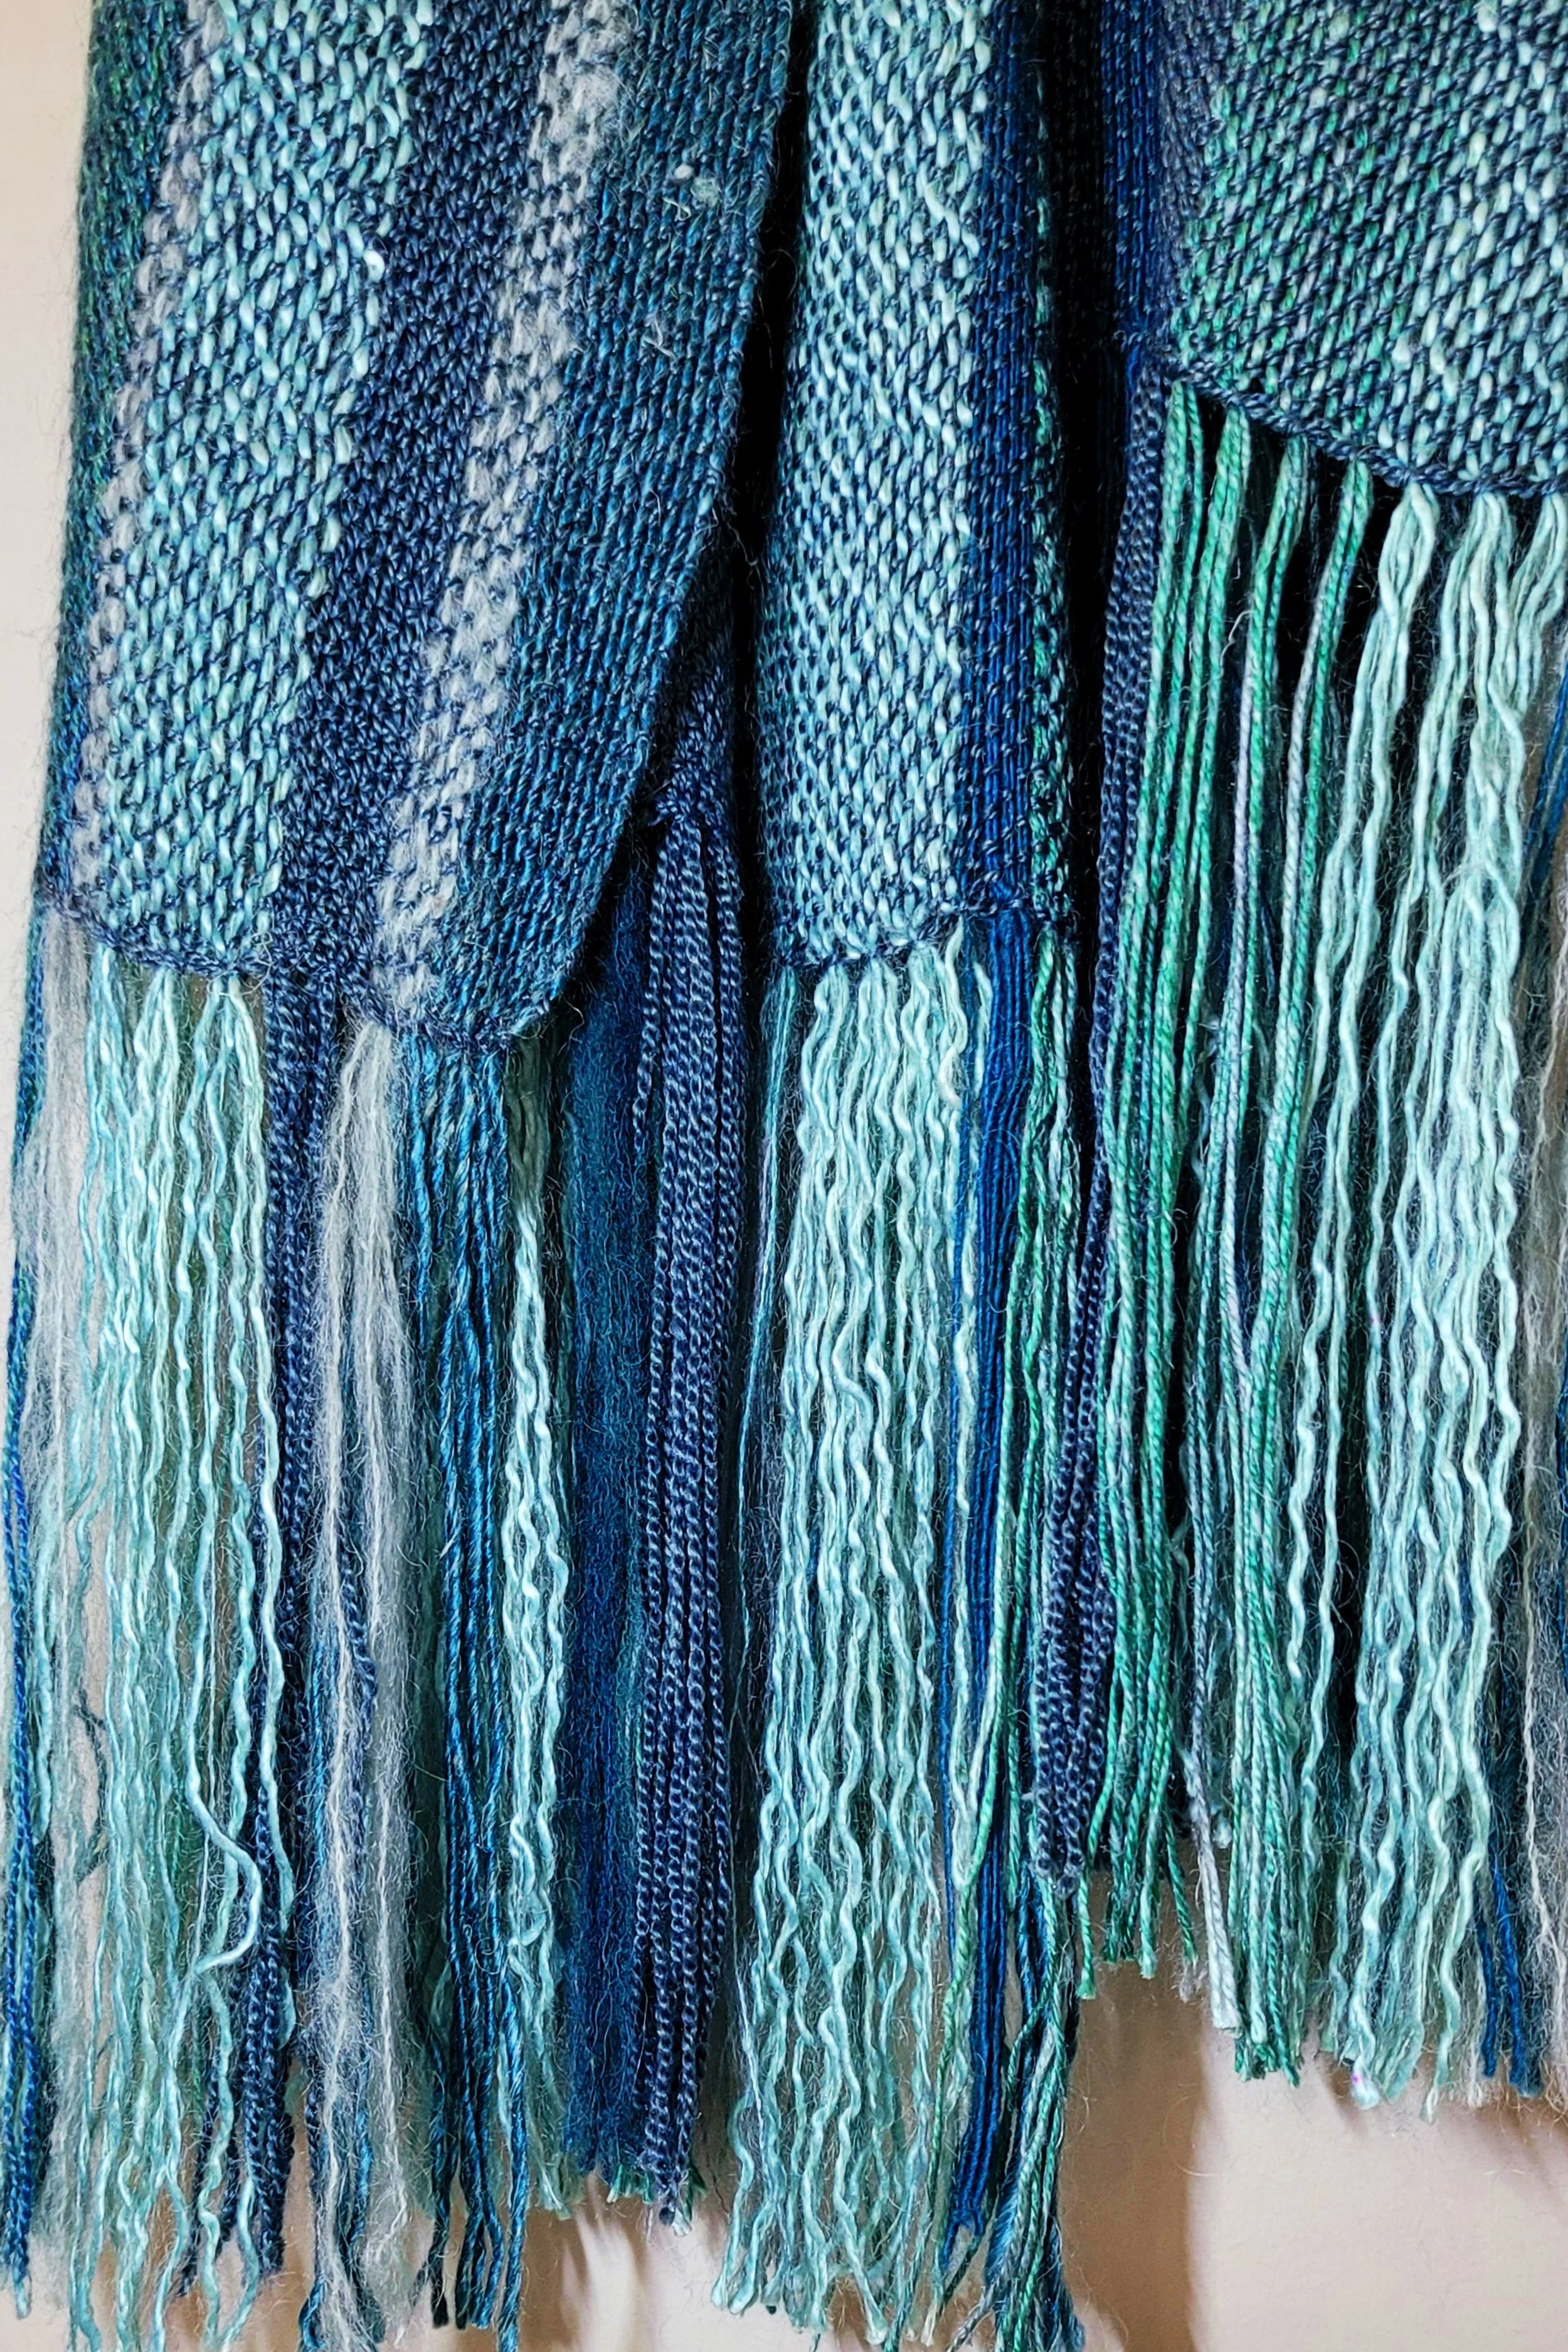
I hemstitch, usually in bundles of 4 and don’t twist the fringe. I love the look of all the different yarns flowing together. You can rub in something like fray check if you want. I have never done this.
Wet Finish
Wet finish however you usually do. My method is to soak in hot water, send the scarf through the spin cycle ONLY in my washing machine then toss in the dry for 5 minutes. I tie the fringe in loose slip knots to prevent tangling. After drying you may need to gently tease apart some sections of the fringe.
The final step is to trim the fringe and press. I use a hair brush to gently brush the fringe then cut using my cutting mat and rotary cutter. Don’t skip the pressing, it really makes a difference!
Enjoy your scarf! (and go buy more yarn, after all you used your stash!)