
Creating Beautiful Scarves With Your Stash Part 2
In the last post we looked at weaving your stash using a standard reed. This post will look at weaving with the varident reed.
First, let’s discuss varident reeds. These reeds have interchangeable pieces so you can arrange it just the way you like. All three major rigid heddle companies deal with the reeds differently. Ashford gives the widest range of dent sizes, 2.5 all the way up to 15 dpi. It includes 2” and 4” pieces. Schacht has sections that at 2 3/8” each in sizes 5-12. Kromski gives the weaver the most organizational options. Each piece has 1 hole, and a unique snap-together format allows the weaver to arrange the pieces however they want. Dent size ranges from 8-12. They also call this reed the “Weaver’s Choice”.
Reeds are specific to the loom, however I have heard that Kromski and Ashford reeds are interchangeable. (I haven’t experimented, so I suggest you take your loom in for a “fitting” before purchasing if possible).
Now that we know what a varident reed is, lets see how you can weave your stash.
Step 1
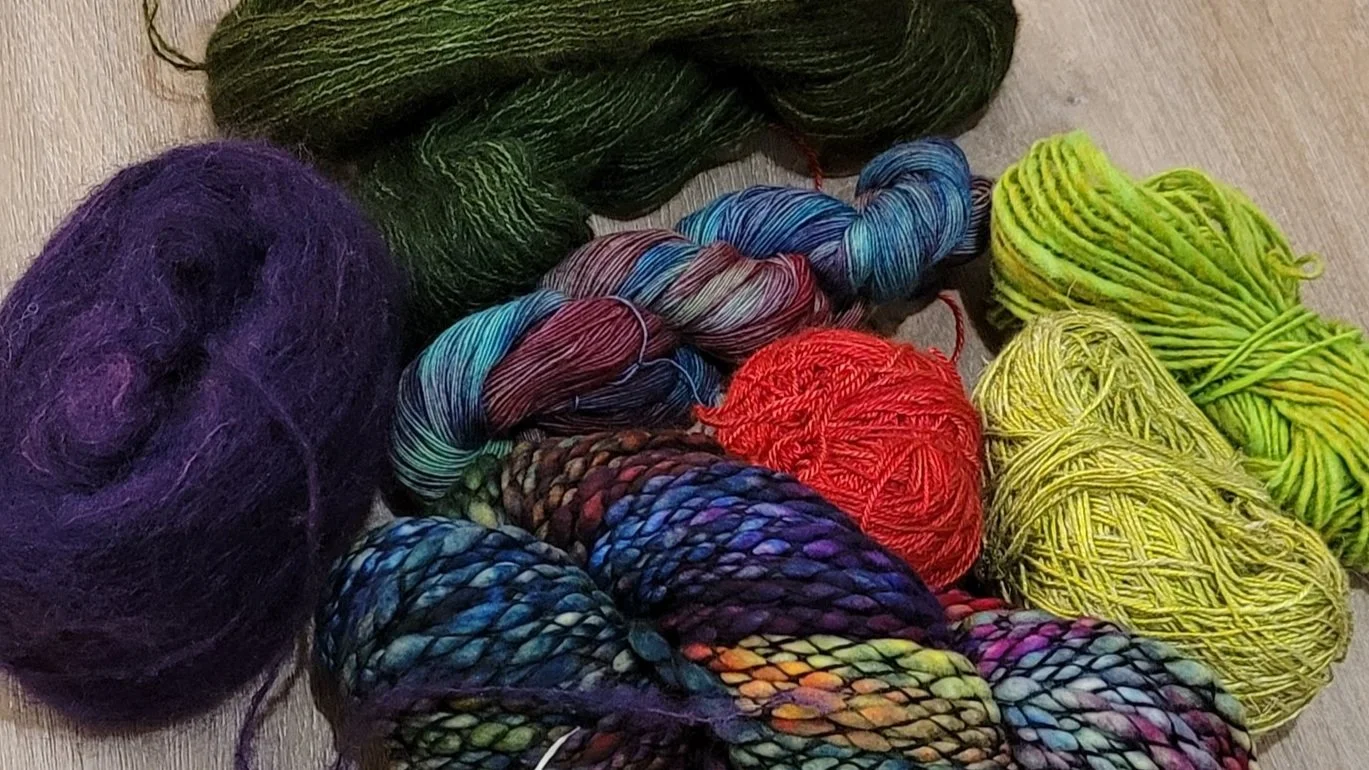
Gather up your yarn. This time anything goes! Don’t worry about keeping the weights similar. Take a look at this post to help you choose your yarns: https://www.therogueweaver.com/blog/2023/7/21/creating-beautiful-scarves-with-your-stash-part-1

Step 2
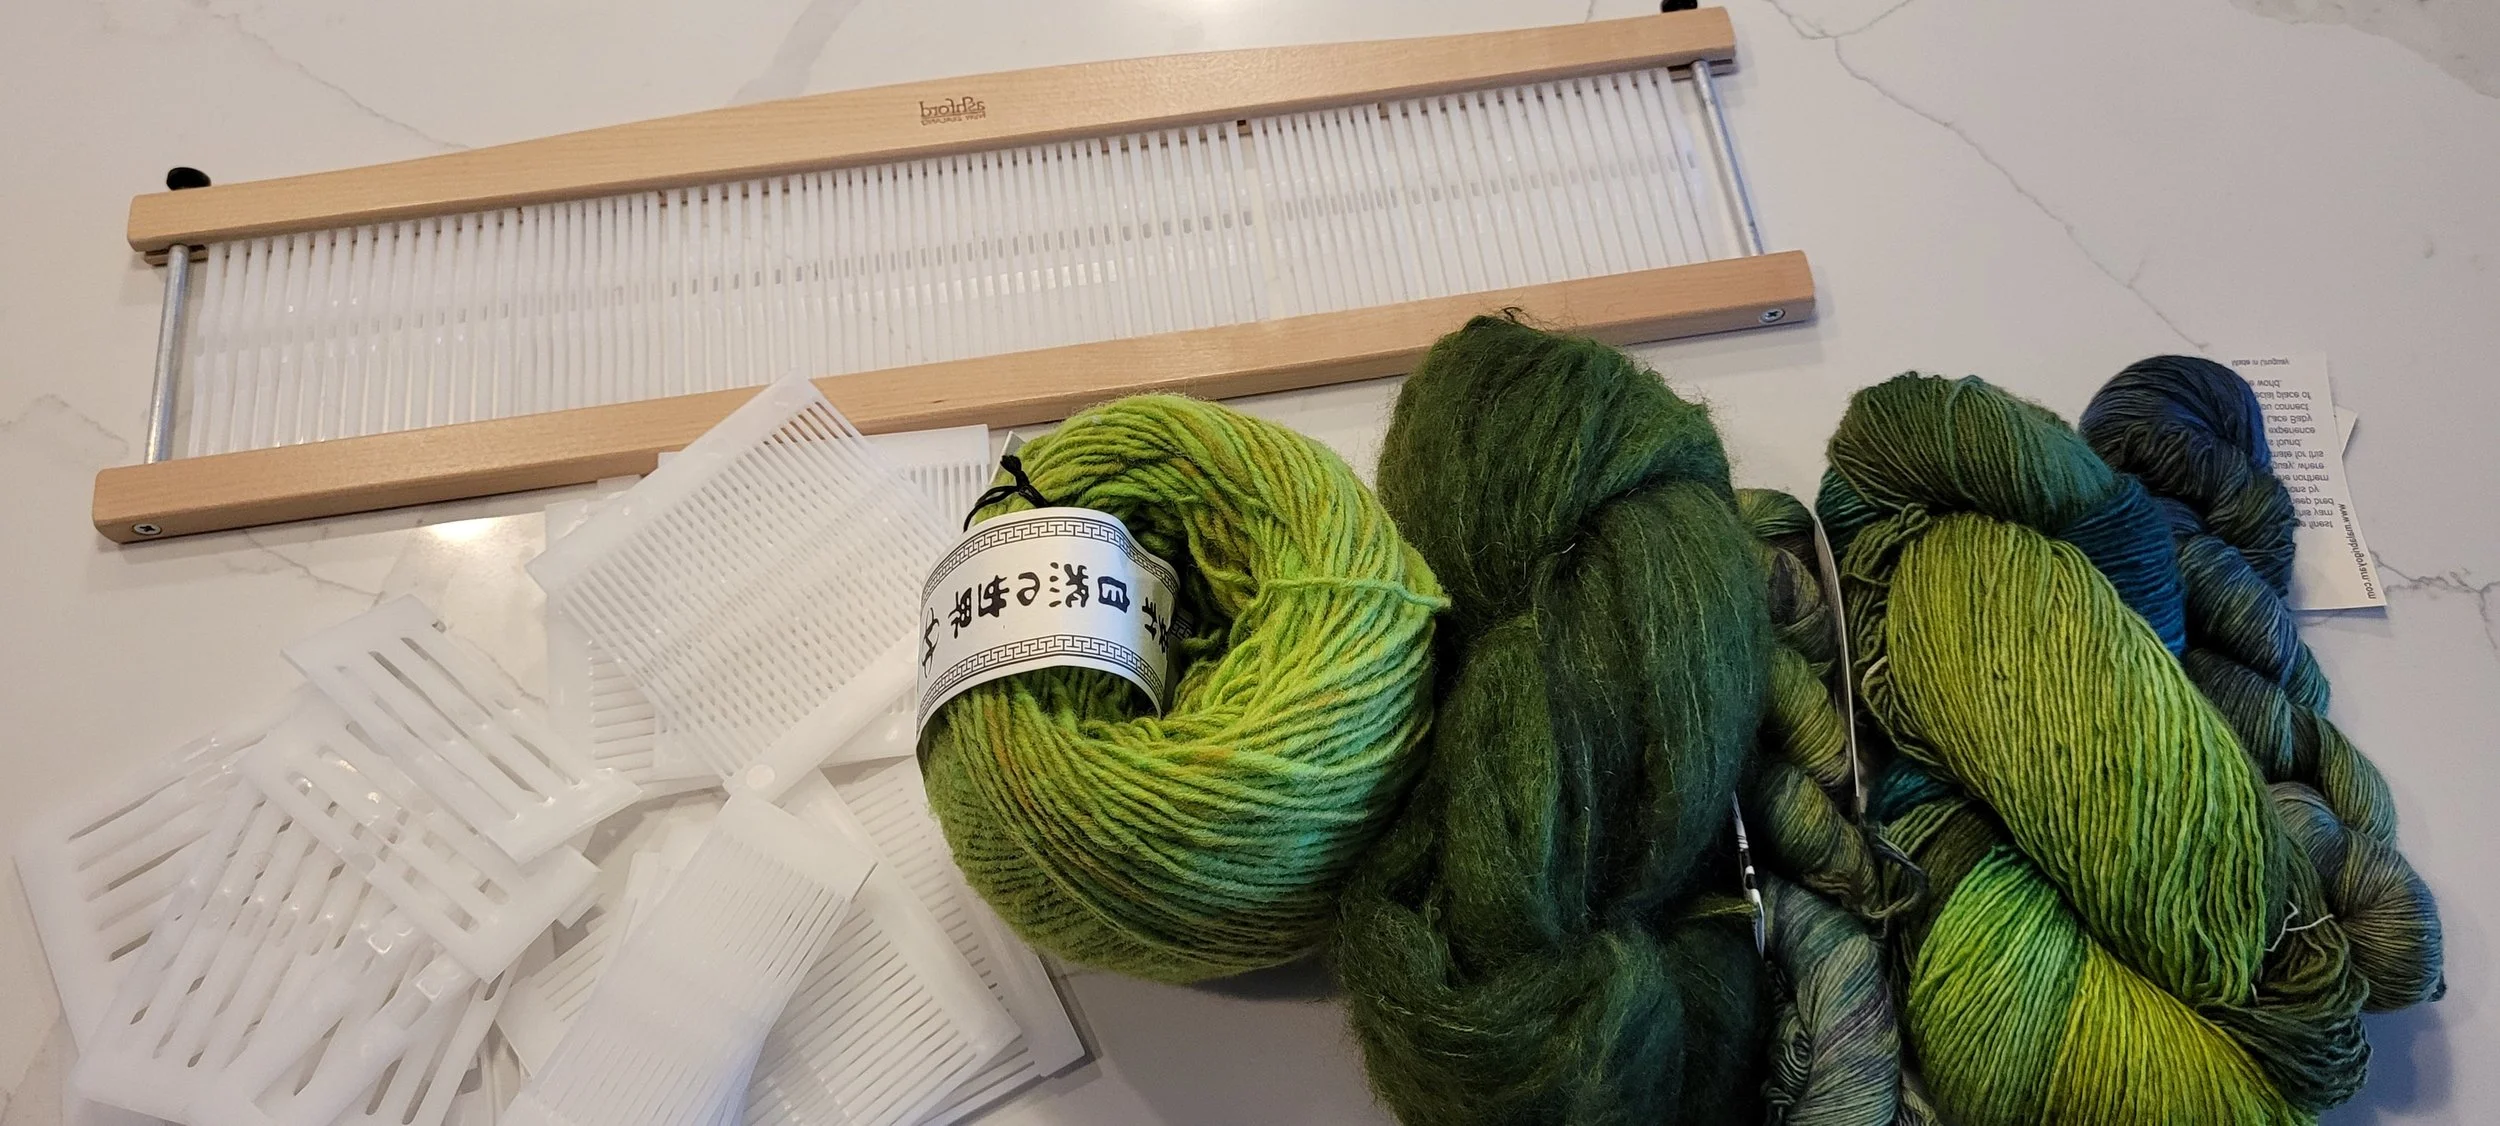
Sort your yarns by weight and place the reed pieces with the appropriate weight yarn. Not sure which is the best reed? Check out this post: https://www.therogueweaver.com/blog/2019/3/8/design-your-own-shawl-pt-2-choosing-the-right-reed I take a picture of the yarns with their corresponding reed sizes.
Step 3
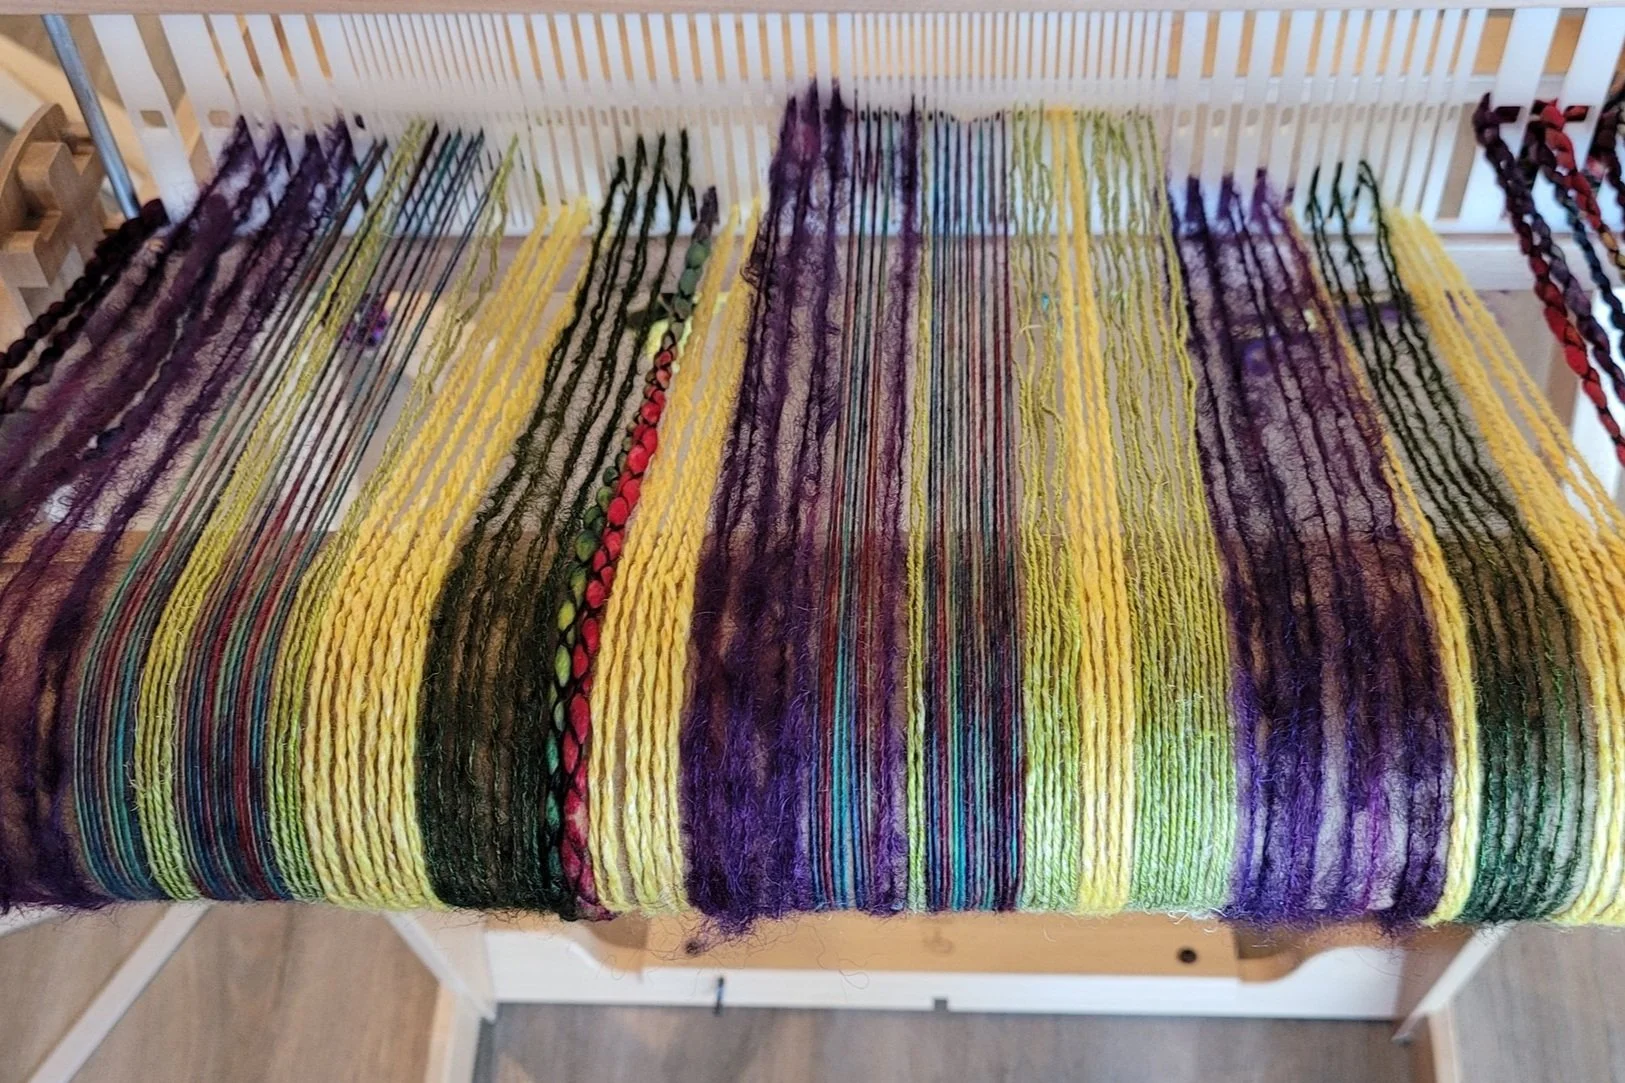
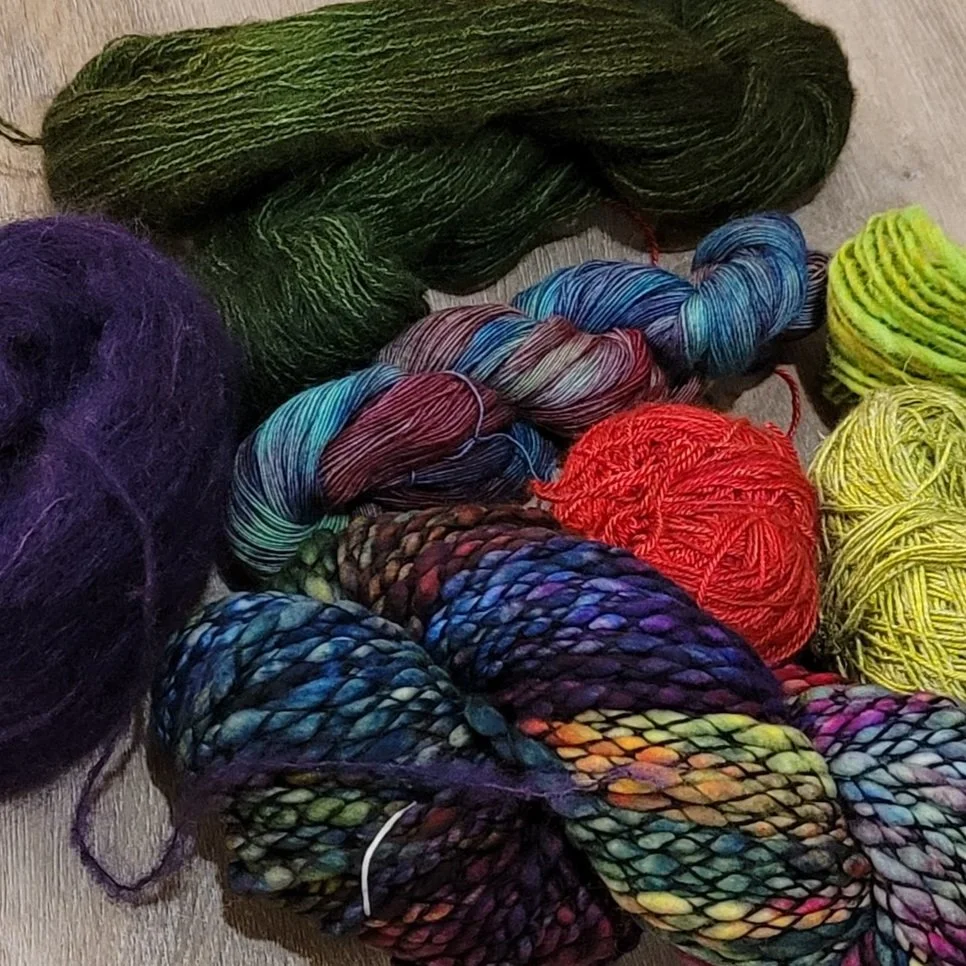
Decide what order to place your yarns. I prefer keeping the heaviest yarns on the outside. It’s a personal thing, but I think it makes a good visual in the finished scarf. Play around here. Take into consideration how much of each given yarn you have when choosing where to put each yarn and if you have a choice, which reed width to use. You don’t want to run out. After I have my pieces arranged, I take a picture with the yarns. Having a picture means that if the pieces get knocked askew you have a record of what you decided and can see if the yarns look pleasing in the order arranged. Place the pieces in the reed according to the directions that come with the reed.
Step 4

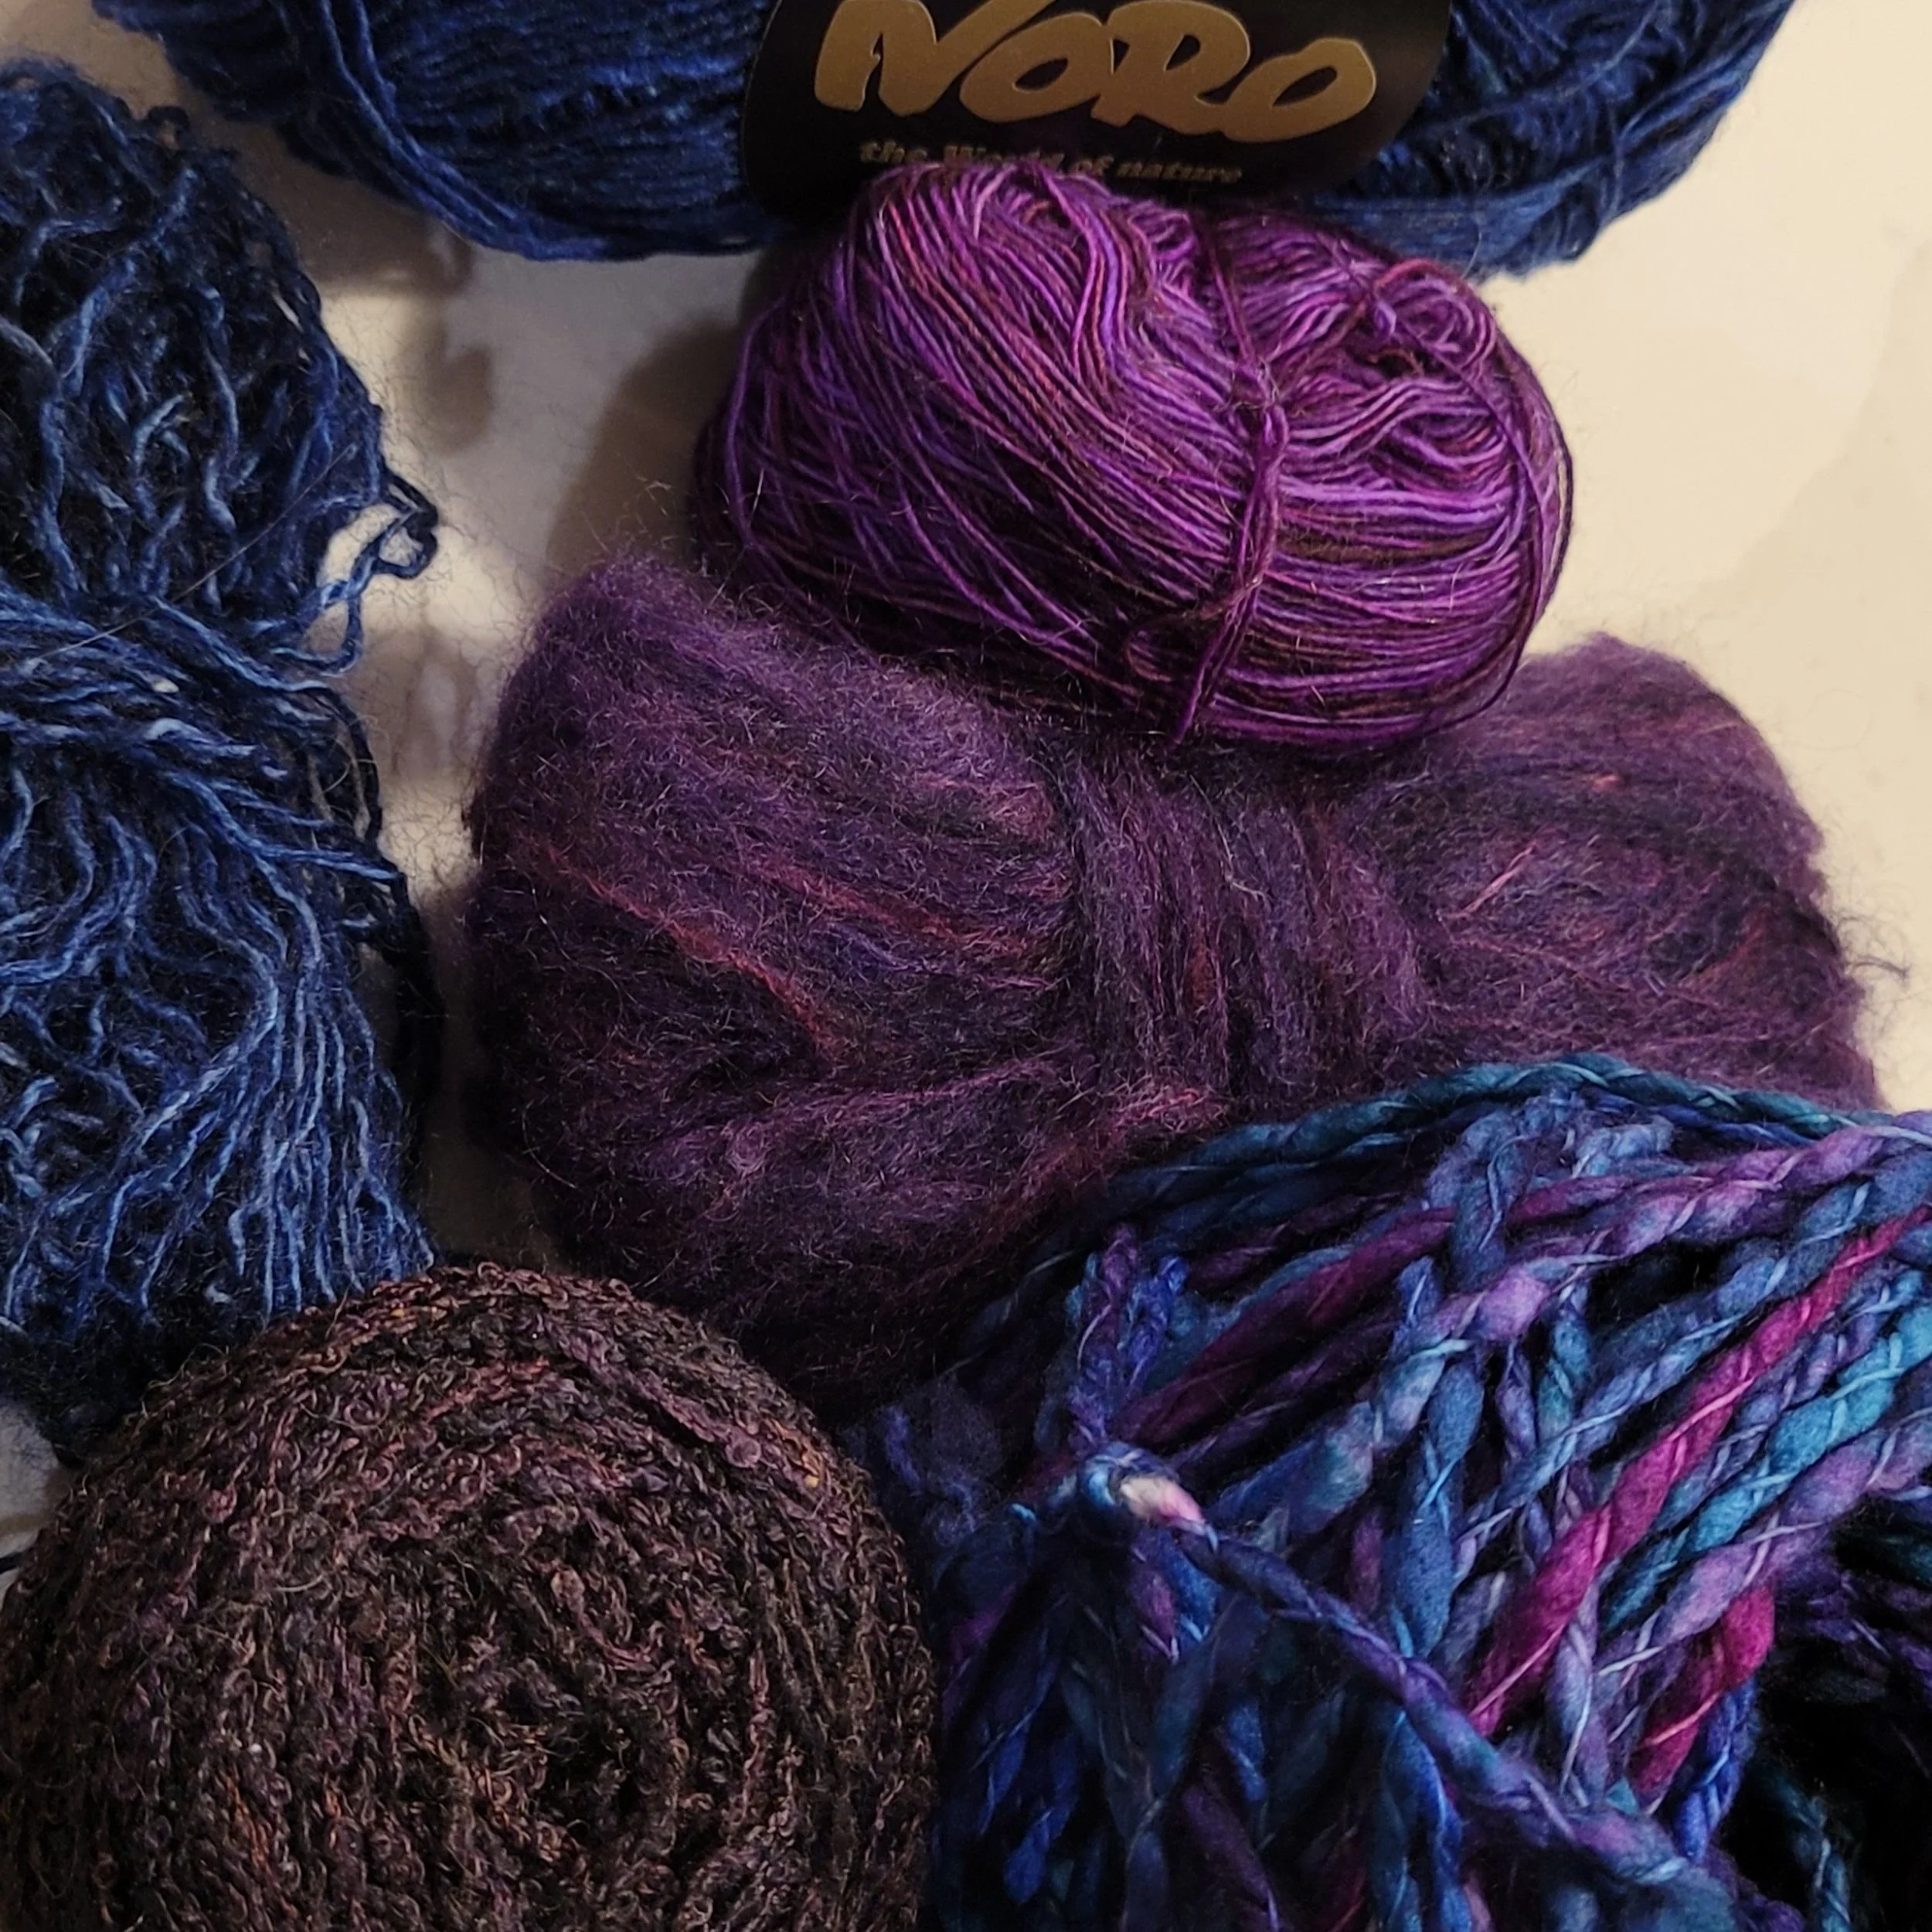
Consider your weft. For these scarves I like using the same in the weft as in the warp. I weave them randomly. It gives a saori-style weave. I start and finish with the heaviest yarn. Pay attention to how much yarn you have available…you don’t want to run out of a weft yarn too soon. I always save a little of the heaviest yarn to ensure I have enough to weave the final bit of the scarf with the same yarn I started with.
Step 5
Warp and weave! You will want to pay extra attention when winding the warp. Different yarns will behave differently as you wind. I use a combination of walking my loom to my pegs and crank and yank. But have some S-hooks handy, you will probably need a few!
Finishing
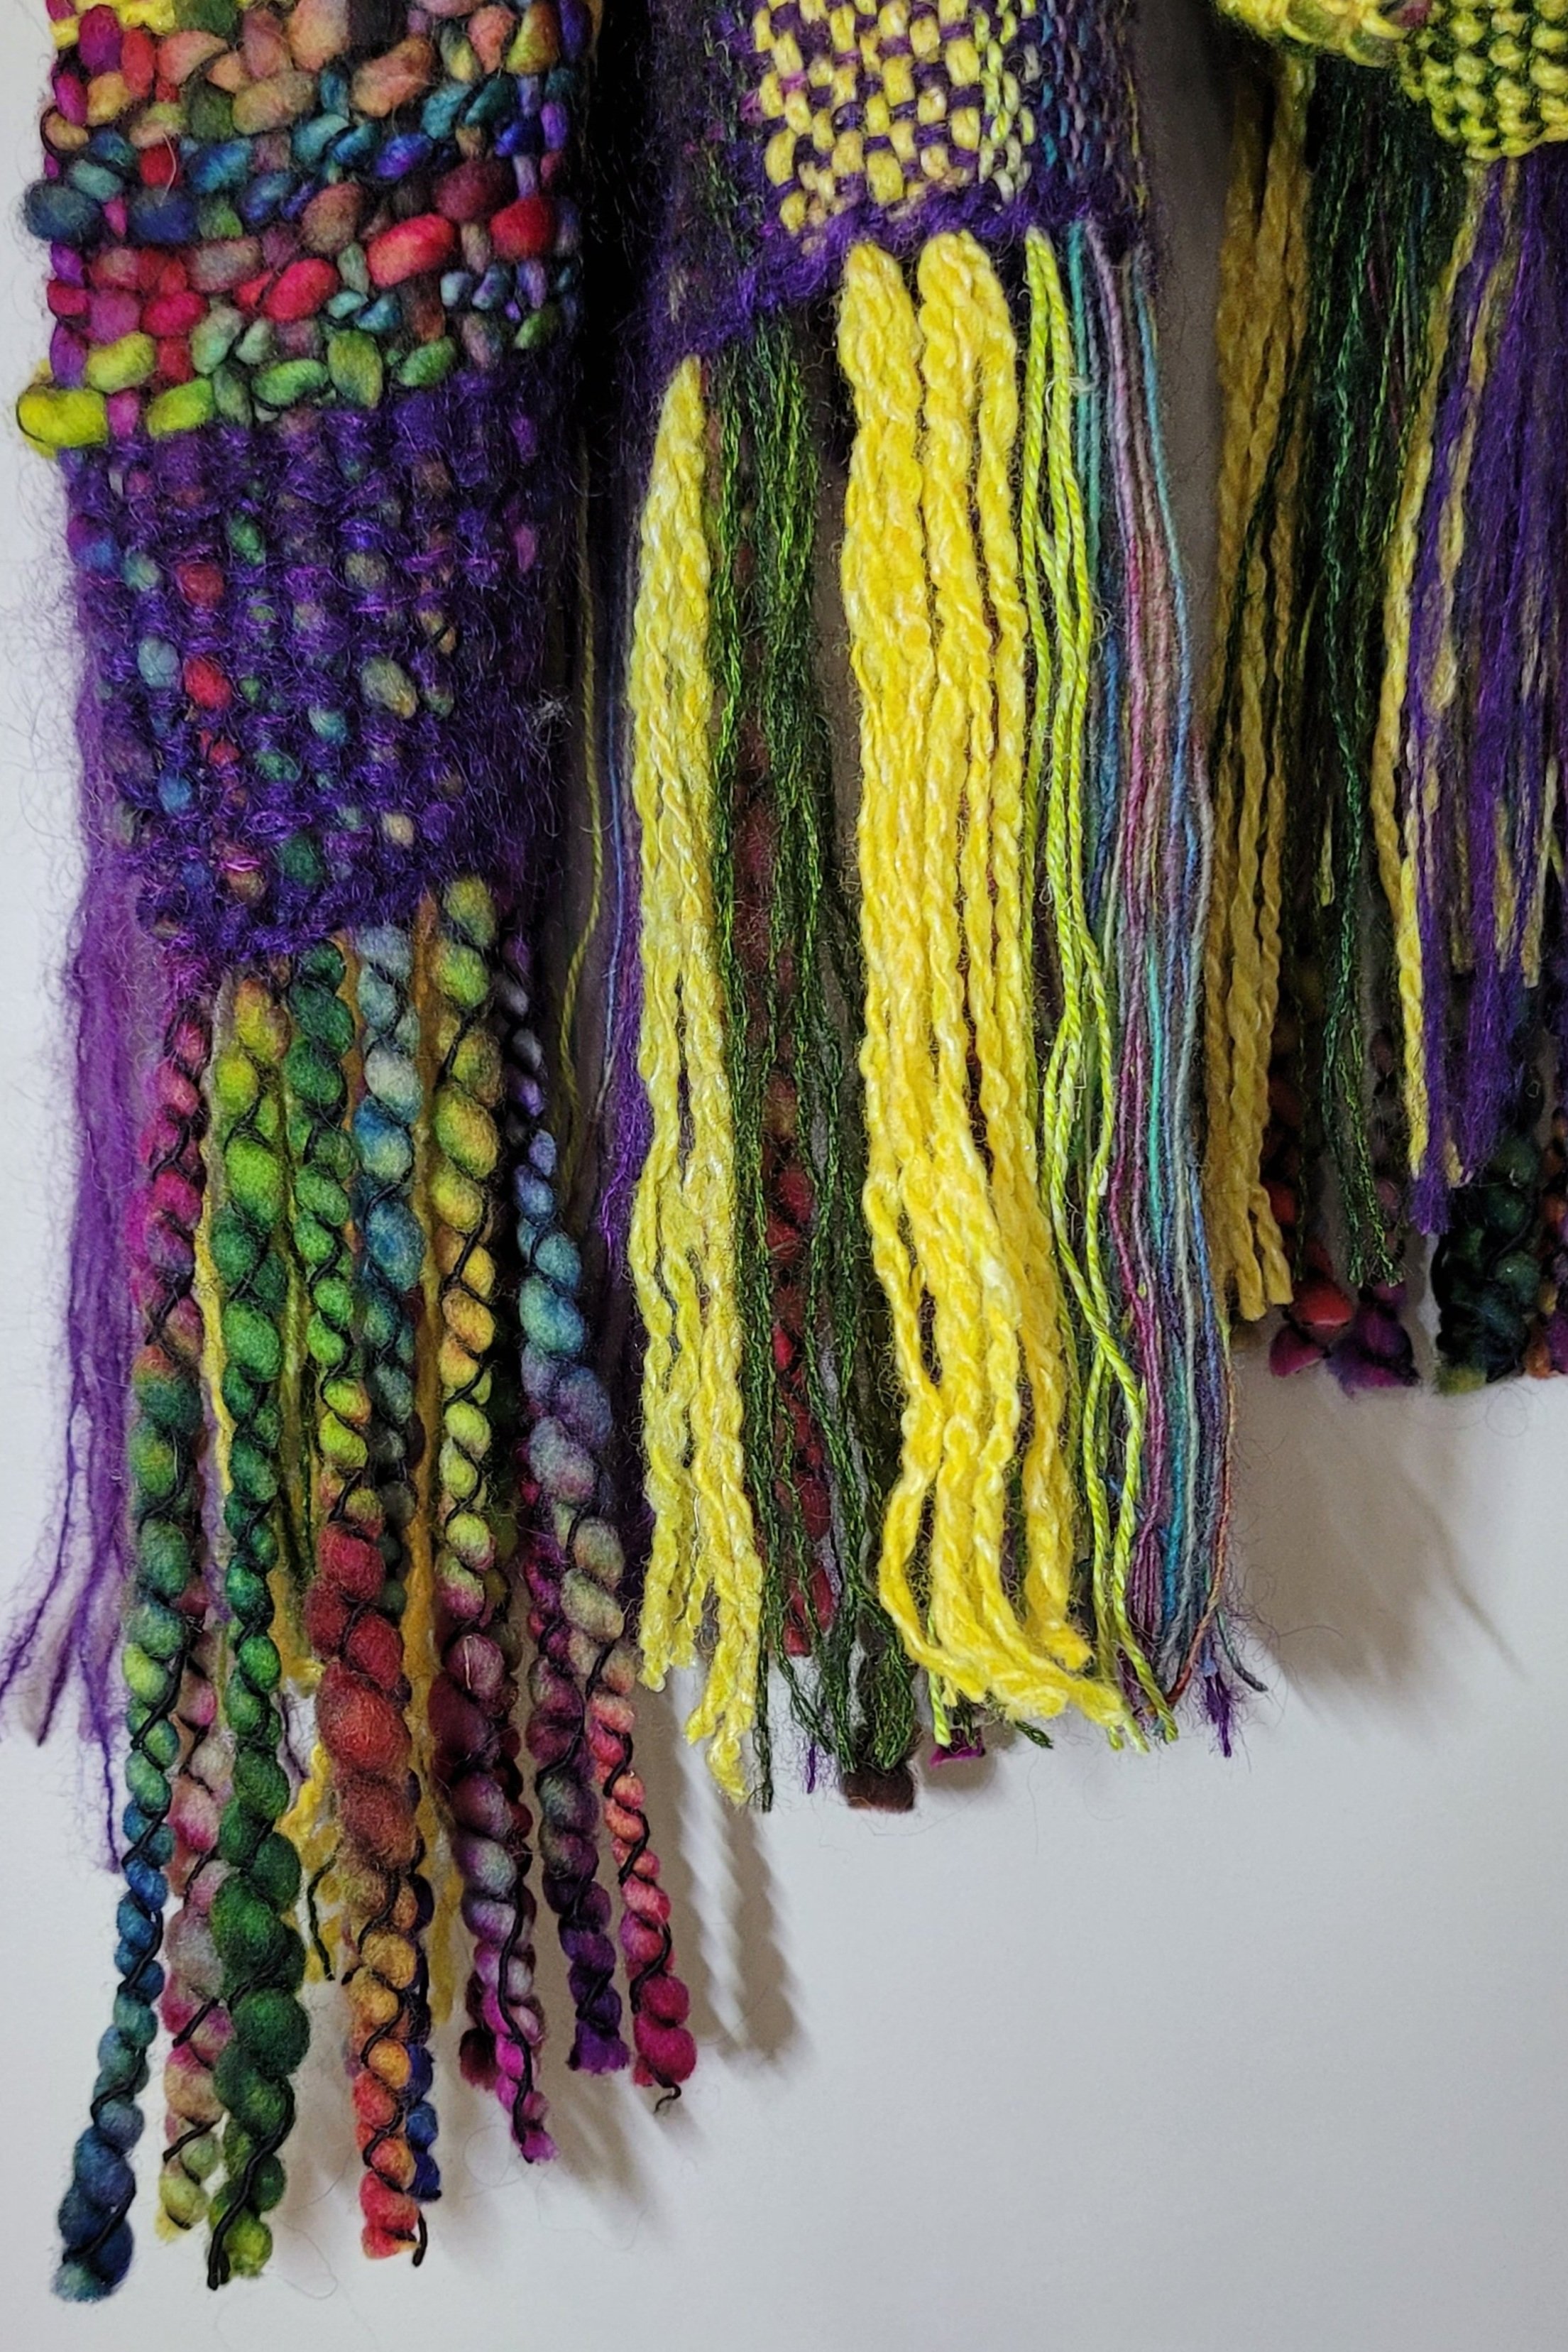
I hemstitch the fringe, but I do not twist the fringe. Some weavers will frown on this as being unfinished. While it is true that a twisted fringe looks more finished and wears better, I think a fringe with so many different weights looks odd. And I love the way a fringe looks with all the different yarns! (There is a reason I call myself The Rogue Weaver!)
To wet finish I soak in hot water and then send through the spin cycle only in my washing machine. I then toss in the dryer for 5 minutes…set a timer and do not walk away!!!!
When the scarf is mostly dry, press using a hot iron and steam (skip this step is your yarn is acrylic!) and trim the ends. Use a hairbrush to gently brush the fringe and trim.
Enjoy your scarf!
Need a pattern to get you started? Take a look at this: https://www.therogueweaver.com/new-products/saori-stylescarfrigidheddleweavingpattern