How to Nurture a Relationship that Lasts (with your Rigid Heddle) PT 3
We’re continuing my series on How to Nurture a Relationship that Lasts (with your Rigid Heddle). This week we are going to look at attitude and the first thing I want to say is that weaving on a rigid heddle is real weaving! I hear many people say that they have “just” a rigid heddle, like they are somehow “lesser” weavers. This is absolutely not true! A rigid heddle is a real loom that real weavers use to produce real weaving. Never put yourself or your loom down! Now, let’s look at some truths about rigid heddle looms.
We’re continuing my series on How to Nurture a Relationship that Lasts (with your Rigid Heddle). This week we are going to look at attitude and the first thing I want to say is that weaving on a rigid heddle is real weaving! I hear many people say that they have “just” a rigid heddle, like they are somehow “lesser” weavers. This is absolutely not true! A rigid heddle is a real loom that real weavers use to produce real weaving. Never put yourself or your loom down! Now, let’s look at some truths about rigid heddle looms.
1. A Rigid Heddle loom is not a “beginner” loom (although it is perfect for beginners)
While weaving on a rigid heddle may result in you also acquiring a floor loom, getting a rigid heddle because you can’t afford/don’t have the space/want to try weaving before making the investment in a floor loom/ will leave you with a desire that your rigid heddle will never be able to satisfy. Rigid heddles and shaft looms are as different as knitting and crochet. You may love one and hate the other. If a floor loom is what you really want, get one, there is one for every budget and space constraint.
I use both my 32” rigid heddle and my 36” floor loom in a 9’x8’ space.
2. Expect great things from your rigid heddle and it will deliver
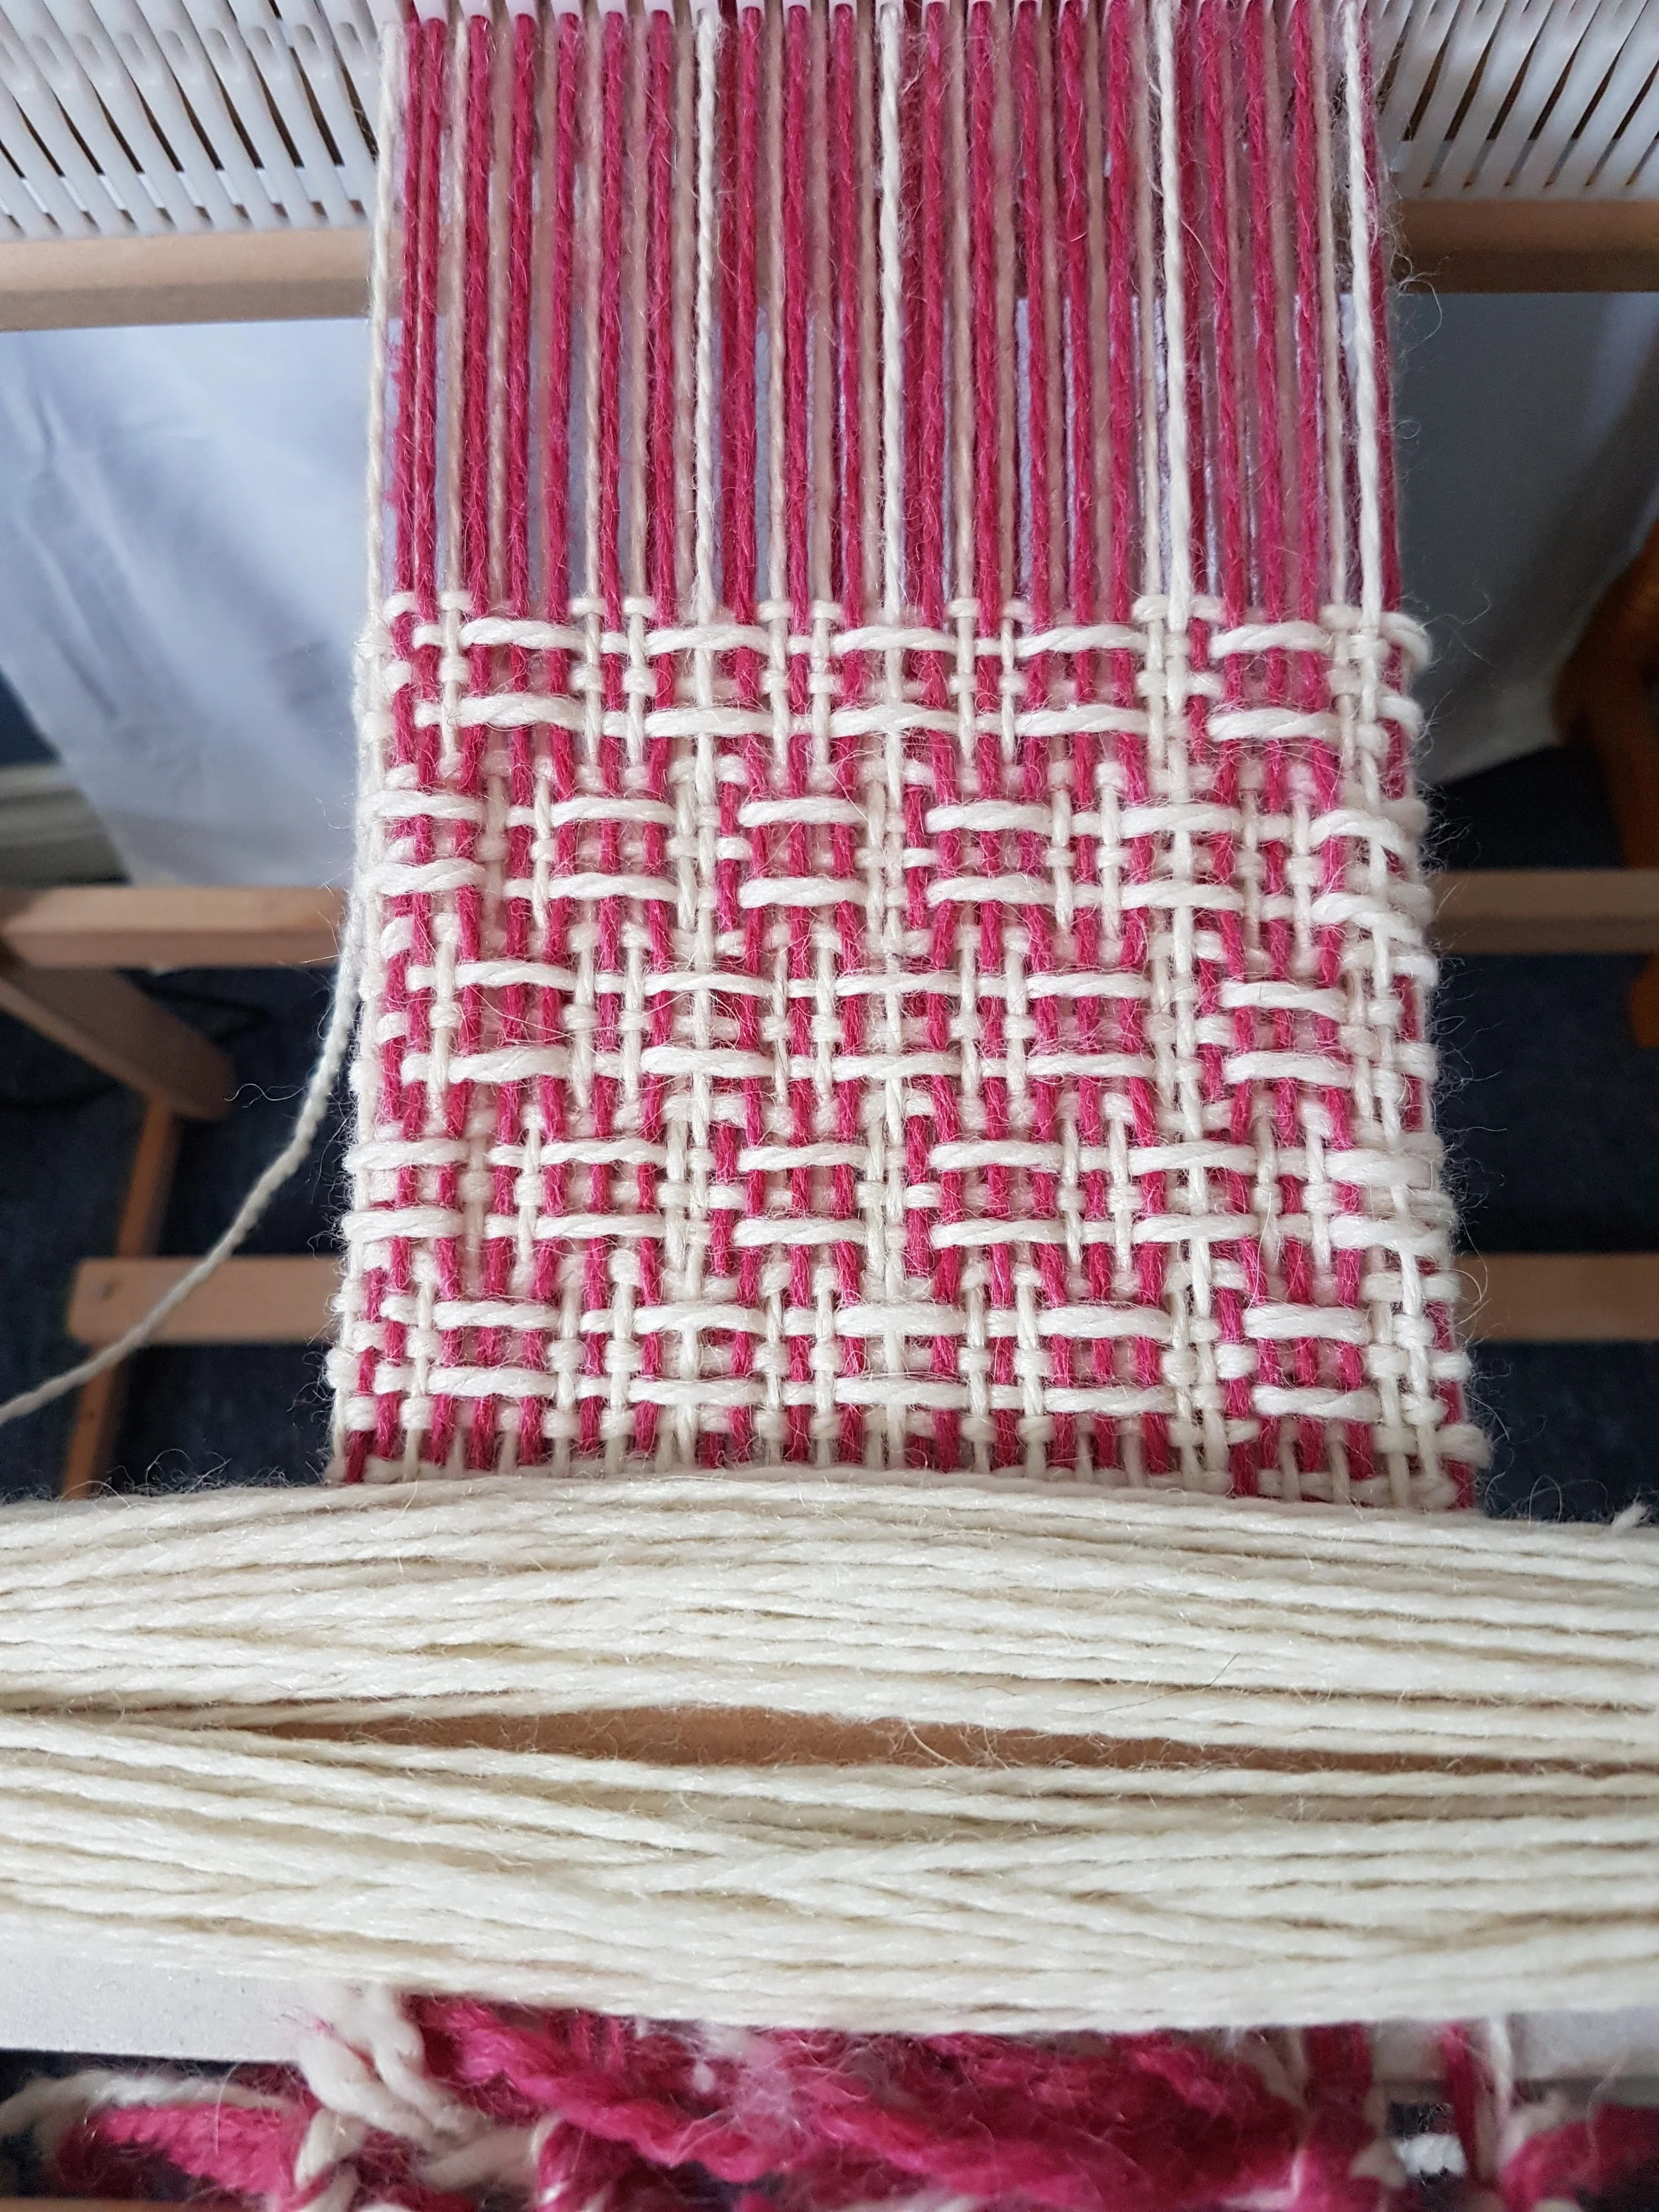
This is a double weave using a pick up on the top layer, plain weave on the bottom
Rigid heddles can do far more than plain weave. Add in pick up sticks, string heddles, multiple heddles and varident reeds and the possibilities are endless. A rigid heddle can do patterning that just can’t be done even with a multi-shaft loom as well as twill, deflected double weave, overshot krokbragd, and even tapestry weaving. Additionally, yarns that aren’t suitable for the high tension of a floor loom can work very well on the rigid heddle. Rigid heddles are perfect for single skeins of hand painted yarns as there is so little waste. And you can weave yardage to sew with! Weaving can sometimes take more time than on a floor loom but the ease and speed of warping more than make up for it.
3. Don’t expect the loom to do what you should be doing
Fixing a threading error
It is rarely the fault of the loom when projects don’t turn out as expected. Warped well a rigid heddle has a good shed (big enough to use a boat shuttle with plain weave, though I don’t always recommend using one). Be sure to use the right reed for the yarn (a floor loom allows for flexibility using the reed substitution chart, but not a rigid heddle). If you want nice selvages you will have to practice. Tension is important. Poor tension results in a less than fun weaving experience. As mentioned in a previous post, use the best fibre you can afford…a bad fibre cannot produce good fabric. I’ve only cut off projects before completion twice. Once because I used yarn with too much stretch to get a good tension (because it was cheap enough to experiment with and I didn’t know better) and the second because I had poor tension due to mistakes I made warping. Nothing that has ever gone wrong (fabric too dense, too loose, ugly etc) has ever been the fault of my loom.
To sum up, love your rigid heddle loom for what it is, not what you wish it was. Don’t overlook its’ potential: challenge it and yourself, experiment, and have fun! Below, from left to right: double weave log cabin, plain weave sewn into a shirt, twill sampler using two heddles and rosepath twill using two heddles
Introduction to Weaving
I realized, as I was writing another post, that this should have been my very first post. If you are a rigid heddle weaver you might want to skip this one, you know it all already. Or you can read it and correct me in the comments (seriously, I’m ok with constructive criticism). I know that some people are reading this who really don’t know anything about weaving, but you know me and so you graciously read my blog (thank you, please comment so I know who you are). So here’s a crash course on weaving.
I realized, as I was writing another post, that this should have been my very first post. If you are a rigid heddle weaver you might want to skip this one, you know it all already. Or you can read it and correct me in the comments (seriously, I’m ok with constructive criticism). I know that some people are reading this who really don’t know anything about weaving, but you know me and so you graciously read my blog (thank you, please comment so I know who you are). So here’s a crash course on weaving.
If you look at a piece of woven fabric (a cotton dress shirt or a pair of jeans) you will see fibres going from top to bottom and others from side to side. The top to bottom threads are called “warp threads” and the side to side threads are called “weft threads”. If you look carefully, you can see that the weft threads are going over and under the warp threads. This over under is what holds the fabric together. Theoretically you could take the weft thread and manually weave it over and under every weft thread. But that would take forever and be incredibly boring. So, mankind, in a quest for efficiency and a hatred of boredom, invented a very simple machine to lift certain threads up while leaving the rest alone. I might do a blog another time on the history of the loom, but for today, let’s just jump to the simple rigid heddle loom.
Pic from The Ashford Book of Rigid Heddle Weaving
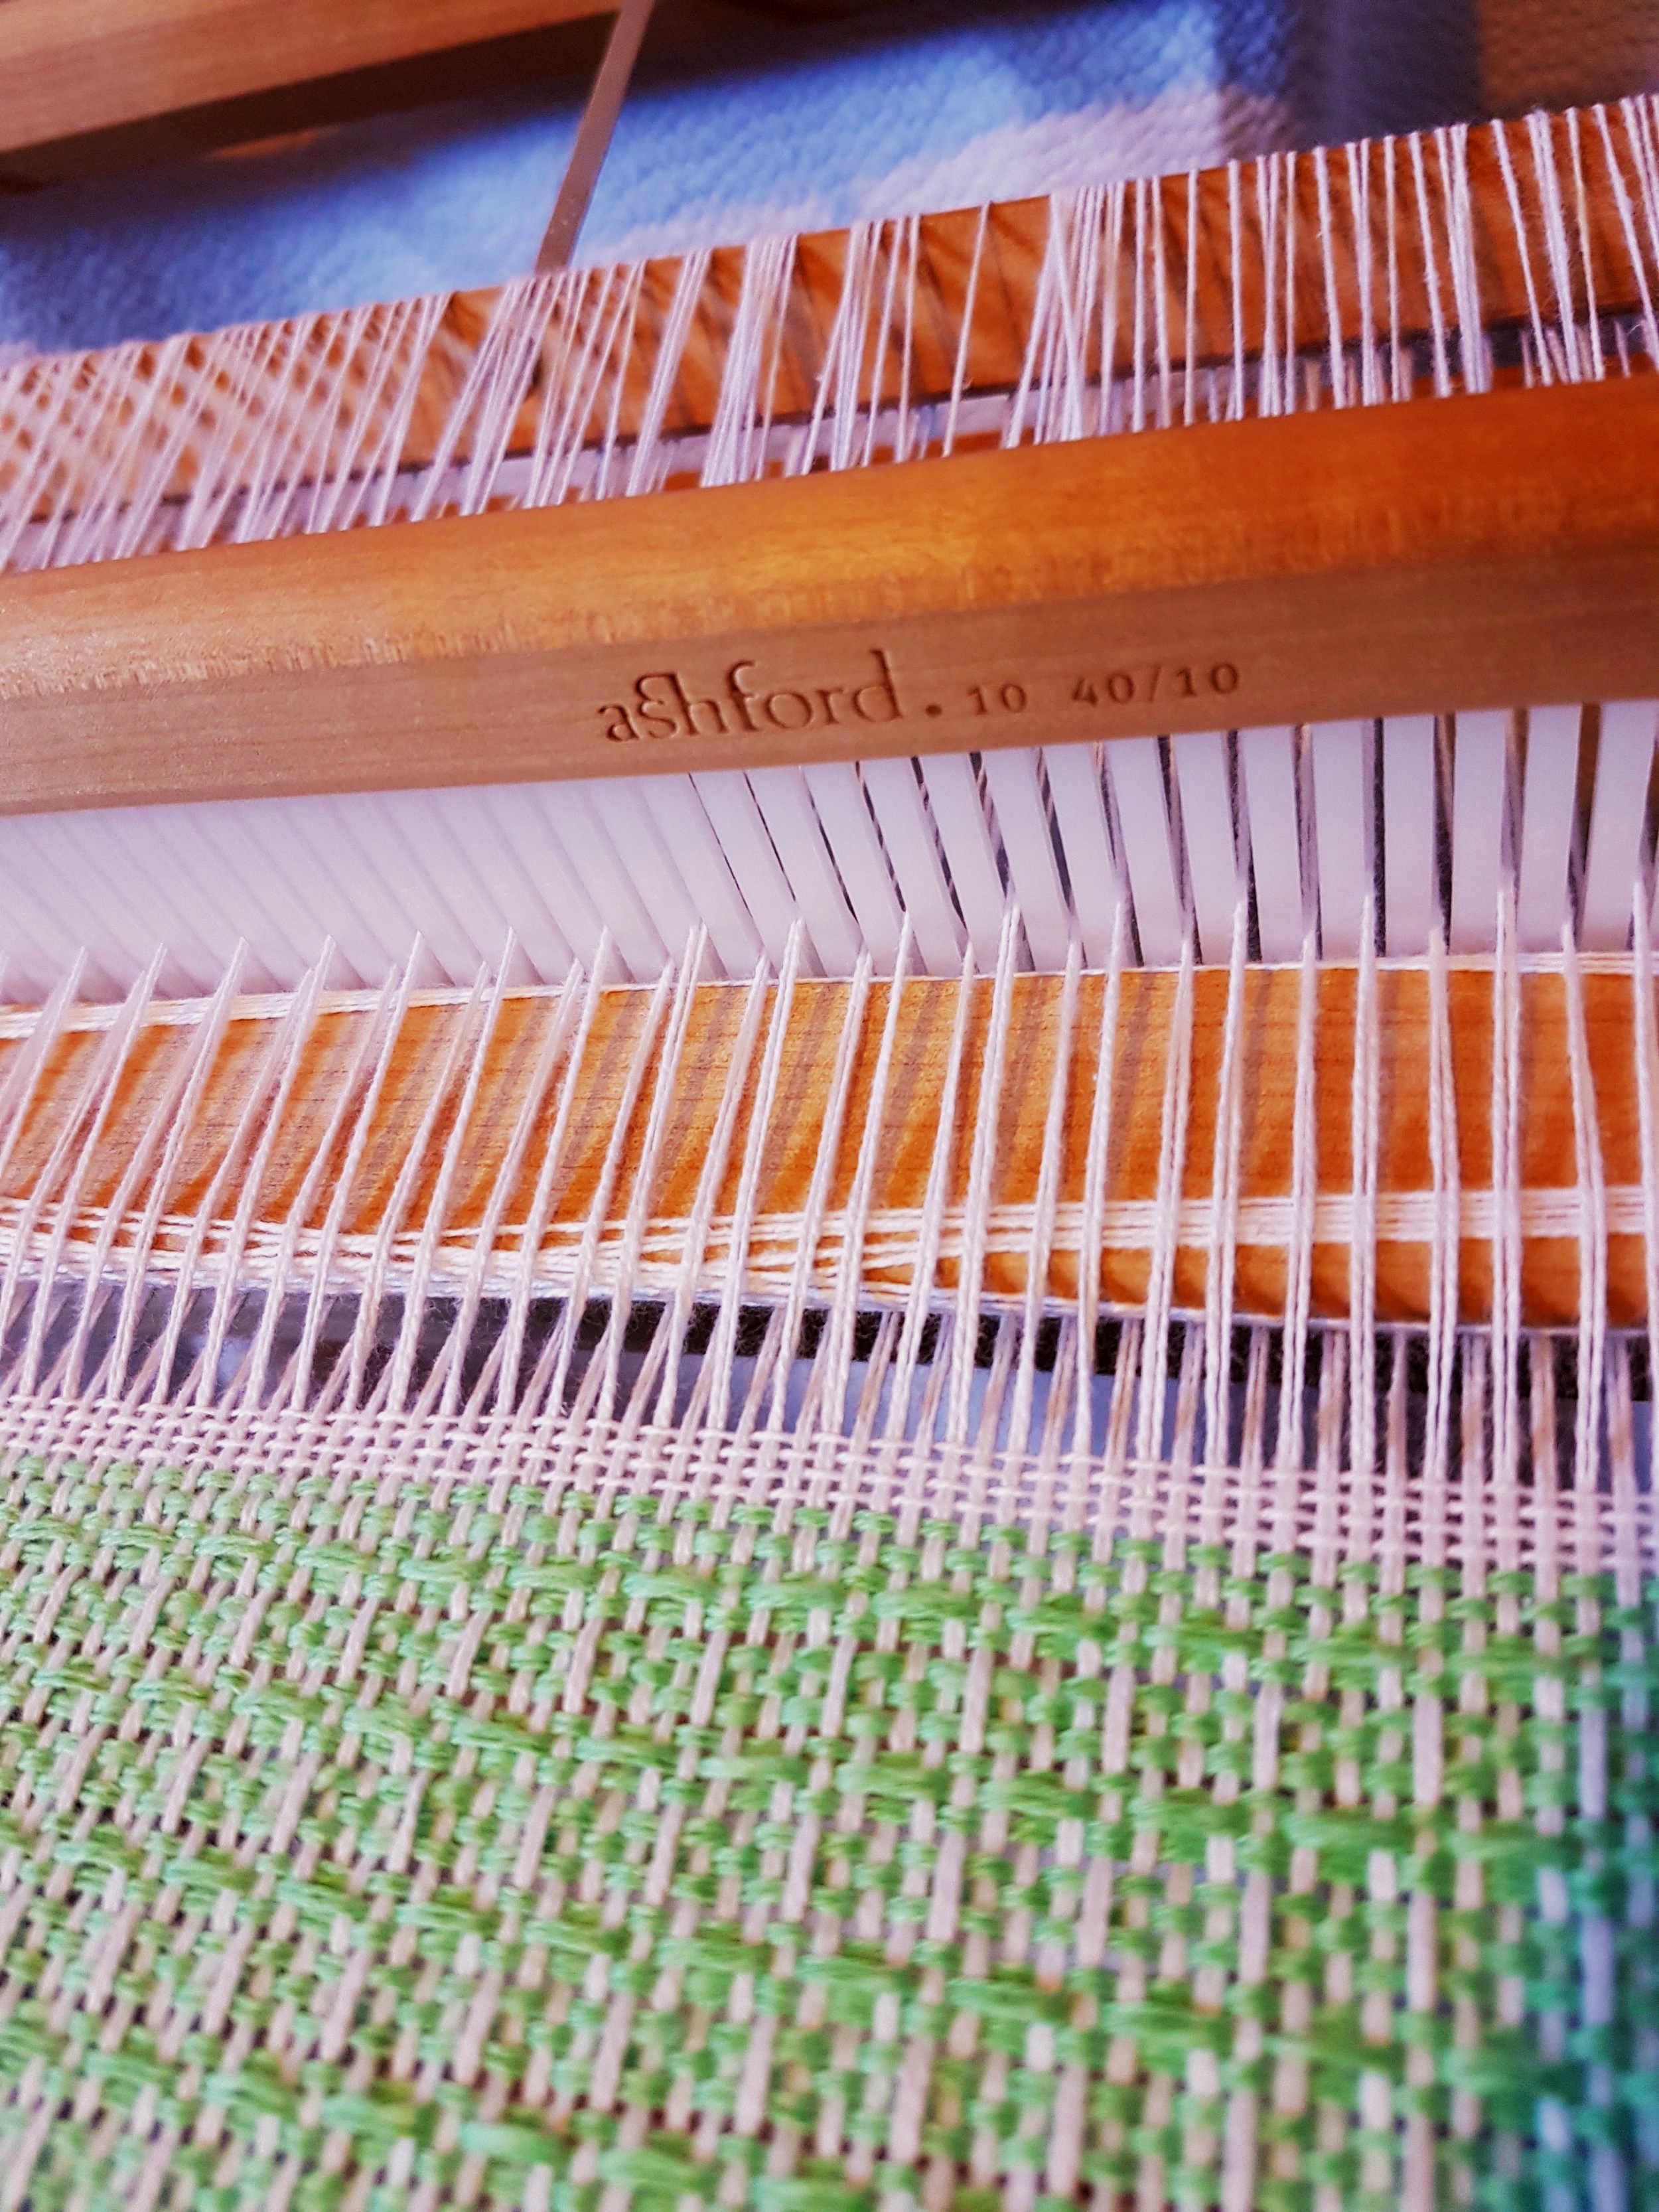
It’s pretty basic. We have a wooden frame with a front and back roller and we have a heddle. The heddle has slots and holes that the yarn goes through. Yarn in the slots can move up and down with the heddle; when the heddle moves up, the threads move down; when the heddle moves down, the threads go up. Yarn in the holes doesn’t move around. As the heddle moves up and down, a “shed” is created for the weft thread (wound onto a shuttle) to travel though.
The warp threads are threaded onto the back warp stick, through the slots in the heddle then all the threads are wound onto the back roller. The yarn is threaded though the holes in the heddle, then the yarn is tied to the front warp stick. This is called “warping the loom” and can take any where from an hour to several hours.
Once the loom is warped weaving can (finally) begin. And it’s easy! Heddle up, slide shuttle through, press yarn into place, heddle down, slide shuttle through, press weft into place, repeat until finished. If that sounds boring, the pattern possibilities are endless! You can add pick up sticks, a second (or even a third) heddle, play with colour or texture, even weave tubes!


