Perfect Hems Revisited
I’ve written a blog post about hemming before, but I’ve sewn a lot, and I mean A LOT of hems since writing that post so I thought I’d share what I’ve learned.
Should you have already read the original post, nothing in it is wrong, I just do some things differently now.
First, let’s talk about why we might want to hem our projects.
1. A hem produces a nice finished edge. Fringes are nice, but for some projects, a hem really is better. Tea towels and napkins spring to mind. These are items that see heavy use and lots of washing. Even a short fringe tends to get ratty under those circumstances.
2. Baby blankets shouldn’t have a fringe. Little fingers and toes can get tangled and no one wants that! Babies love a nice satin edge, but I haven’t learned how to add that yet so I just do a plain hem. (Satin edges are on my list to learn!)
3. Some people just don’t like a fringe…they get caught in zippers, or fray, or maybe you just don’t like twisting them. Whatever the reason, you don’t have to like fringe!
4. You hate hemstitching! You can skip the hemstitch entirely if you know you are going to sew a hem!
Ok, now you know why you might not want a fringe, let’s talk about how to hem.
Before Starting
1. Plan for your hem before warping. If you are using a pattern, check to see if the pattern includes a hem or fringe. If your pattern anticipates a hem, follow the pattern as written. If it is finished with a fringe, you will need to make some changes. First, you will need to lengthen your warp. My tea towel hems are about 2-2.5” so I would add an extra 6” per towel to my warp. This allows for take up. Since I generally warp for 2 towels at a time, I would add at least 12” to the warp.
Second, you will need to adjust how long the item is, on the loom, with the hems added. A tea towel with a fringe that finishes at about 24” on the loom will be about 29-30” on the loom with the hems.
NOTE: If you are adding a hem to a scarf, you may not need to add extra warp as the pattern will have included extra warp for the fringe…but I’d add a little extra anyway just to be sure I had enough at the end of the warp to weave comfortably.
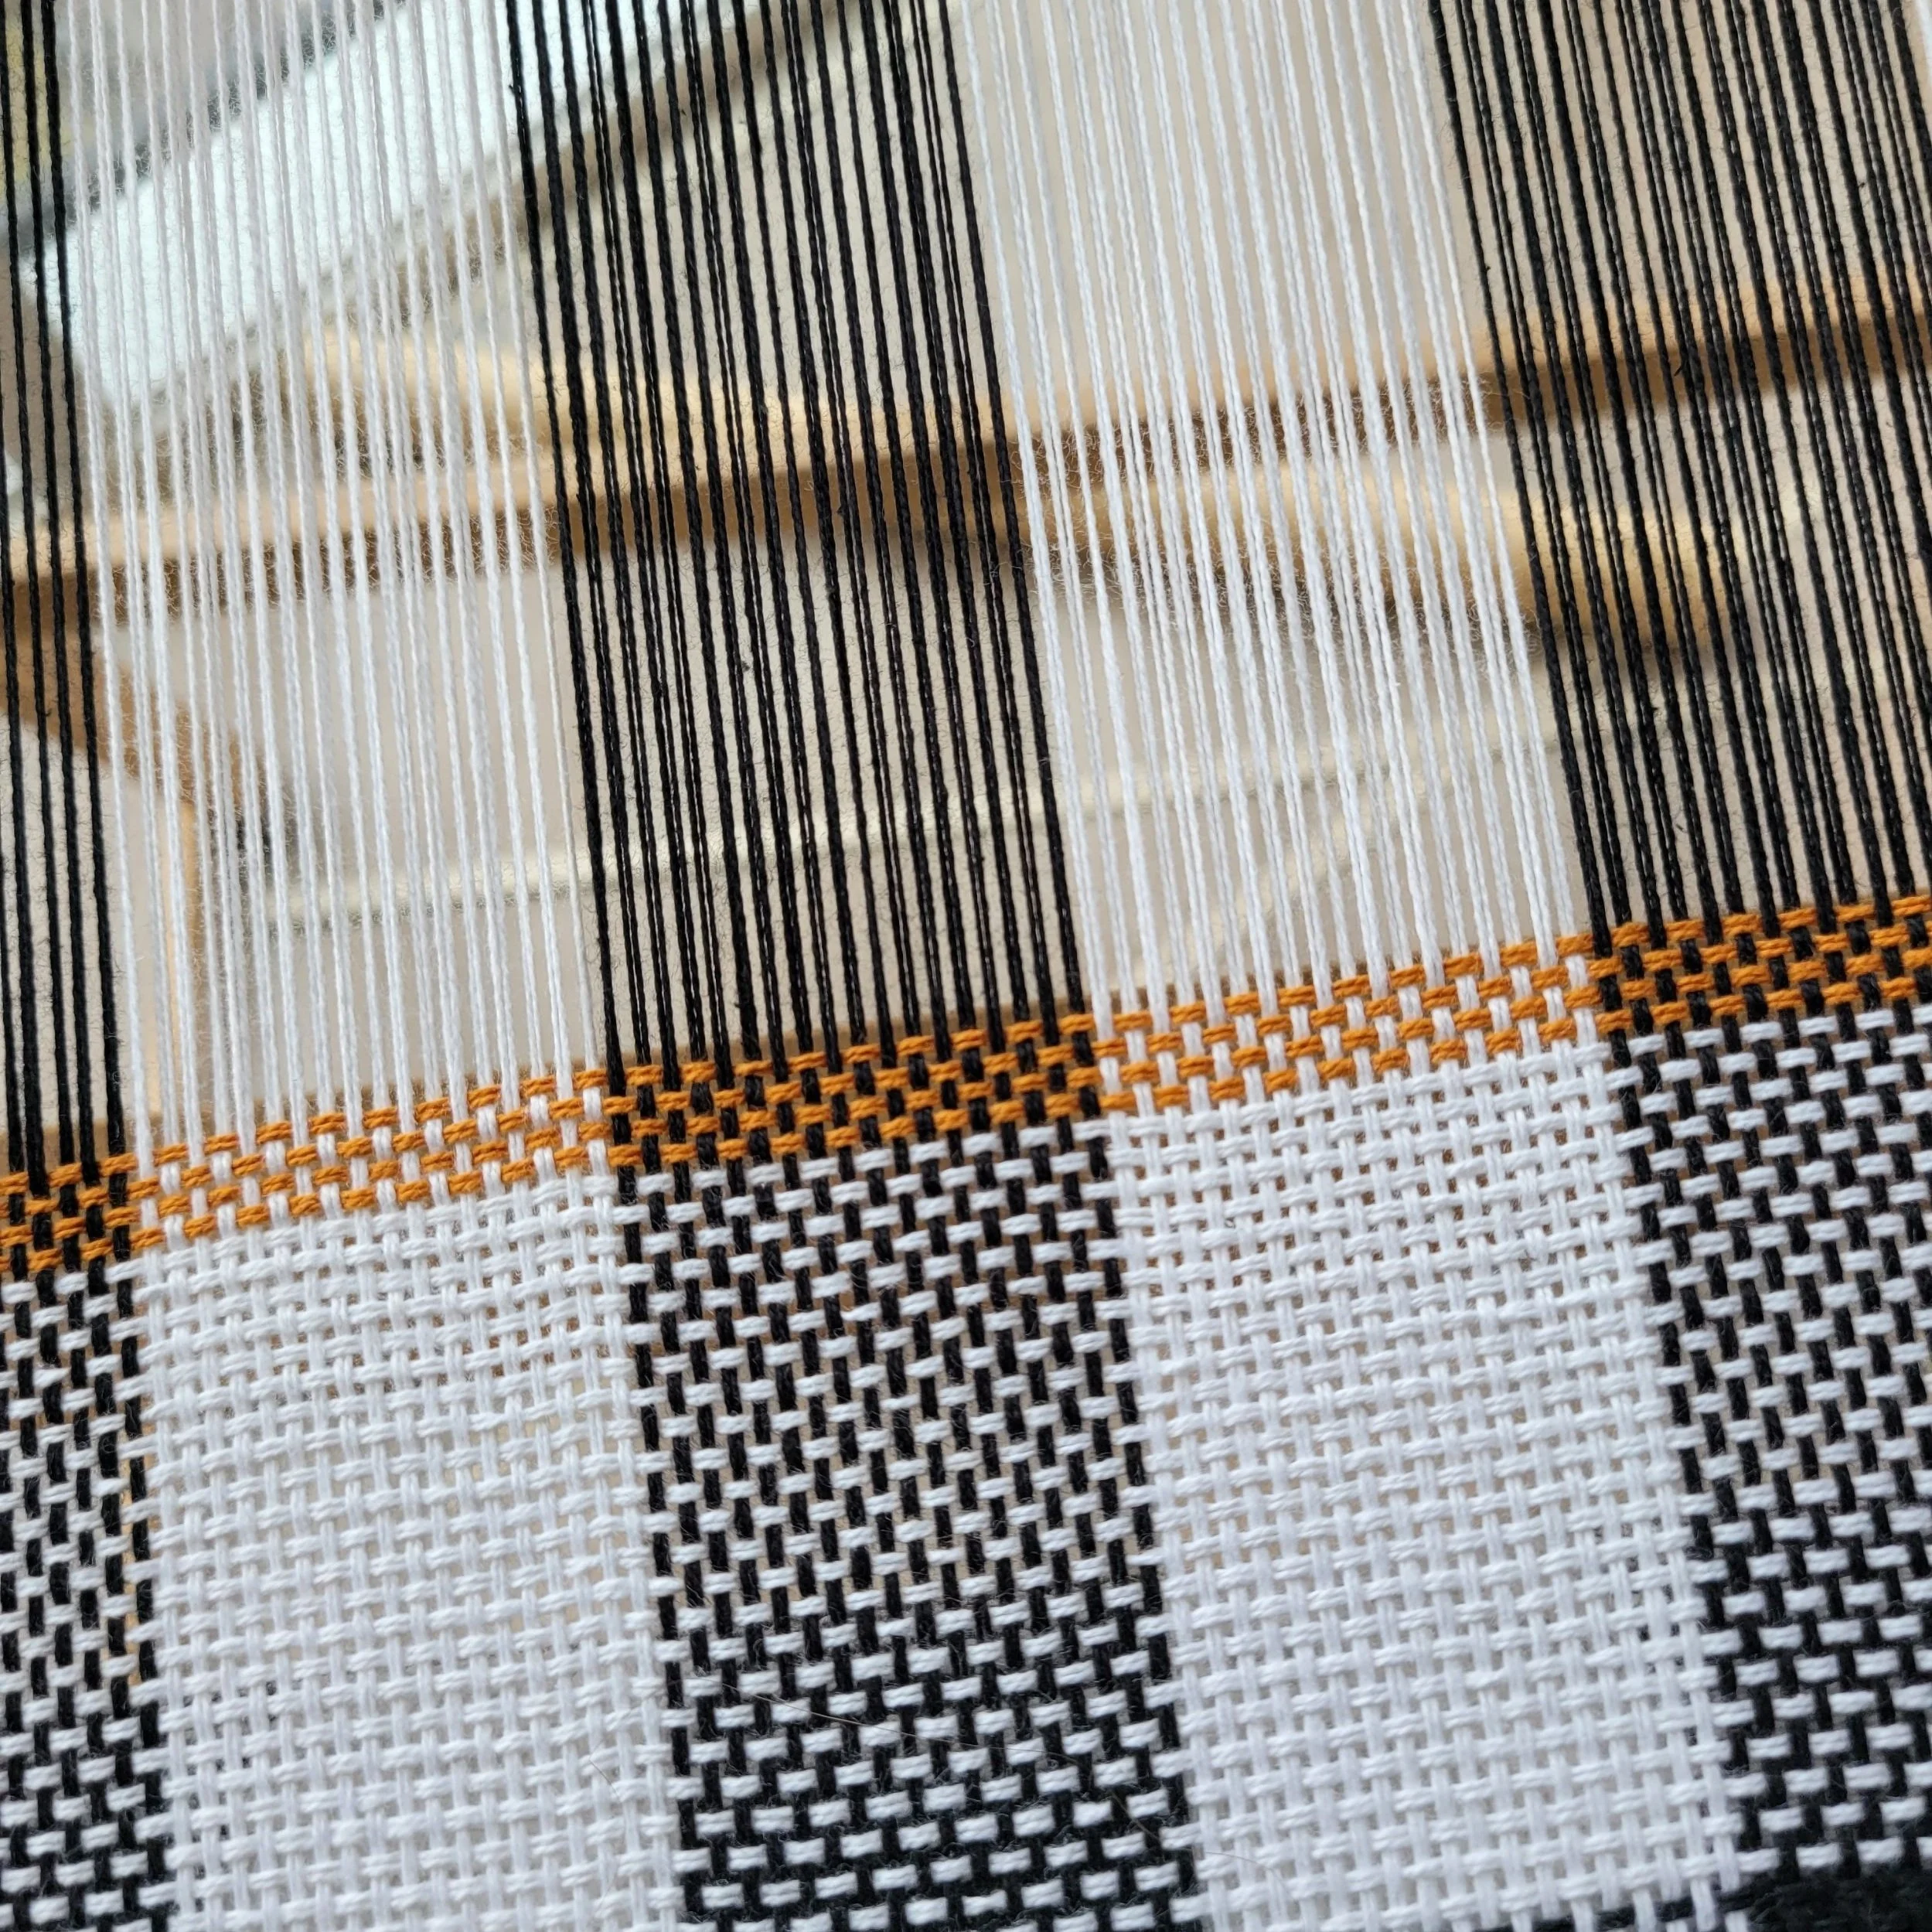
2. Weaving in Scrap Yarn? You all know that I hardly ever spread my warp with scrap yarn before starting to weave. I let my warping sticks do the job for me! If you are planning to hem, however, it does make it a little easier to sew after removing the project from the loom if you have a few picks at the beginning and at the end of the weave. I don’t do it very often because I forget, but it’s always nice when I remember! You’ll want to weave in a few extra picks at the end too. Use a contrasting colour and it will be easy to see exactly where to sew! This also provides a little bit of protection to your project if you can’t get to the machine immediately after removing from the loom.
3. Lighter Hem or Not? I generally weave my tea towels with 8/2 cotton doubled. In the past I always recommended using the 8/2 single for the hem. This was to prevent the flare that can happen while hemming. However, I now usually use the 8/2 doubled as I’ve got a few other tricks to eliminate the flare.
Before Wet Finishing
Straight, Zig-Zag or Serge? You’ve now taken your project off the loom and it is ready to be wet finished. But if you tried to wet finish it before sewing, your weaving will come undone. (I once missed a final line of stitching and lost half a towel to the washer.)
It is your choice if you use a straight stitch, zig-zag or serger. Usually, I sew a single straight stitch. My machine seems to have troubles doing a zig-zag on unwashed woven fabric. Do be sure that the sewing runs across the whole width, it’s super easy to miss the first and last bit of the weaving. Start sewing forward, then go backwards past the end of the fabric, then forward back onto the fabric again.
If my serger is out, it seems to do a great job and produces a lovely edge. But you certainly don’t need a serger!
After Wet Finishing
This is the actual hemming, but all the stuff that comes before is important too! And this is where I go a little (ahem) rogue.
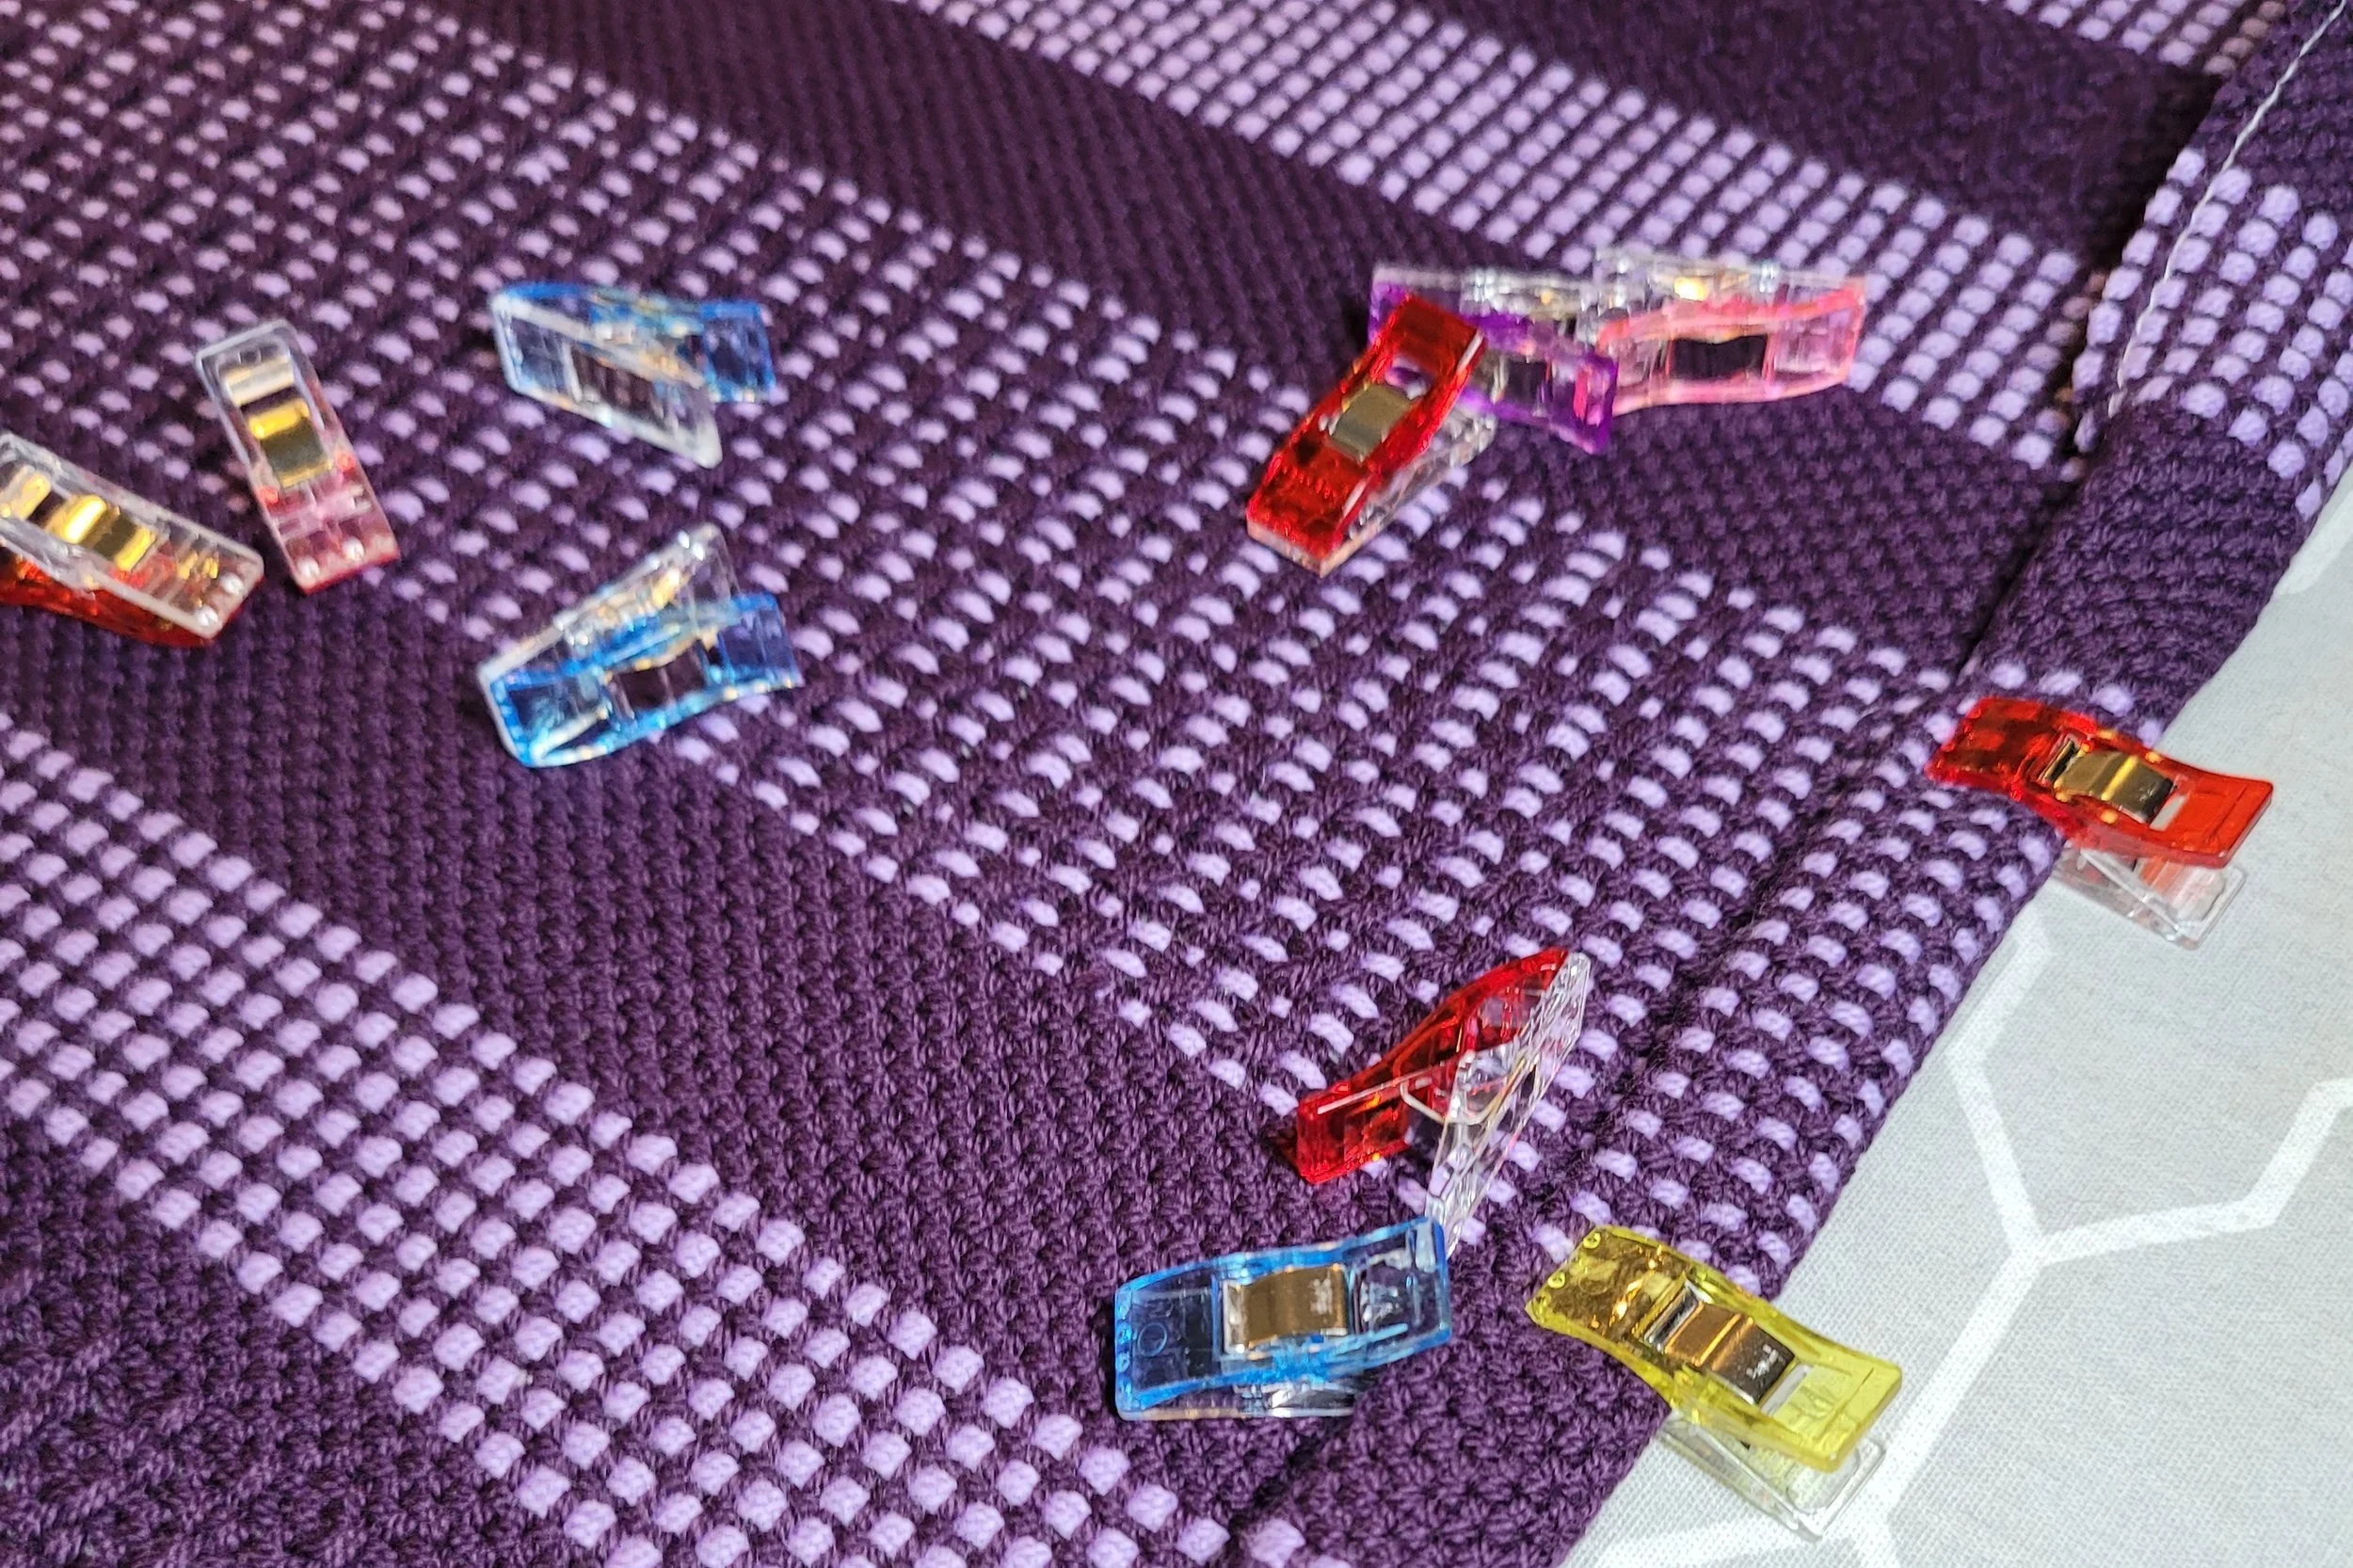
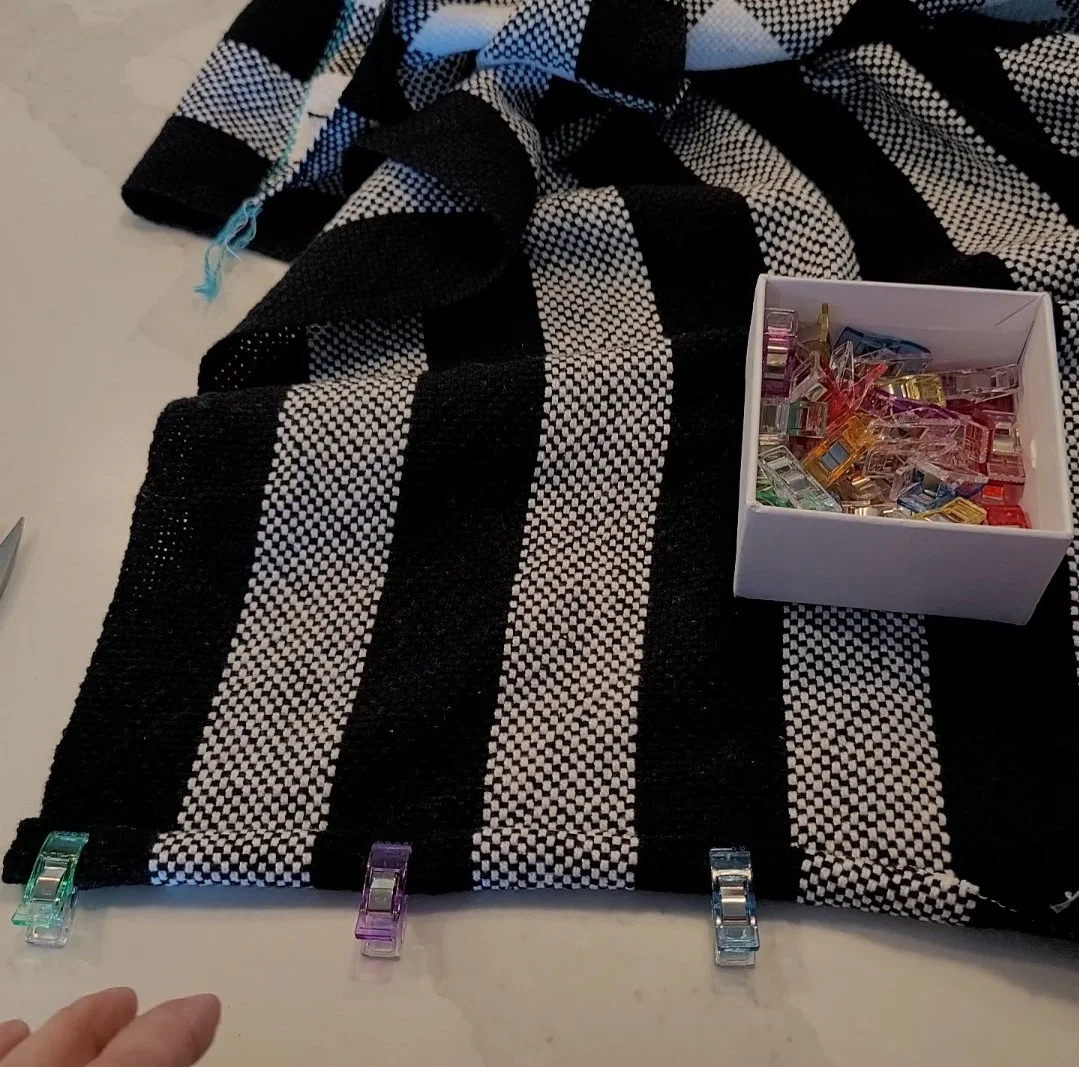
First, press your work. I just press my work, I do not press my hems before sewing. *gasp* Instead, I use these fantastic quilting clips. I got mine at my local sewing store, but if you can’t find them there, or you can’t get out, you can find them on Amazon. Please note that these are not heat proof, they will melt if they connect with a hot iron.
When you sew your hem, you want to hide the raw edge. This requires 2 folds: the first to fold the raw edge in, and the second, to sandwich it between 2 layers. To do this “properly” you should make the first fold, press it, them make the second fold, press it, then pin and finally, sew. Quilting clips eliminate the need for pressing!
Before we move to the actual sewing, just a little note about tension and needles. I use a universal needle, size 80 and my tension is set to about 2.5-3. If you find your machine is “eating” your fabric, open up the bobbin area and blow out the fluff and/or change the needle. I find this solves all my sewing machine issues! I bought my machine 25 years ago, it’s nothing fancy, I’ve repaired it once (while it was still under warranty) and had it professionally cleaned and tuned once. I highly recommend a simple, no bells and whistle machine! For thread I use 100% cotton, usually Gutermann.
Here’s a step by step:
1. Starting on one side, fold the raw edge to the wrong side, fold again and clip. Work your way across the fabric clipping frequently. You want to be sure that the warp ends stay straight through the folds. This is super easy to see if you have colour changes: just make sure when you clip that the colours line up. Here’s a video!
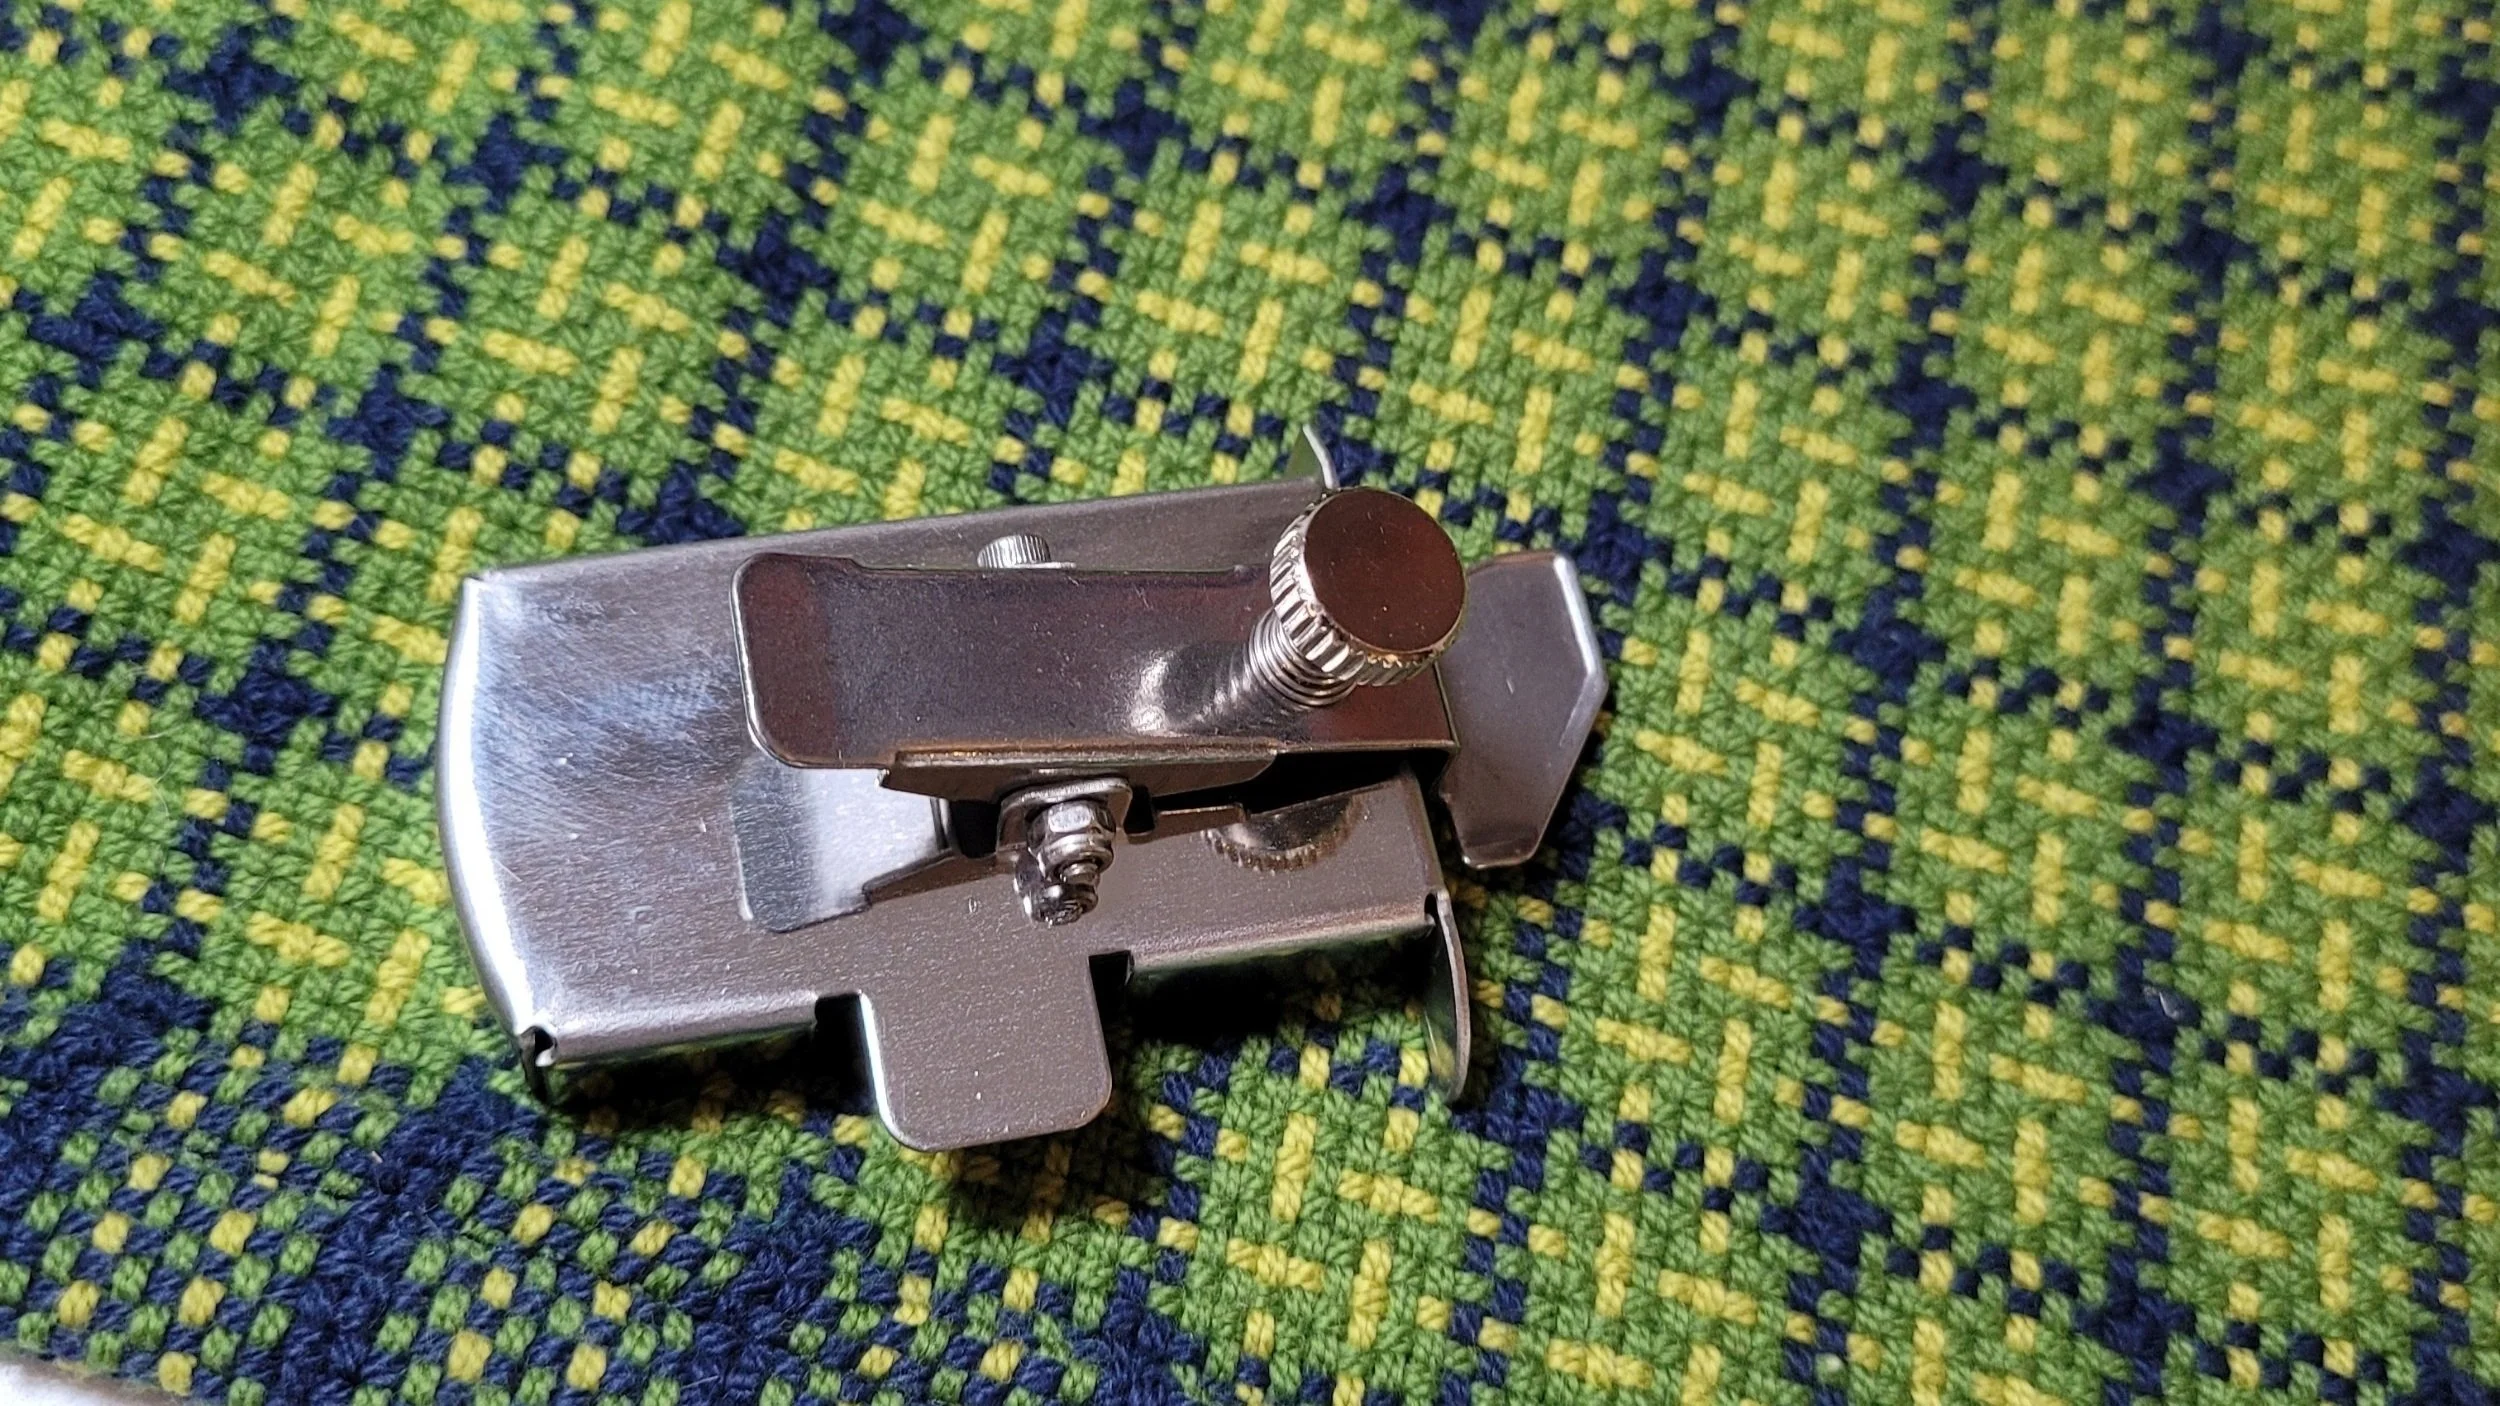
2. Bring your work to the sewing machine. I’ve started to use a magnetic seam guide to ensure straight hems. It takes a little getting used to, but it was worth it! Raise the presser foot and place the hem under. Place the fabric under the foot so that when the foot is down, it will be completely on the fabric: the sewing will not start at the edge. Starting a bit forward means the foot will not have to climb up the hem which can cause all sorts of problems. If you are using one, place the magnetic guide being sure to adjust it so the fabric fits easily under the guide. The presser foot might rest a bit on it, that’s ok. Here’s a video of me using the guide. Again, you should be able to find one at your local sewing shop, but here’s an Amazon link.
3. Sew a few stitches forward, then reverse and sew back to the very edge.
4. Start sewing forward again. As you sew forward, keep an eye at the colour changes. This is where you will see if the layers of fabric are moving evenly. If you have a walking foot, this is supposed to allow both layers to move together, but honestly, either I had one that didn’t work or I just didn’t know how to use it because I didn’t find it worked noticeably better than my regular foot! You can use your fingers to ease things along if needed. Occasionally I use one hand to slightly hold back the lower layer and the other to gently ease the upper layer. It is so slight as to be barely noticeable. Also, keep an eye on those clips and remove them before they hit the guide if you are using one!
5. Sew to the end, being sure all layers are even, then reverse a few stitches and then sew right off the end. It is the easing of the upper layer and the holding back of the lower layer and being sure all the layers are perfectly matched at the end that will prevent the flare. Here’s another video, this time of the actual sewing!
You should now have a perfect hem!!!
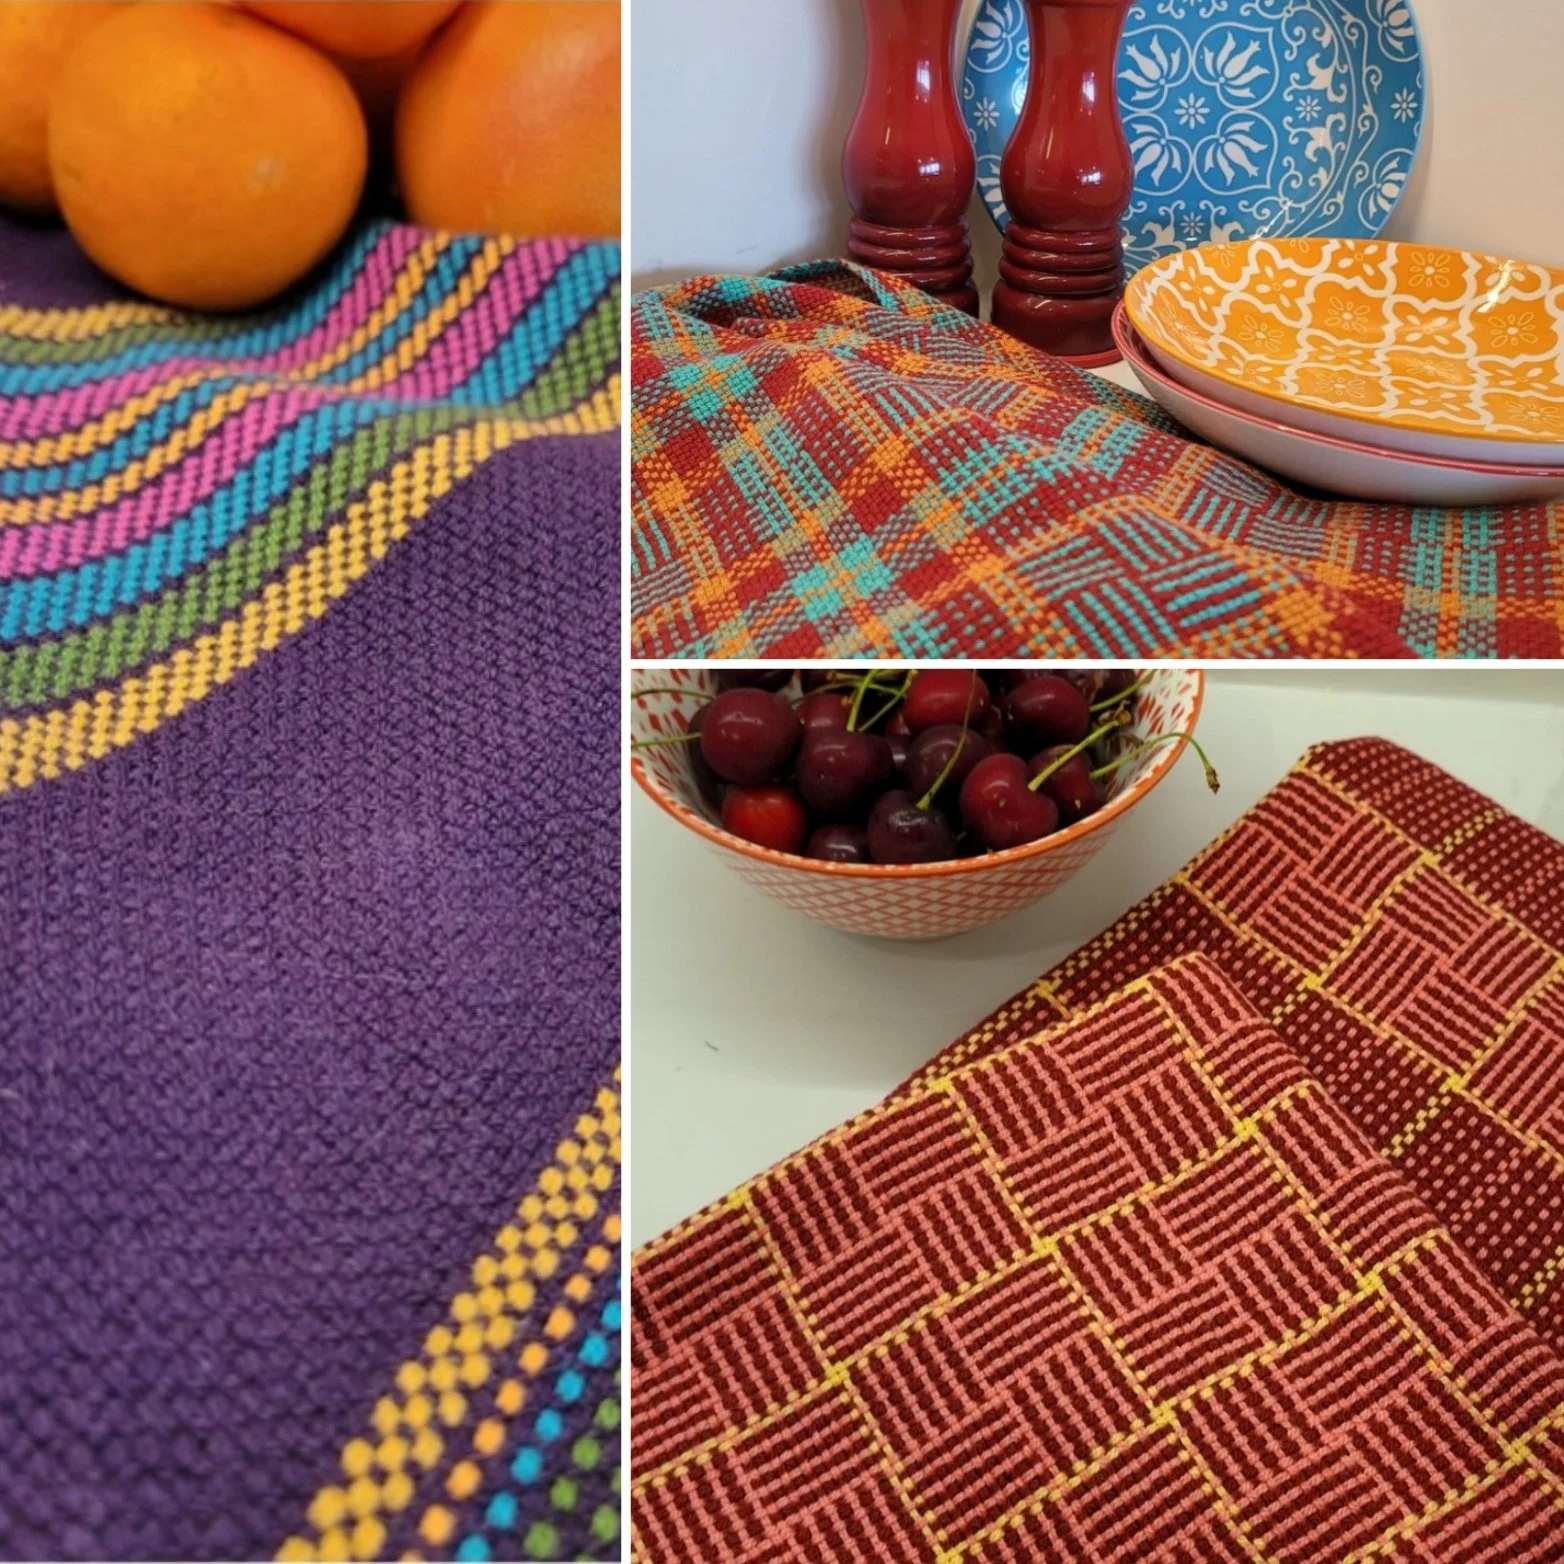
If you don’t have a pile of towels to practise on already, here’s a few of my favourites for you to try. I’ve picked stripey ones so it’s easy to line up the hems!
Happy Weaving,
The Rogue Weaver

