How To Fix Drifted Warp Ends (Be Brave and Weave the Scary Yarn)
Most of us weave to relax. But is there anything more stressful than weaving and watching a warp end get thinner and thinner? Keep reading because I’m going to tell you this is not worth stressing over, it’s super easy to fix…and I’ll give you some tips to reduce the chance of this happening in the future.
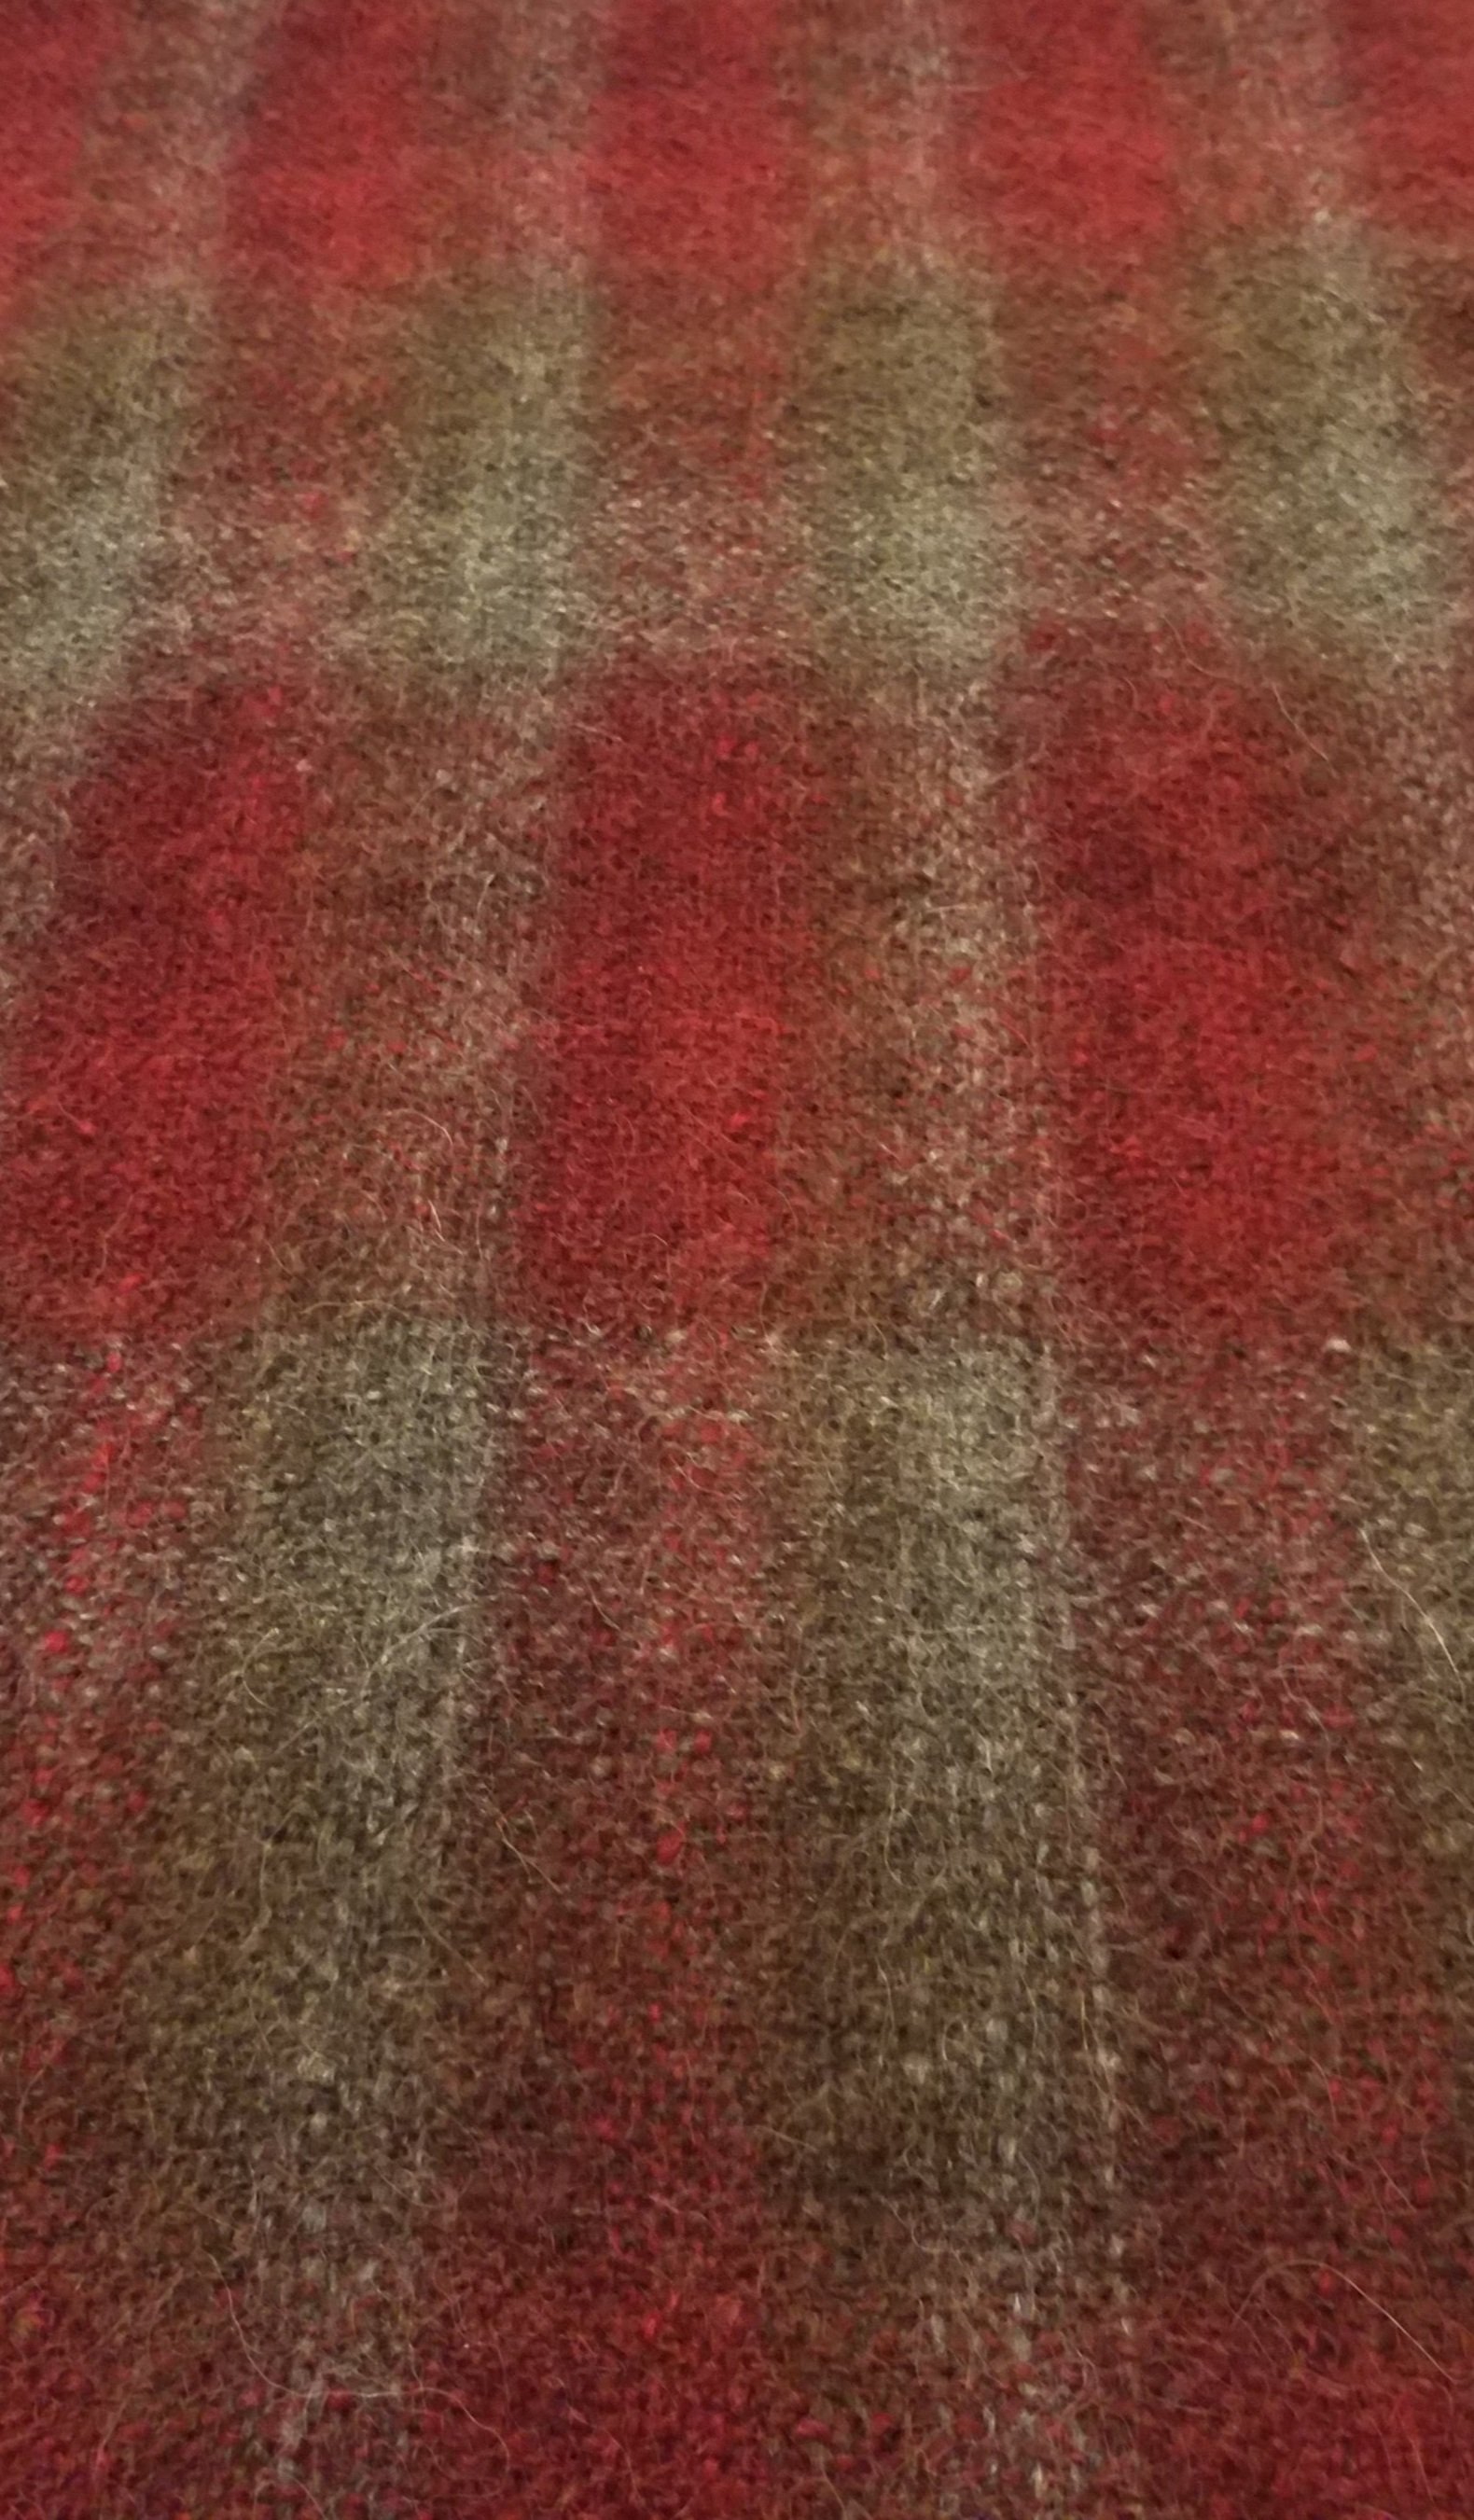
First, let’s talk about yarn and drifting. Drifting happens when the yarn is under tension. As you weave, it begins to stretch. As it stretches, instead of breaking, it just gradually pulls apart. While it may feel stressful watching it happen, this is actually far easier to fix than an end that has snapped. Drifting most often happens with yarns that are single ply and have uneven twist. Noro is a prime example. This is also common with single ply handspun yarns as well. The drifting will happen in the areas with less twist.
Now you know why drifting happens. That means you can now look at yarns when shopping and make a (more) educated guess about yarns before buying. But don’t eliminate a yarn just because it might drift. Just be mentally prepared when you weave with it!
Ok, you’ve been brave and warped your loom with questionable yarn. And an end is getting thinner and thinner. Here’s how to fix it. You will need a darning needle.
Keep weaving until the end drifts apart. Sigh with relief, now you can relax, the worst has happened!
Pull the ends out of the reed. Take the end that is wound onto the back beam and toss if off the back and just let it hang. Take the end that is in front of the loom and just fold it back onto the weaving so it is out of the way. You can ignore them for now. If it makes you feel better, let them know they are in time out.
Continue weaving as usual. You will notice the missing warp end, don’t worry about it.
Before winding forward, using your darning needle, weave the end back into your weaving.
Continue weaving until the end in front of the reed has been woven in.
Now it’s time to weave in the end that is behind the reed. Using your darning needle, thread the end back though the reed…be sure that the warp end is not twisted around any ends.
Still using the darning needle, weave the end back into the work. Since the ends stretched and drifted apart, the ends should overlap an inch or maybe more. You can use a t-pin to hold the warp end in place if the tension of weaving is causing it to pull out. The t-pin can be removed once the end is firmly anchored by weaving.
Continue weaving! After wet finishing the repair will be invisible!
If you are going to use textured yarns with thick and thin bits, single ply or handspun yarns, drifting will occasionally happen no matter how careful you are. But let’s look at a few ways to help prevent them.
Pay attention to how you move your reed…this is the single most important prevention tip. Bring your reed forward level with the warp to reduce how much the heddle rubs on the yarn. Press the weft into place with a single firm press (not two or three). When you move the reed back, change sheds at the heddle block so the reed stays level with the warp as it moves back. Really, you want the reed to touch the yarn as a little as possible.
Do not unweave more than one or two rows of weaving. It is far easier to fix mistakes after the project comes off of the loom.
Keep your tension as loose as possible. You want your tension high enough to give a nice clean shed, but not so tight that changing the shed puts too much pressure on the weaker spots.
Finally, do choose your yarn carefully. Do a pull test in several areas. If it drifts apart no matter where you pull, perhaps use this yarn for weft instead! Or, psych yourself up mentally and go for it. One of my favourite finished scarves was made with a yarn called Motley by Sugar Bush Yarns. Drifting ends galore while I learned to deal with them, but I loved the results so much I wove a second scarf…and had far fewer drifts. Practice really does make a difference!
Be brave and weave the scary yarns!


