
Deciphering The Rogue Weaver Charts
A good pattern makes all the difference in the world! If you’ve been following me over the past three years and compare one of the older patterns with my more recent patterns, you will see a significant difference! They’ve more than doubled in length, include far more detail and have more charts, check boxes and other things to help you succeed. My editor is kind enough to remind me that the old patterns are “an older style of writing” and still very good. (Thank you Moira!)
Much of my improvement over the years is actually thanks to you: weavers who support me through purchasing my patterns and then email when you have difficulties. Like any good designer, I listen to the issue each person has, then try to do better, so, thanks for contacting me when you have a problem!
I know my patterns don’t look like other patterns, and that is purposeful. When I first started writing, I met weavers all the time (and still do) who have no idea how to read weaving patterns. I think this is because most rigid heddle patterns assume a knowledge of floor looms. And so, even though they are very different looms, rigid heddle patterns follow the floor loom format. So when I started writing I assumed no floor loom knowledge and created my own style. (There is a reason I am The Rogue Weaver!) I know that we all learn differently, so I try to write in a way to be understood by as many learning styles as possible! That means I keep adding more “things”. My latest “thing” is pick-up charts. I’ve already had a few questions about them, so that’s what this blog post is about. But don’t worry, if you don’t like charts, the written instructions will still be there!
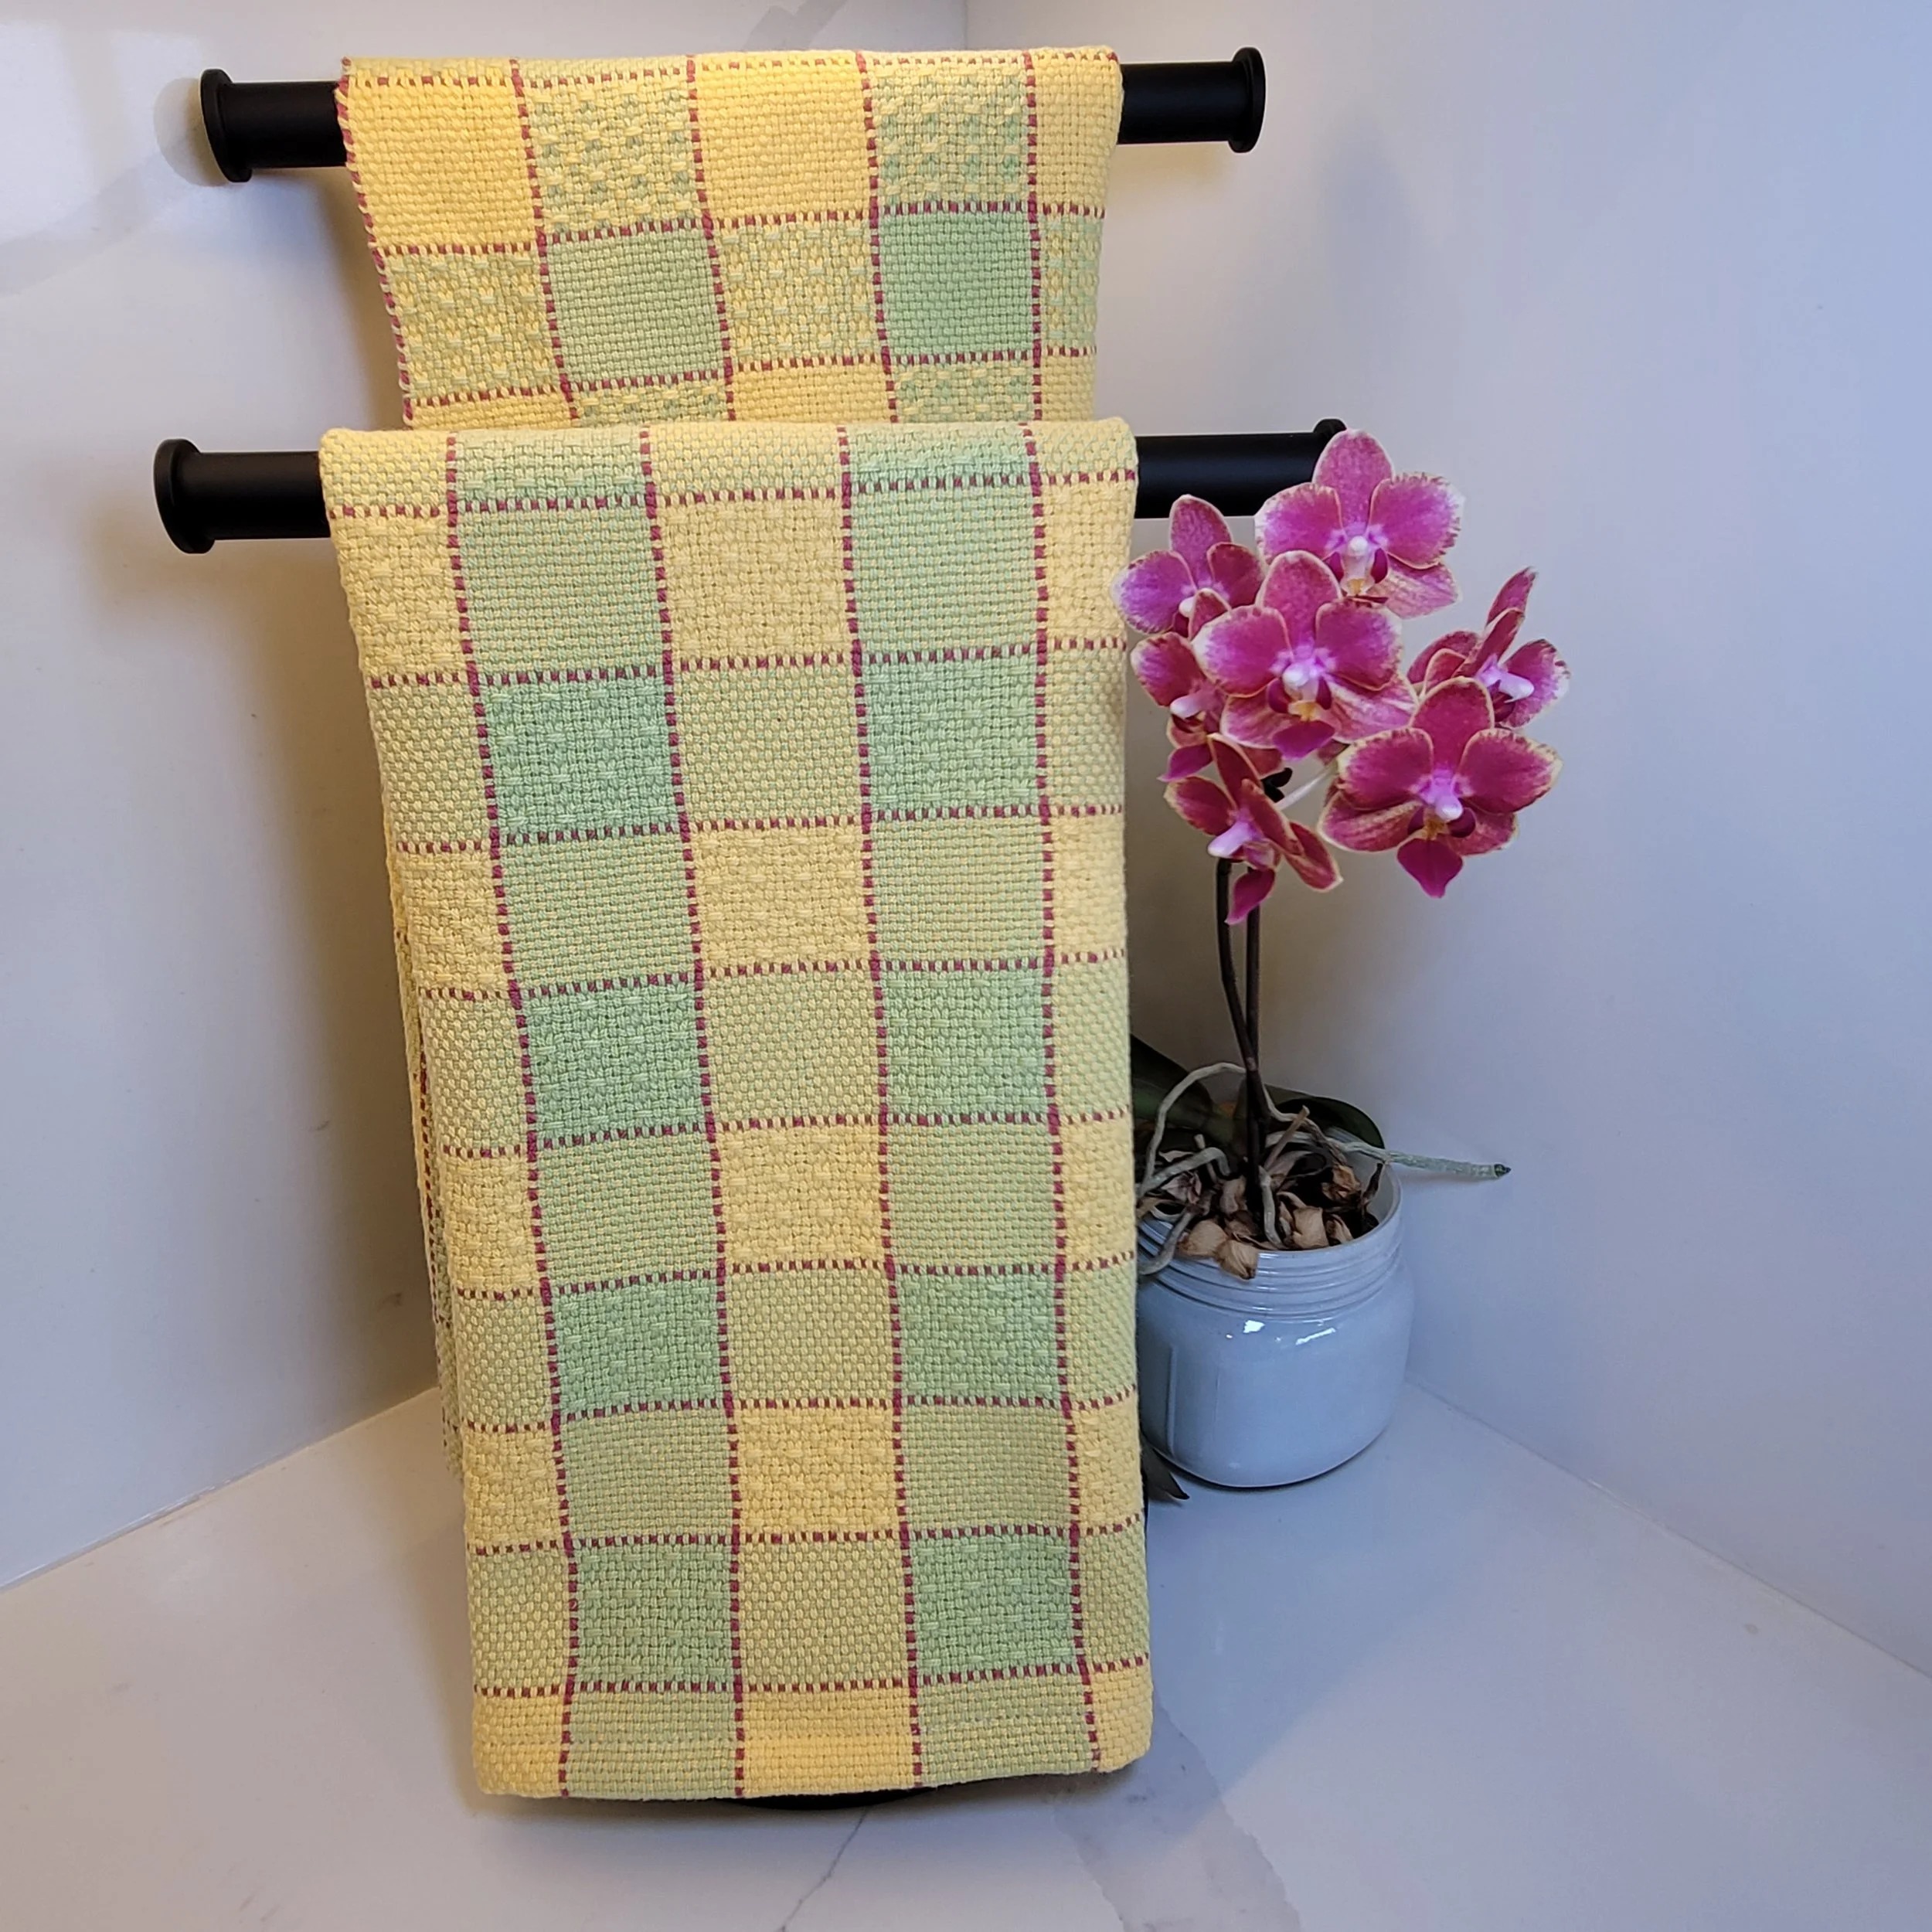
So, enough preamble, let’s look at the charts you will find in the Hopscotch tea towel pattern. This is for Pick-up B and Option 3a.

Chart 1
Here are a couple of basics about rigid heddles and pick-up sticks.
A rigid heddle has 2 sheds, an up-shed and a down-shed. (A shed is the space that the shuttle travels through.) Adding a pick-up stick creates another shed. So this pattern has 3 sheds.
Pick-up sticks are always inserted with the heddle in the down-shed. This means that only the ends that are in slots will be picked up on the pick-up stick. So, in the chart above, you are only seeing the slot ends.
Now that you know the two points above, let’s look at the chart. The chart has two rows. The top row represents the threads on top of the pick-up stick. The bottom row represents the ends that will be under the pick-up stick. (Remember that this chart shows only the slots.) When the pick-up stick is used, these threads will be pushed down, creating weft floats.
So for this pick-up pattern, the stick will go under all the yellow ends. Then it will go under the first green, then: over 1 green, under 2 greens, over 1 green, under 2 greens, over 1 green, under 2 greens, over 1 green, under the final green. In the pattern it is written as follows:
Place the heddle in the down position.

Step 1: Slide the pick-up stick under the 12 yellow ends.
Step 2: Go under 1 green end.
Step 3: (Go over 1 green end, under 2 green ends) three times.
Step 4: Go over 1 green end, under 1 green end (this should be the final green of the block on the pick-up stick).
See the picture to the right. (The orange in the picture is the yellow in the chart and the yellow is the green.)
There, that covers the insertion of the pick-up stick, but what about the weaving? There’s a chart for that!
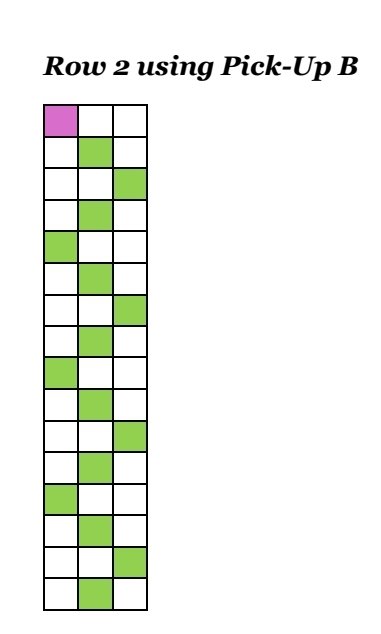
Chart 2
Remember that a rigid heddle has 2 sheds. The addition of the pick-up stick adds one more shed, so for this pattern you will have 3 sheds.
Take a look at the chart to the right. There are three columns. The left column represents the down-shed. The middle column represents the up-shed and the right column represents the pick-up shed. In this case, the pick-up stick is used while the heddle is in neutral and the pick-up stick is behind the heddle and on edge.
So, this chart tells us to weave 1 pick pink in a down-shed, then using green weave:
Heddle up
Heddle neutral, pick-up stick on edge
Heddle up
Heddle down
Repeat steps 1-4 two more times, then steps 1-3 one time for a total of 15 picks (16 if you are counting the initial pink pick).
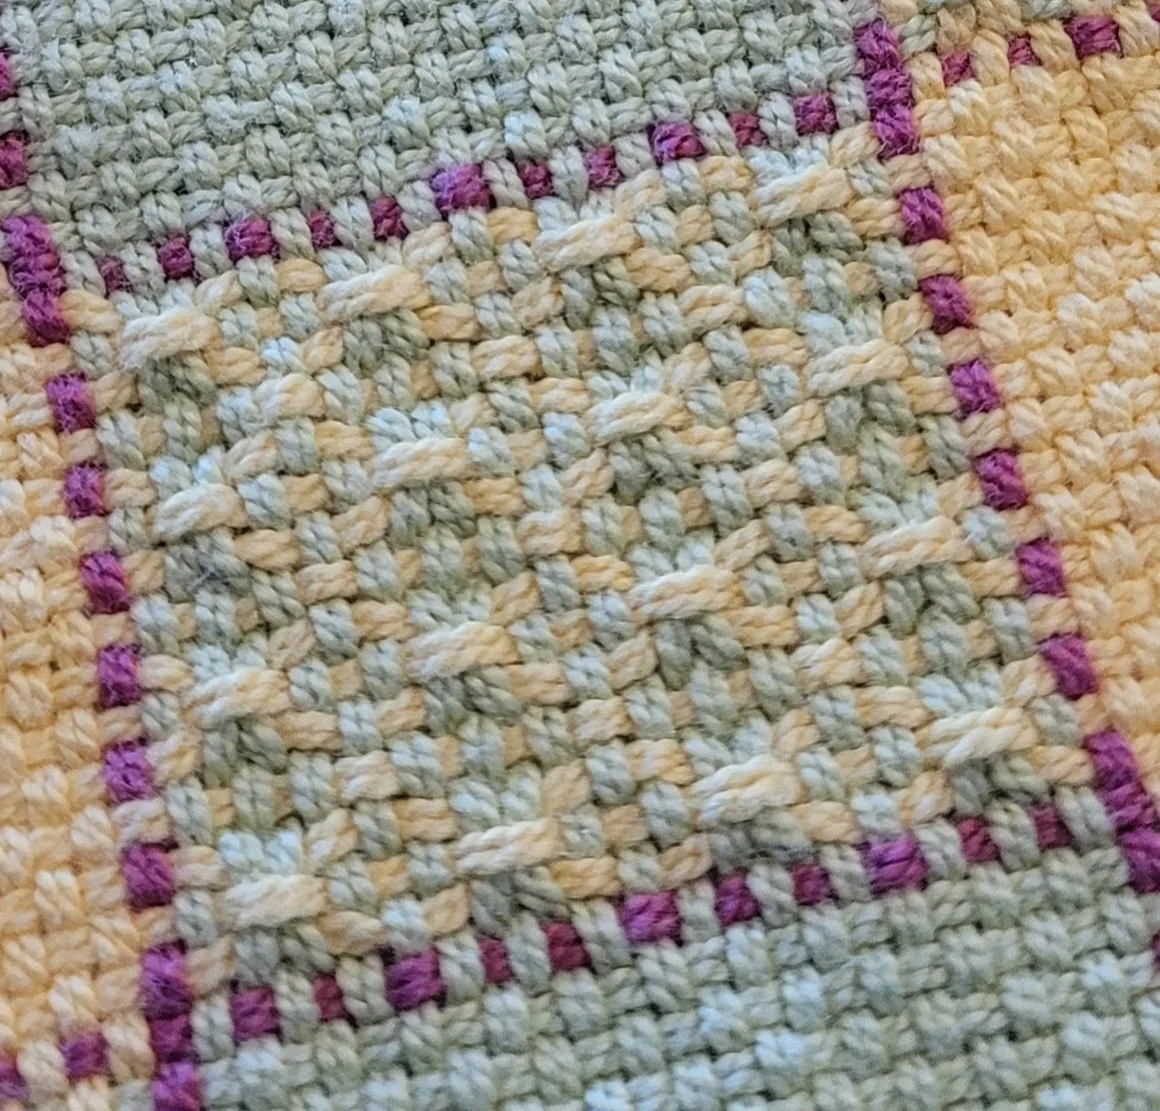
See the picture to the right. It’s woven with yellow instead of green, but you can clearly see each pick. The row with the floats is step 2.
There! That’s how the charts work, and I hope that you find them helpful in your weaving! Want to give them a try? I’ve updated the Hopscotch pattern. The original was good, but there were a few things that bothered me…so I fixed them. I’ve also included several different colour combinations and 6 (!) weaving options so you can personalize your towels. You’ll also find videos, check boxes and blog posts to help. You can get the pattern here. And…if you need a kit, Cotton Clouds has you covered!
Happy weaving!
The Rogue Weaver