
Fixing Warping Errors
It doesn’t matter how experienced we are, we all make mistakes. Some say the the more experience you have the bigger the mistake. I suppose that might be true…mostly because we are a little over-confident and start working too fast, or we are under pressure and can’t focus.
It doesn’t matter how experienced we are, we all make mistakes. Some say the the more experience you have the bigger the mistake. I suppose that might be true…mostly because we are a little over-confident and start working too fast, or we are under pressure and can’t focus.
Not too long ago I warped almost an entire warp before realizing I had messed up. And until that point I was thrilled. I was estimating that by the time I had the warp wound on the back beam ready for threading I would have taken about 30 minutes! *sigh*. I ended up needing to unwind all that I had already warped except the first 10 slots. I’ll tell you how I did it without a tangled mess further on.
Most warping mistakes we make do not require a complete unwind, or unwinding at all. Let’s look at two of the most common mistakes.

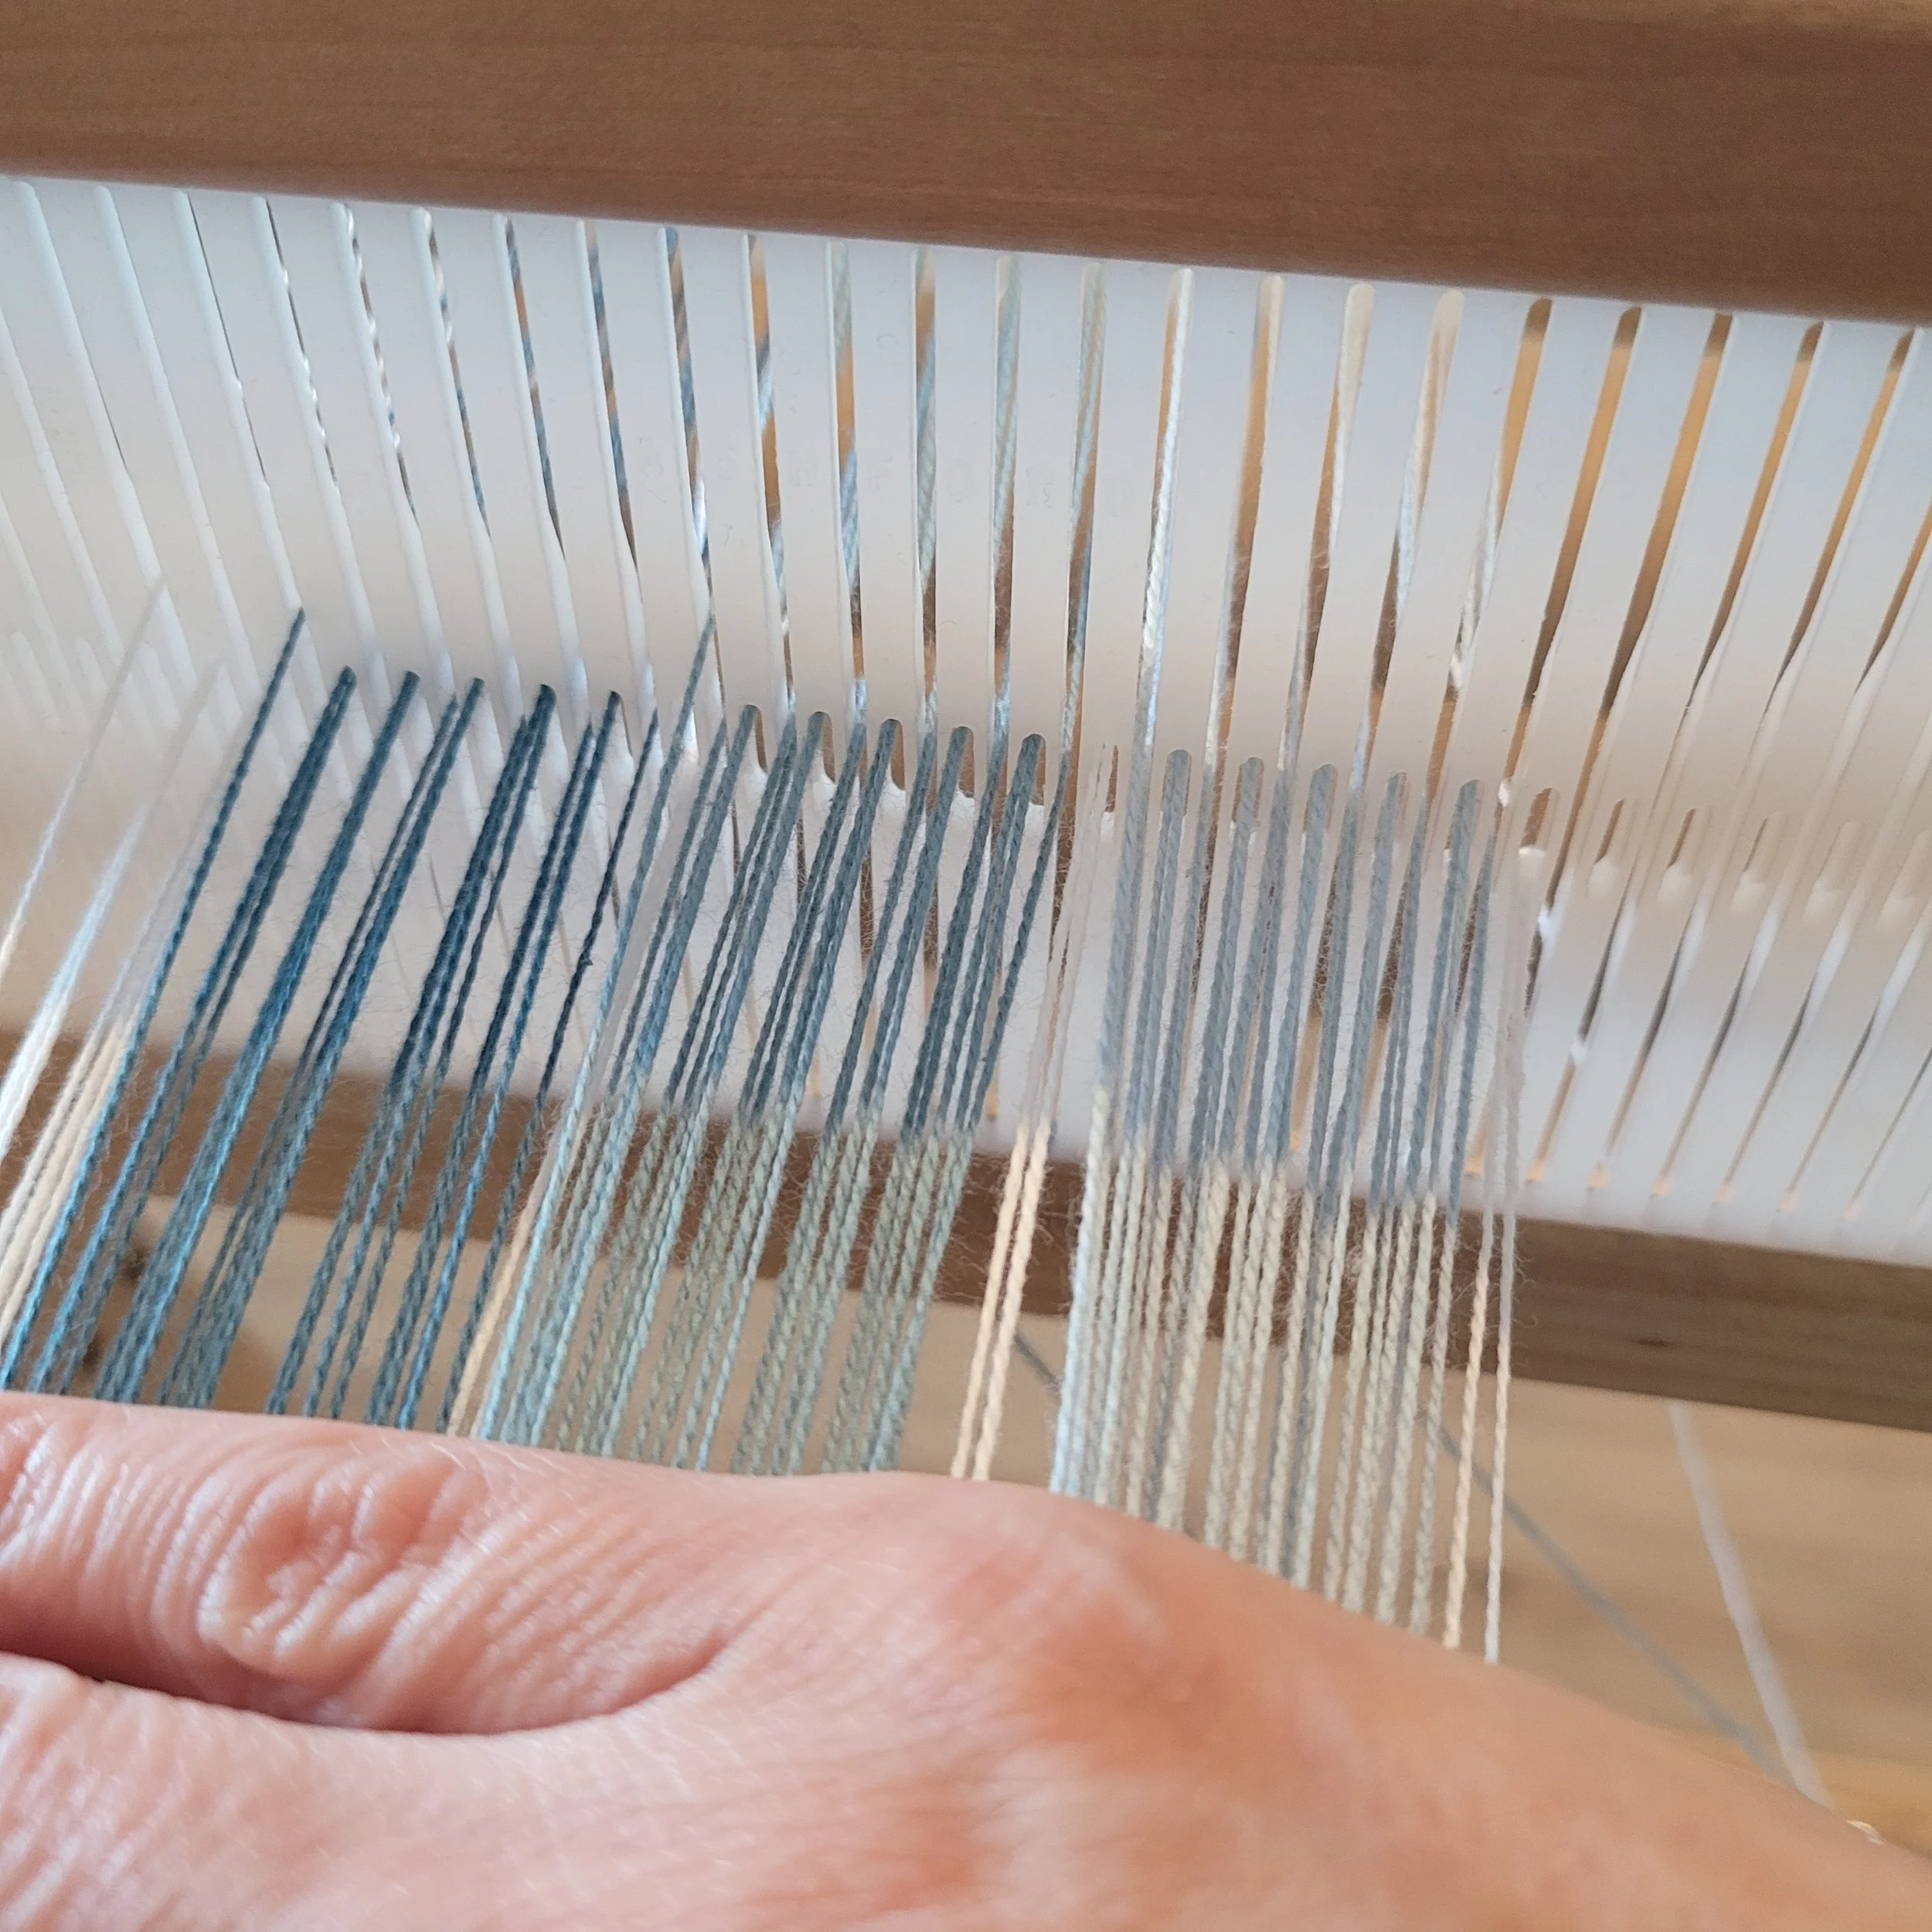
Two ends through the same slot
Threading 2 ends into the same slot:
This is a super easy fix IF the doubled slot does not impact the pattern. If you notice this while warping, just keep going and ignore it until it is time to thread the heddle. When you get to the doubled slot, simply take the 2 extra ends and toss them off the back of the loom. Then just weave as usual. The ends hanging off the back will not interfere with you weaving. (You don’t need to make sure they are a pair, just pick two ends and chuck them!)
If tossing the ends off the back is going to cause a problem with the pattern…for example you needed 33 ends and with the doubled slot you have 33 ends but will have only 32 if you toss them off the back, there are a couple of options depending when you discovered the error.
A) When you notice the mistake, take a look at where it is in the reed compared to the beginning of the warp AND check the pattern to see if the ends need to be in a slot or hole (sometimes this matters!). If the end is closer to the beginning of the warp AND the slot/hole doesn’t matter, just keep warping. When you are threading the reed, move each slot over 1 until you reach the doubled slot. Take the doubled end and thread it into the now empty hole beside the doubled slot. If if isn’t very close to the beginning, leave a slot empty and keep warping. After winding, you can move the warp over until you reach the doubled slot. You should now have a space for the doubled end.
B) If the slot/hole matters, leave an empty slot at the next colour change. You most likely realized you had a mistake because the next repeat/colour change did not start in the correct slot or hole. At the next change, leave a space, check to be sure that the end is starting in the right slot or hole and continue warping. When it’s time to thread the heddle, move the threads over until you reach the empty slot. You should now have an end to put in it!
I’ve even got a video for you!
Skipping a slot: We have all done this. The solution depends on when we noticed the mistake!

Painter’s tape to help keep track!
A) If you are still warping the same colour, just go back and thread the slot, then return to where you left off. You will have some crossed threads behind the heddle but that is nothing to worry about.
B) If you notice it quite quickly while still warping, but are onto the next colour, leave an empty slot and keep warping. After winding, you can move the threads over one slot, starting from the empty slot and working back to the doubled slot.
C) Sometimes you will not notice this until it is time to thread the heddle, or maybe even until you start weaving if you are threading both slots and holes! If it doesn’t interfere with the pattern, treat the empty slot as a broken warp end, adding a new end, tying it onto the front beam and weighting it off the back of the loom. If it does interfere with the pattern, you will need to go back and move the ends over one until you have filled the slot. Time-consuming, yes, but not as time-consuming as undoing a whole warp!
Here’s a video!
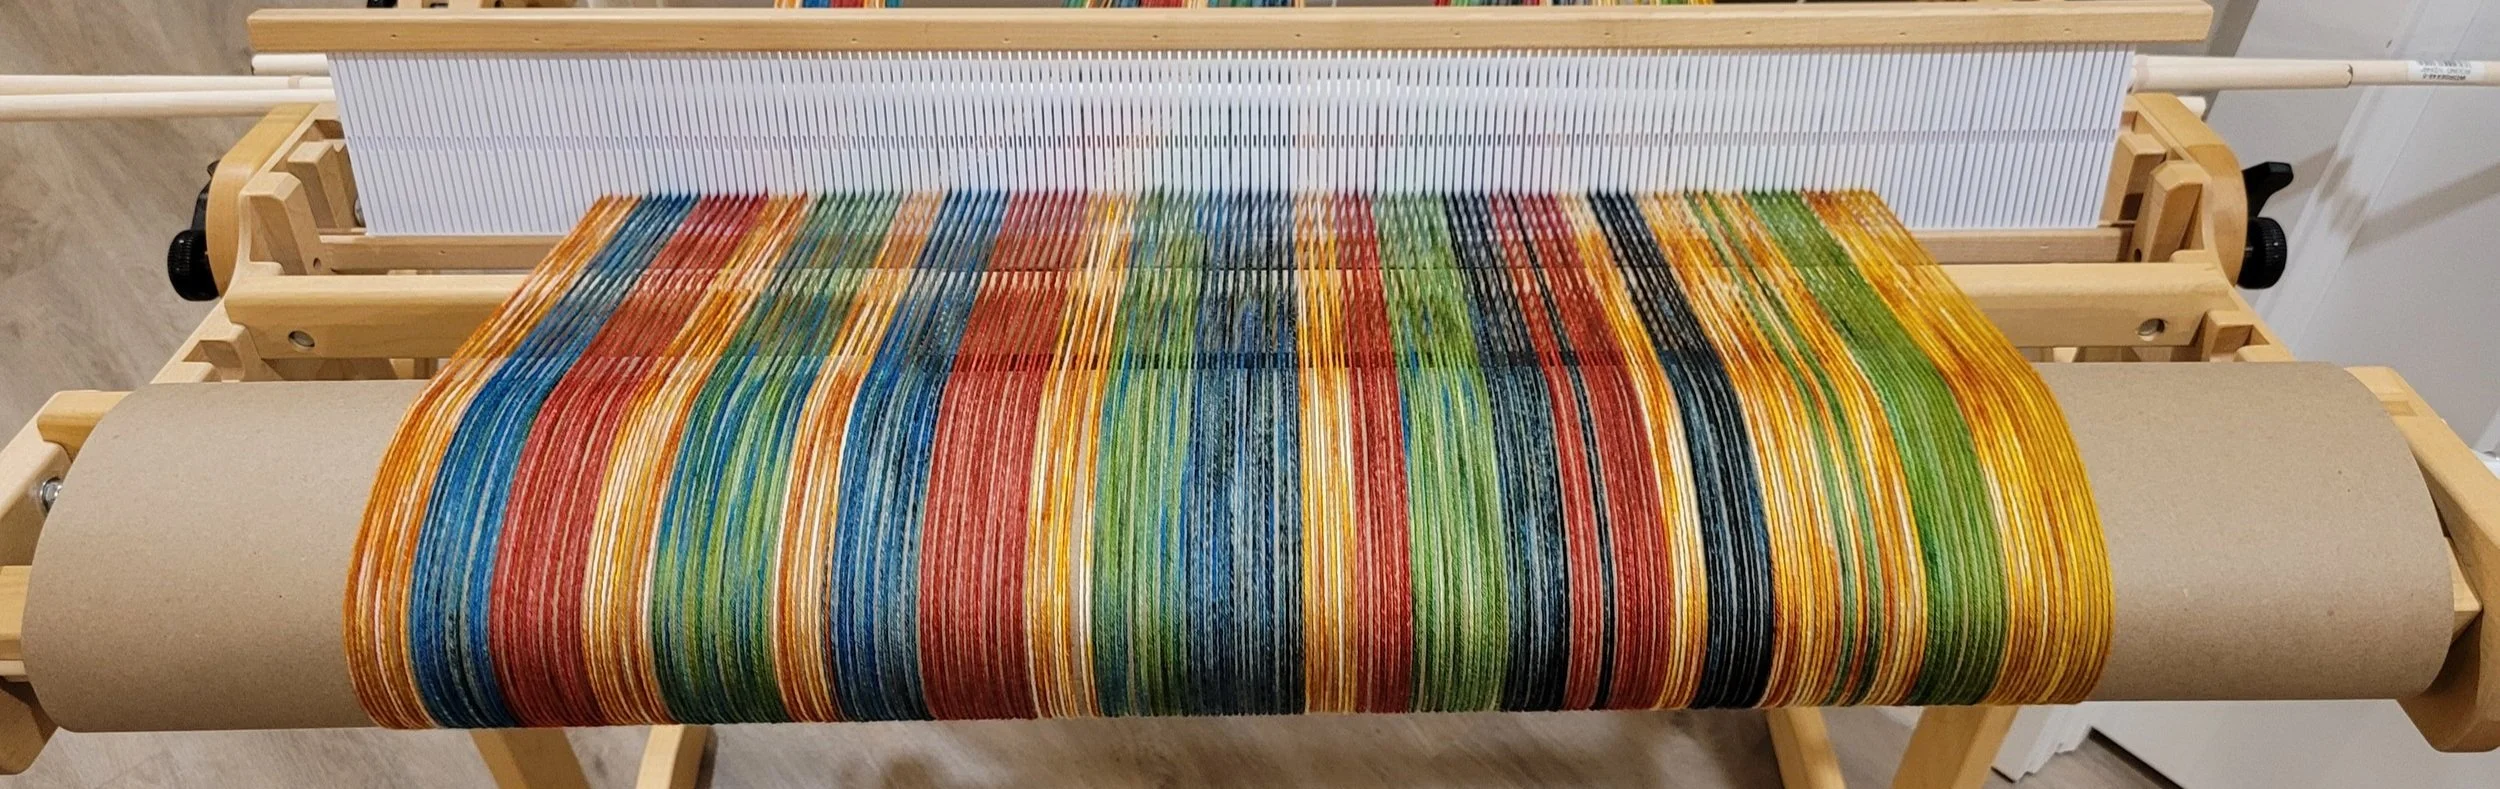
Checking my warp!
Ok, now that we know about how to fix these mistakes, let’s just briefly touch on how to prevent them! The best way to prevent mistakes is to slow down and reduce distractions. But I get it, we get excited and want to get to the weaving, and we can’t always ignore our distractions (especially if we had a hand in making them!!). So, the next best thing is to check frequently. I try to check my work at each colour or block change. Sometimes I write the warping sequence on painter’s tape and tape it to my loom so I can do a quick check if the colour changes are frequent. I also warp using multiple pegs, so I check each time I move from one peg to the next. These don’t eliminate all my mistakes, but it does keep them to a minimum!
Now, as promised, how to unwind a whole warp without a tangled mess! I really wished I had videoed the process, but at the time I was not in a video-ing mood! The most important thing to remember that yarn under tension cannot tangle. Here’s a step by step:
Starting from the reed, use your fingers to follow the last end warped back to the peg.
Lift that end ONLY off the peg and wind it back onto the cone/skein/ball.
Only after the last end is fully wound, go back to the reed and follow the next end to the peg.
Repeat this as many times as needed to get back to the mistake.
Do not be tempted to try 2 or 3 ends at a time…I assure you it will not save time! In the end, it took me longer to unwind than wind, but there was no tangled mess and I preserved my yarn and my sanity!