Threading the Heddle Made Easy!
I love weaving. And I love efficiency! Here’s a little trick I learned and pass onto students in my classes. The first time I taught it, they thought it was magical. I hope that you find it useful too!
After you have your warp all wound up and you are ready to thread the heddle, try this:
I love weaving. And I love efficiency! Here’s a little trick I learned and pass onto students in my classes. The first time I taught it, they thought it was magical. I hope that you find it useful too!
After you have your warp all wound up and you are ready to thread the heddle, try this:
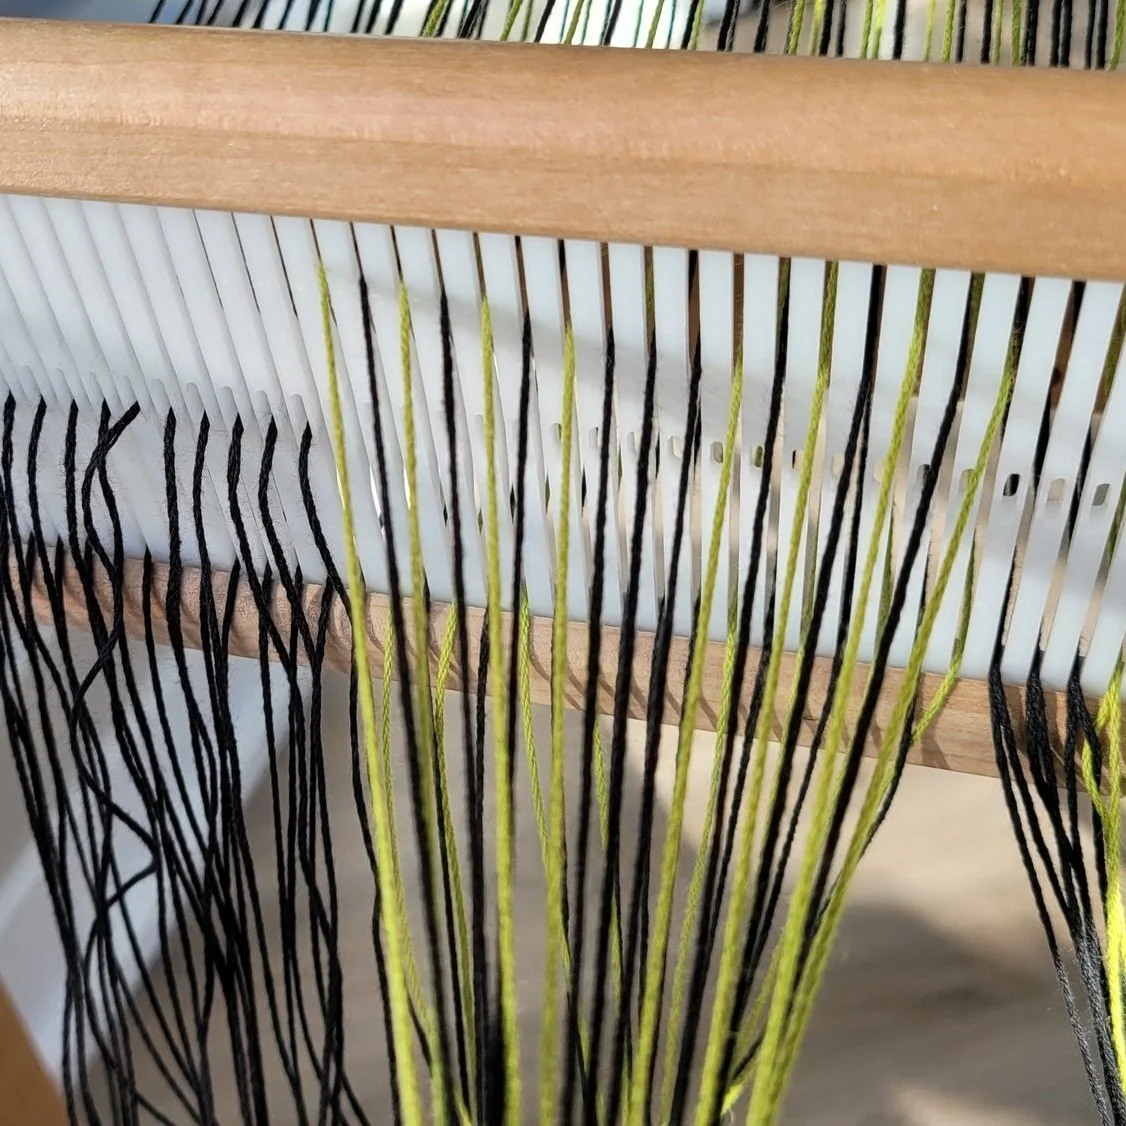
Gather up a handful of ends (it doesn’t matter how many, I’ll gather up a few inches worth).
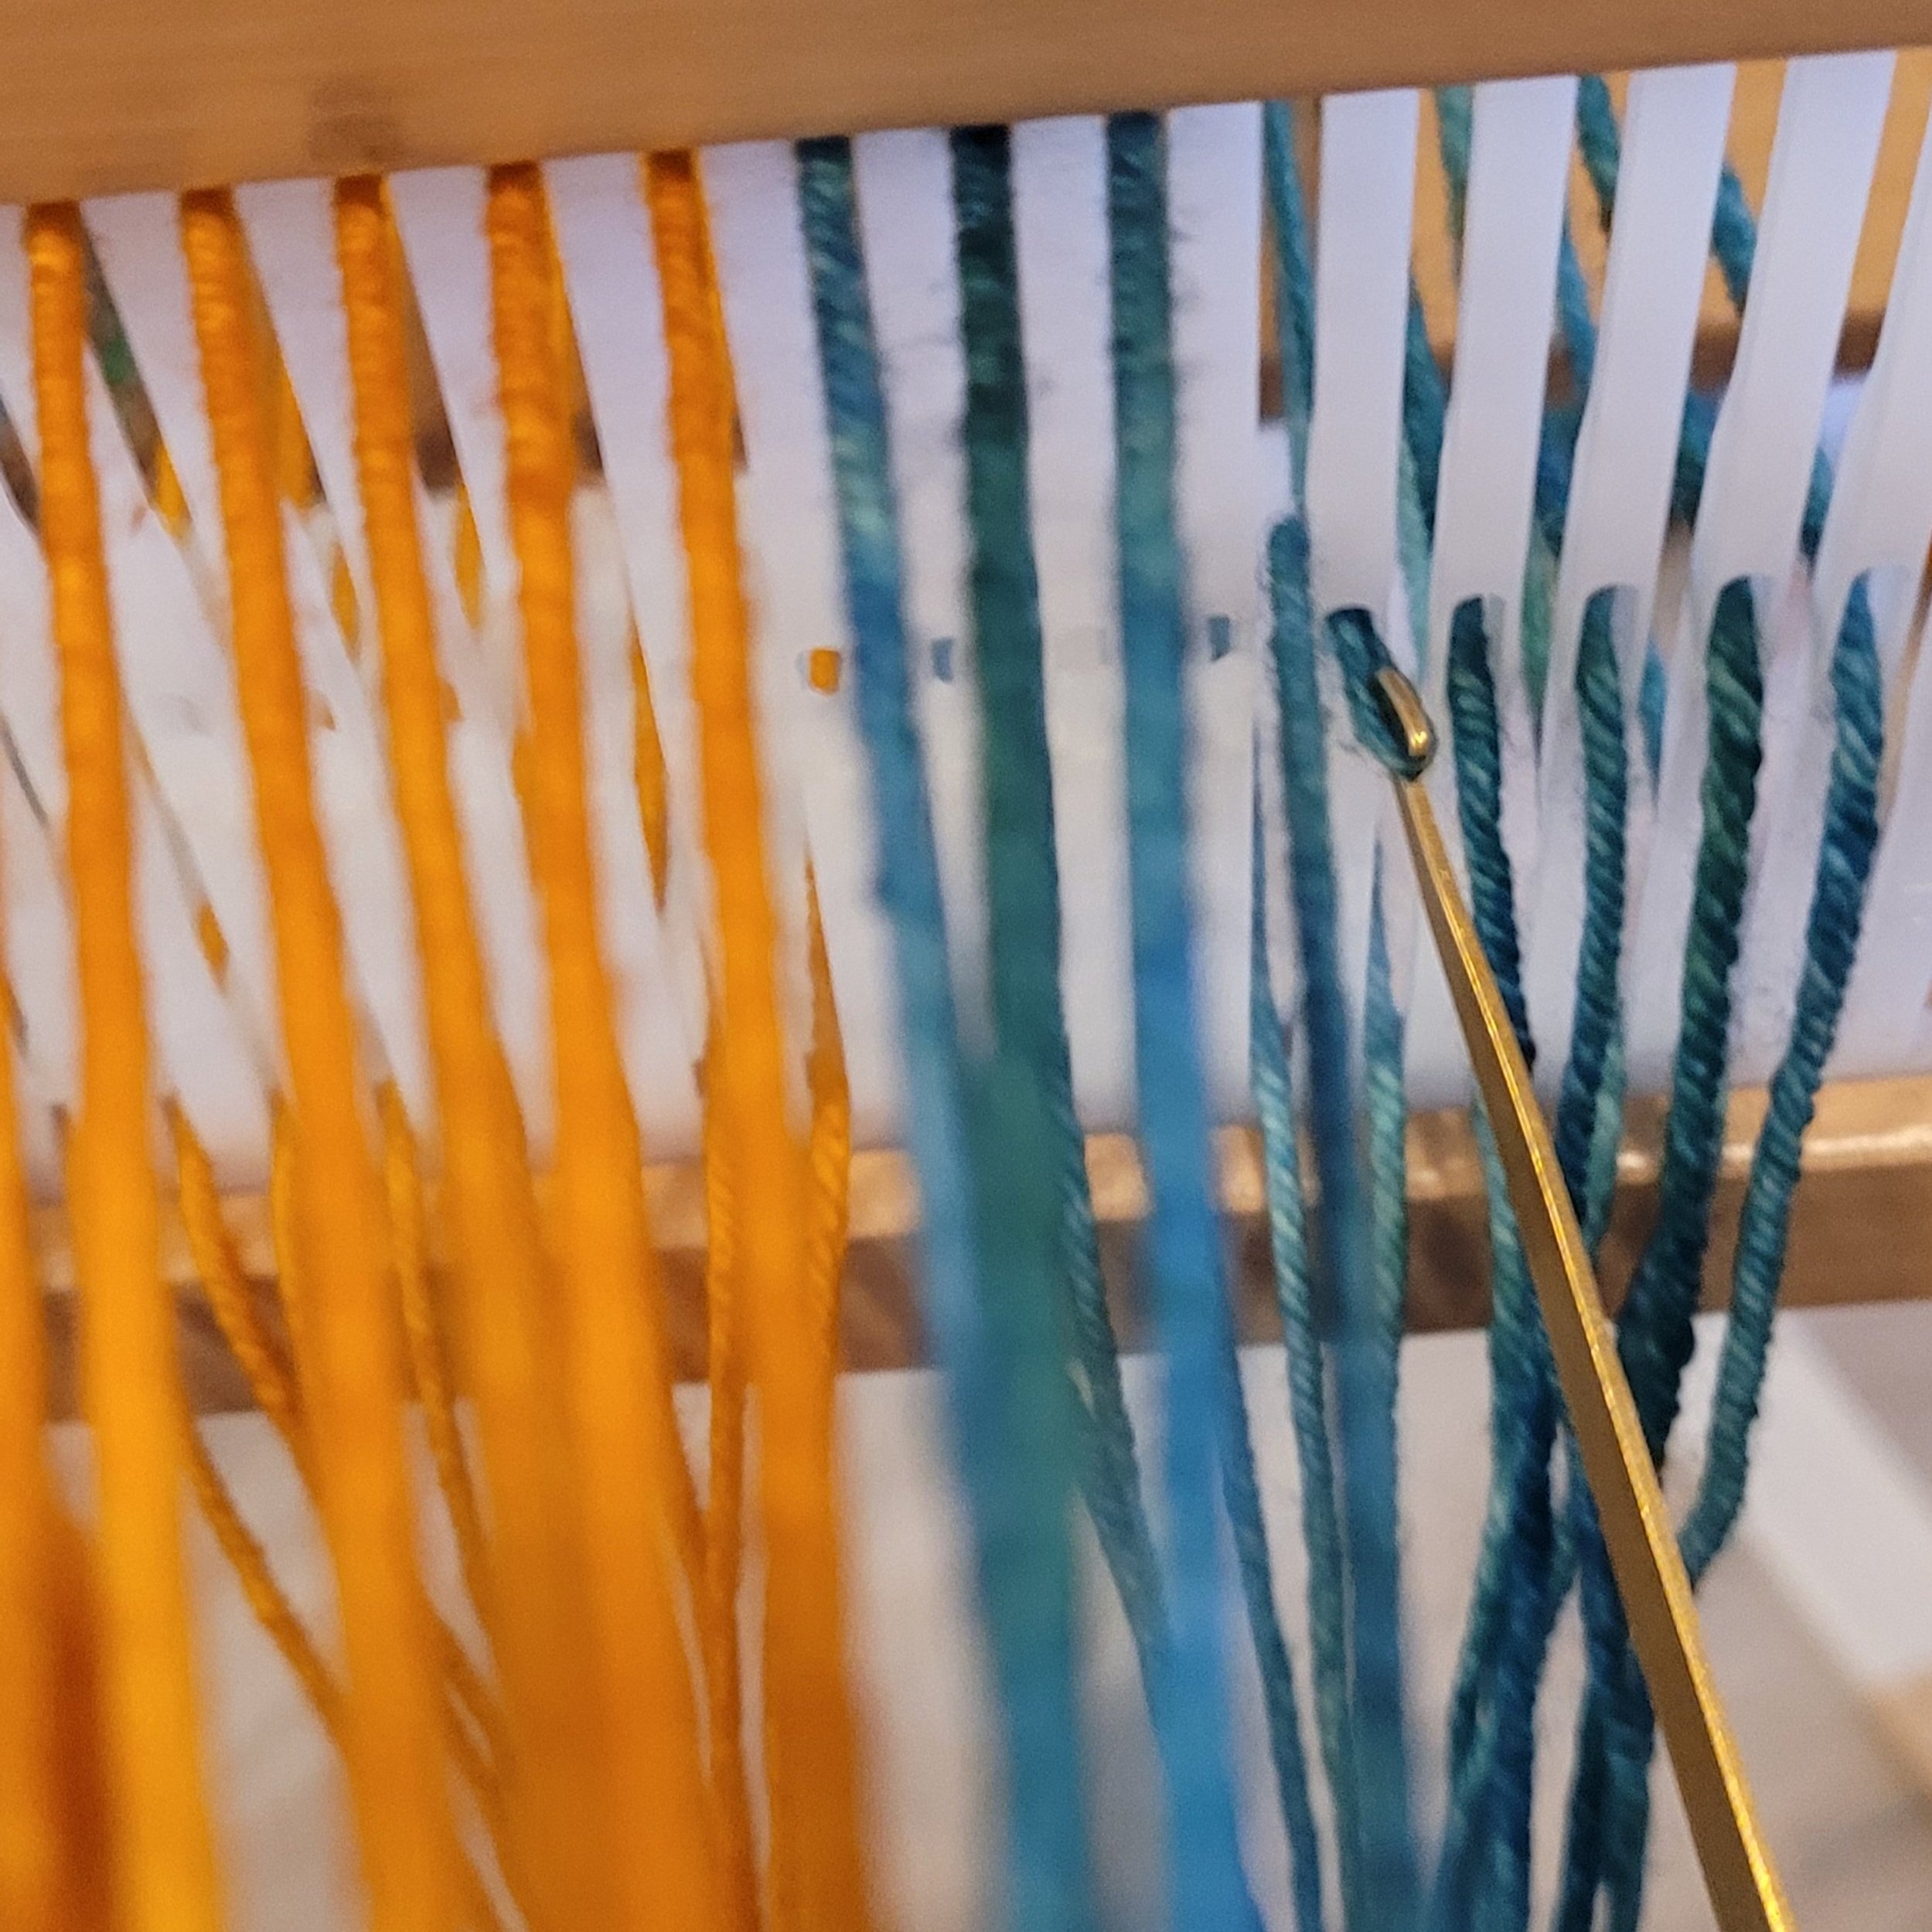
Holding the ends, pull them out so there is a little tension on them. Using your threading hook, slip the hook under 1 end of each pair. I promise that this gets easier as you practice…and it’s worth slowing down now to be faster later!
Lift up the ends that are on top of the hook and drop the remaining ends. Grab the ends on the hook and hold onto them. These are the ends that you will thread through the holes.
4. Raise up the ends in your hand to the top of the slots. Slip the threading hook through the desired hole. Lower the ends in your hand, hook the warp end you want and pull it through the hole. Repeat across the loom. As you lower the ends, the outer-most end should naturally fall right on the hook for easy hooking. Be sure to tie a slip knot when you are done your bundle so if the reed falls your warp will not fall out!
Weaving isn’t about speed (though I do like efficiency), but I’m pretty convinced that if you give this method a fair try, you will find that it is easier. That it’s also faster is just a side benefit!
Here’s a video.
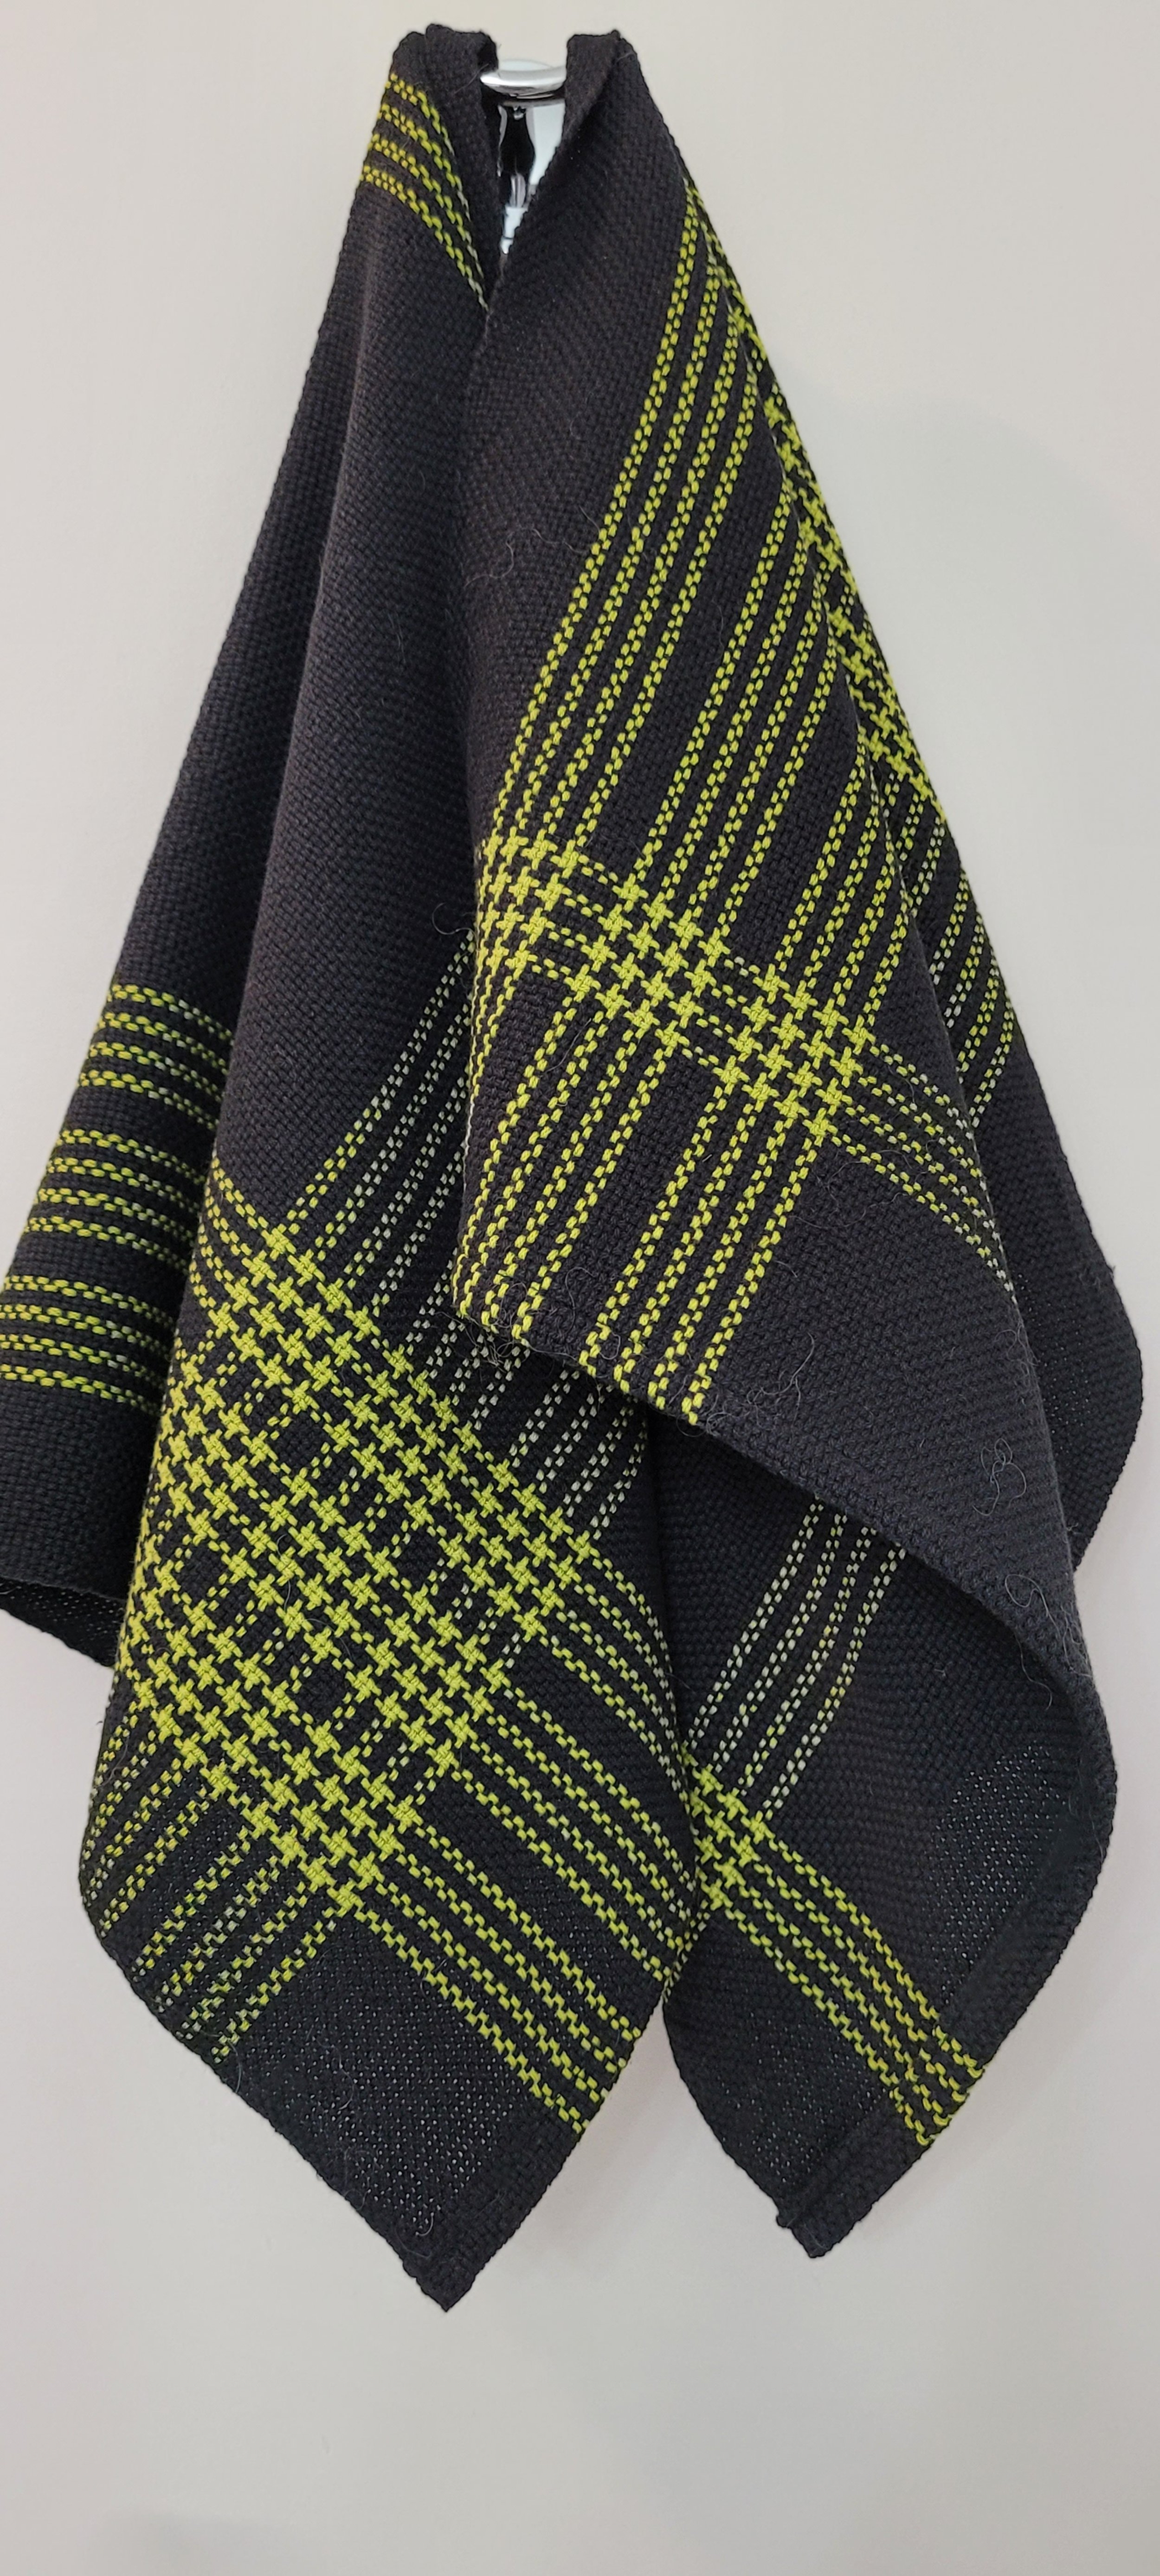
Ready to hone your skills with some practice projects? Here are a couple of patterns perfect for your practice sessions. From left to right: The Tranquility Wrap, My First Scarf and Crossroads Tea Towel.
Happy Weaving!

