Re-Winding a Warp
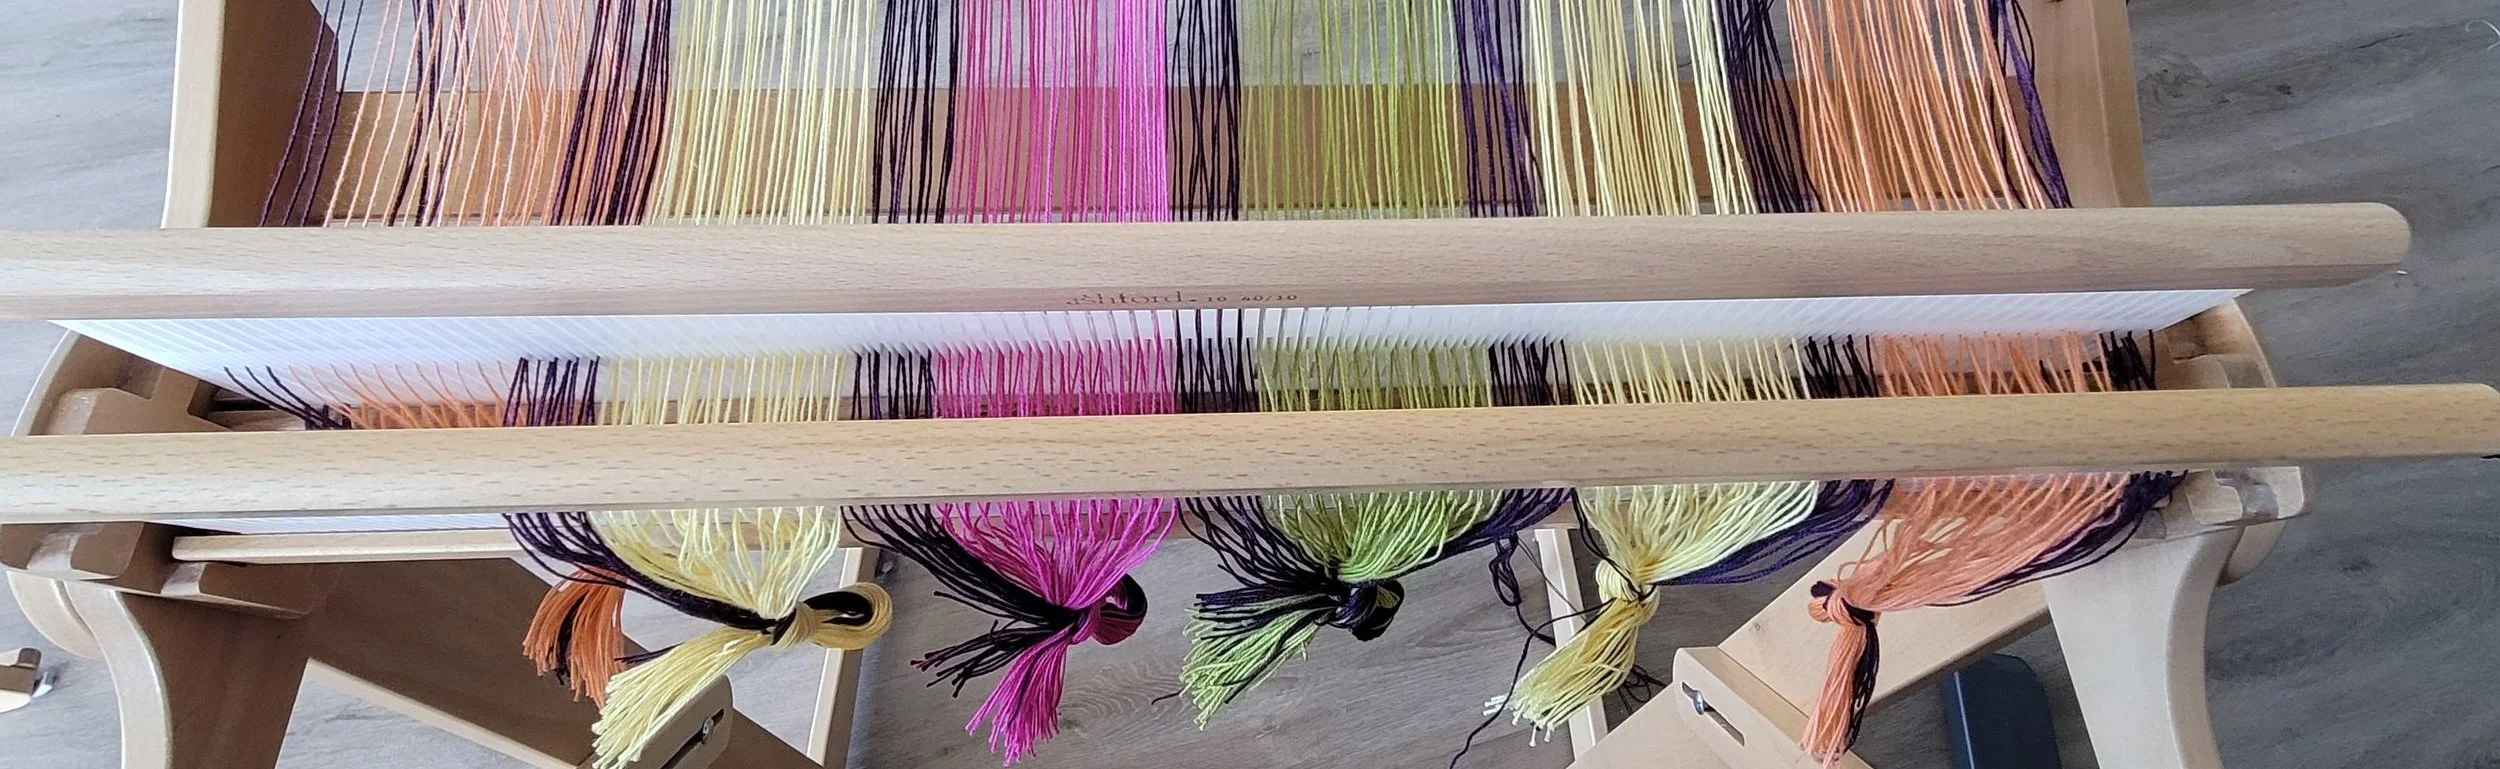
Weaving requires attention and care. It never pays to get distracted while warping! And I talk a lot about checking each section before moving onto the next. Let me share why. Take a look at the picture above. See that wider purple stipe smack dab in the middle? That was where I got distracted. I’m not sure if I forgot to count or forgot how many ends I was supposed to have. And it really doesn’t matter because the result was the same: with that wide stripe, I was not going to have enough slots and holes to warp the pattern. And I didn’t realize the mistake until I was well past it!

I stepped back for a moment to consider my options:
I could unwind and fix the mistake.
I could continue warping and winding, then toss the extra ends off the back, move everything over, then add the final ends and hang them off the back of the loom with s-hooks.
I went with Option 2 for a variety of reasons. First, this is a 2-heddle project; that means that each slot contains 4 ends. That seemed quite complicated to unwind and very time-consuming. Second, I’ve thrown ends off the back any number of times without problem, and added so many extra ends in that it doesn’t even seem a challenge anymore.

So, problem solved, on my way! I wound, moved everything over and added 12 extra ends (3 slots) to the loom with s-hooks. Honestly, things looked good and I was confident I’d have no trouble.

And then I started weaving. May I just say that 12 ends, on the edge of a warp, tied on with s-hooks, does not make for consistent or even tension? It started ok, but as I continued to weave the selvedge edge got worse and worse. I added extra hooks, extra weights and even wrapped the ends around a dowel like an extra warp beam. Nothing helped and weaving was not fun. After about 8” I gave up and decided to cut the work off and rewind the warp.
Here’s a step-by-step guide in case you ever need to do this!
Before cutting off the work, wind the woven cloth and warp far enough forward so that when you cut, the threads do not slip out of the heddle. Cut in small sections, and tie slip knots as you go. Since I had 2-heddles threaded, I really did not want to come unthreaded!
After cutting the warp and tying the slip knots, remove the woven section from the loom.
Begin unwinding the warp. I unlocked the cog and using both hands, gently pulled the warp forward. I had to unwind the full warp since I was going to add ends to the back warping stick. However, if you are unwinding to fix tension issues, you do not need to unwind the full warp. Leave at least 1 full turn on the back beam. This will hold all the warp ends so they cannot slip. If you have unwound fully, since the ends have been cut, and are no longer under tension, it is super easy for you to pull a thread or two or ten making the warp ends uneven. If you must unwind all the way, a length of painter’s tape across the warp and the back warping stick will keep everything in place.
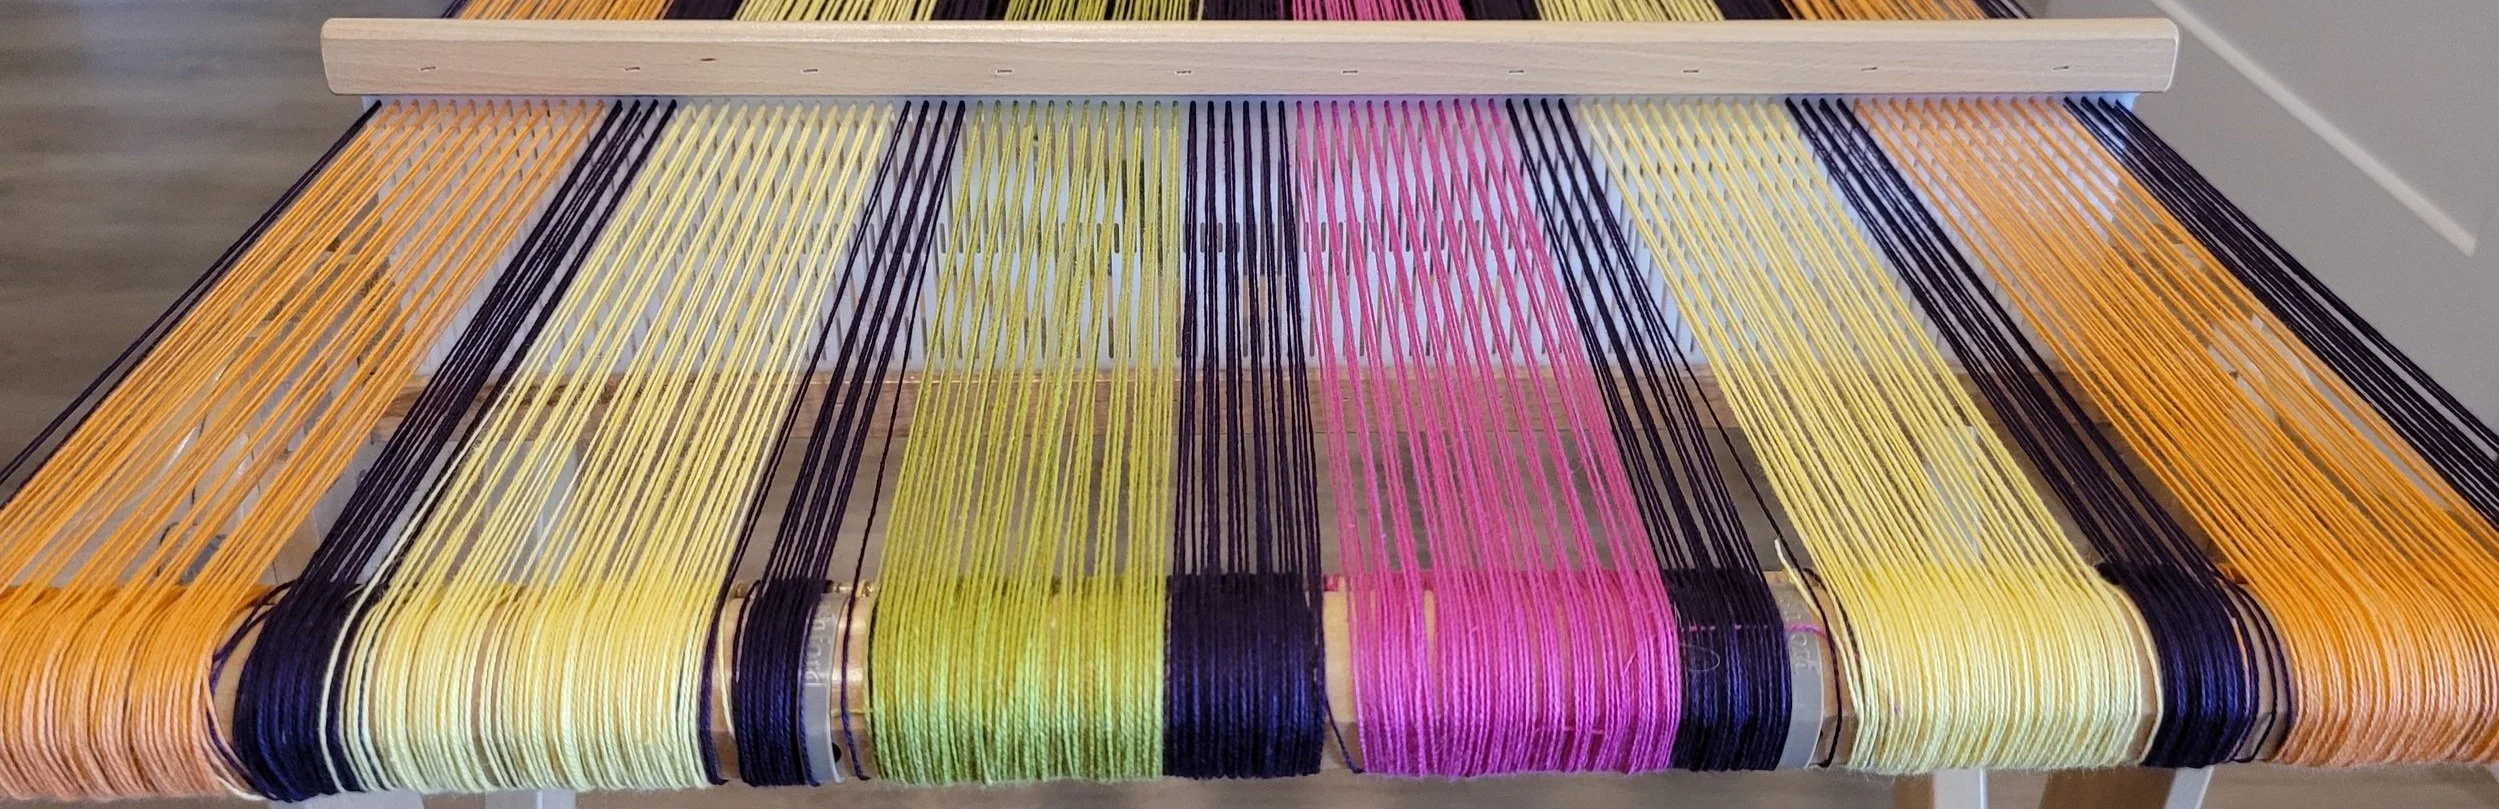
At this point I tied my extra ends onto the back warping stick and removed the extra ends from the middle.
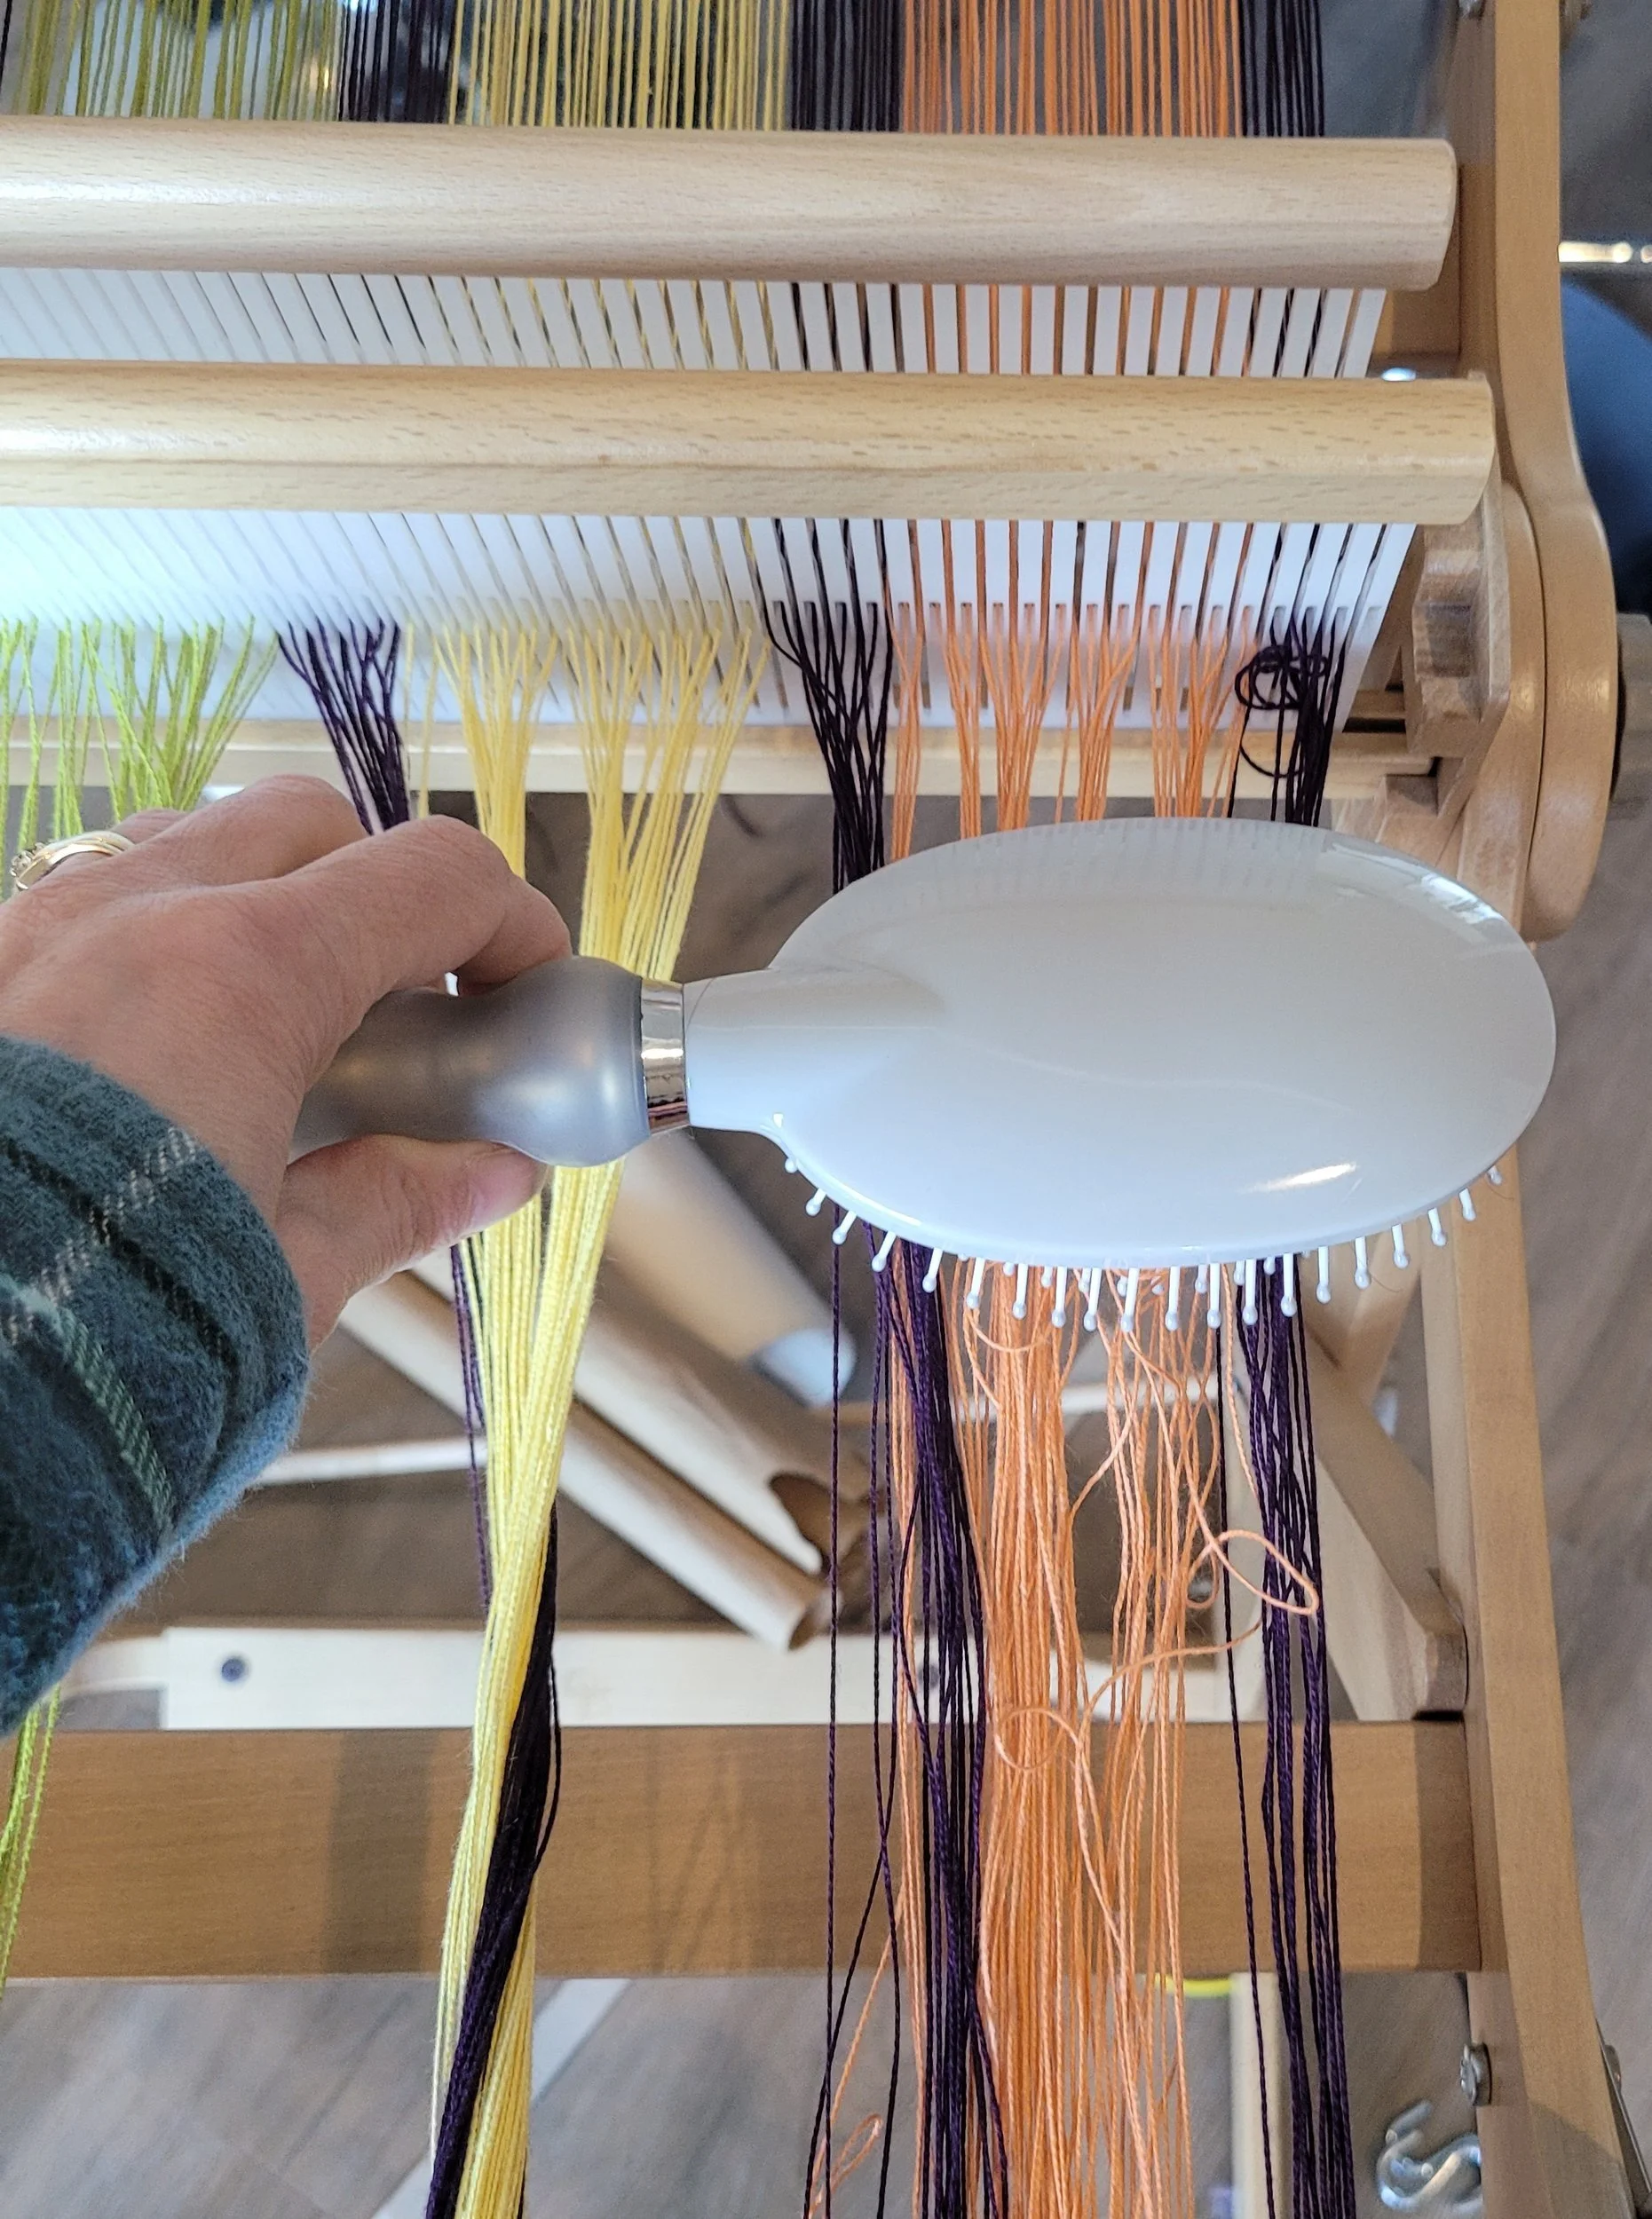
Then I began to wind the warp again using crank and yank. Cotton under tension doesn’t tangle. Cotton left to hang loose can get quite tangled! Don’t stress too much, it looks far worse than it is! This is one of the few times I broke my rule about brushing the warp. I did, however, remember that what I do to one bundle I must do to all the bundles. So each bundle got gently brushed to remove tangles near the reed (I didn’t brush the whole length, just the length that would be woven in with the next crank).
Thankfully, everything went surprisingly smoothly! I had one length that slipped when warp was unwound which resulted in a super-long end and a too-short end when it came to tying on. I trimmed the long end and tied an extra length to the short end so I could tie it on. After passing the knot in weaving, I untied it and wove the end in.
After all of that, and some distance from the project, I realized that the best solution would have been to continue warping and add the extra ends into the reed in the last colour block. So, in the last block, orange, the final three slots would contain 4 orange ends and 4 purple ends each. After winding I could then toss the extra ends in the middle off the back, move everything over, and have room for the purple borders! *Hindsight!*
And here I am, ready to tie on again!