Why Every Weaver Should Weave a Colour-and-Weave Gamp!
A gamp in weaving is like what a sampler is to embroidery. You’ve probably seen samplers in pioneer museums—those beautiful, intricate pieces hanging on walls that young women made in the 18th and 19th centuries to show off their skills. A gamp serves the same purpose for weavers. It’s a woven sampler that lets you play with patterns and colour combinations, all in one project. I think every weaver needs to weave one at least once! They’re not just skill builders, but also incredible design tools you’ll use again and again. (And, non-weavers will be very impressed!)
A Colour-and-Weave Gamp as a Skills Builder Project
There are so many skills to learn in weaving, and a gamp can help you learn lots all in one project!
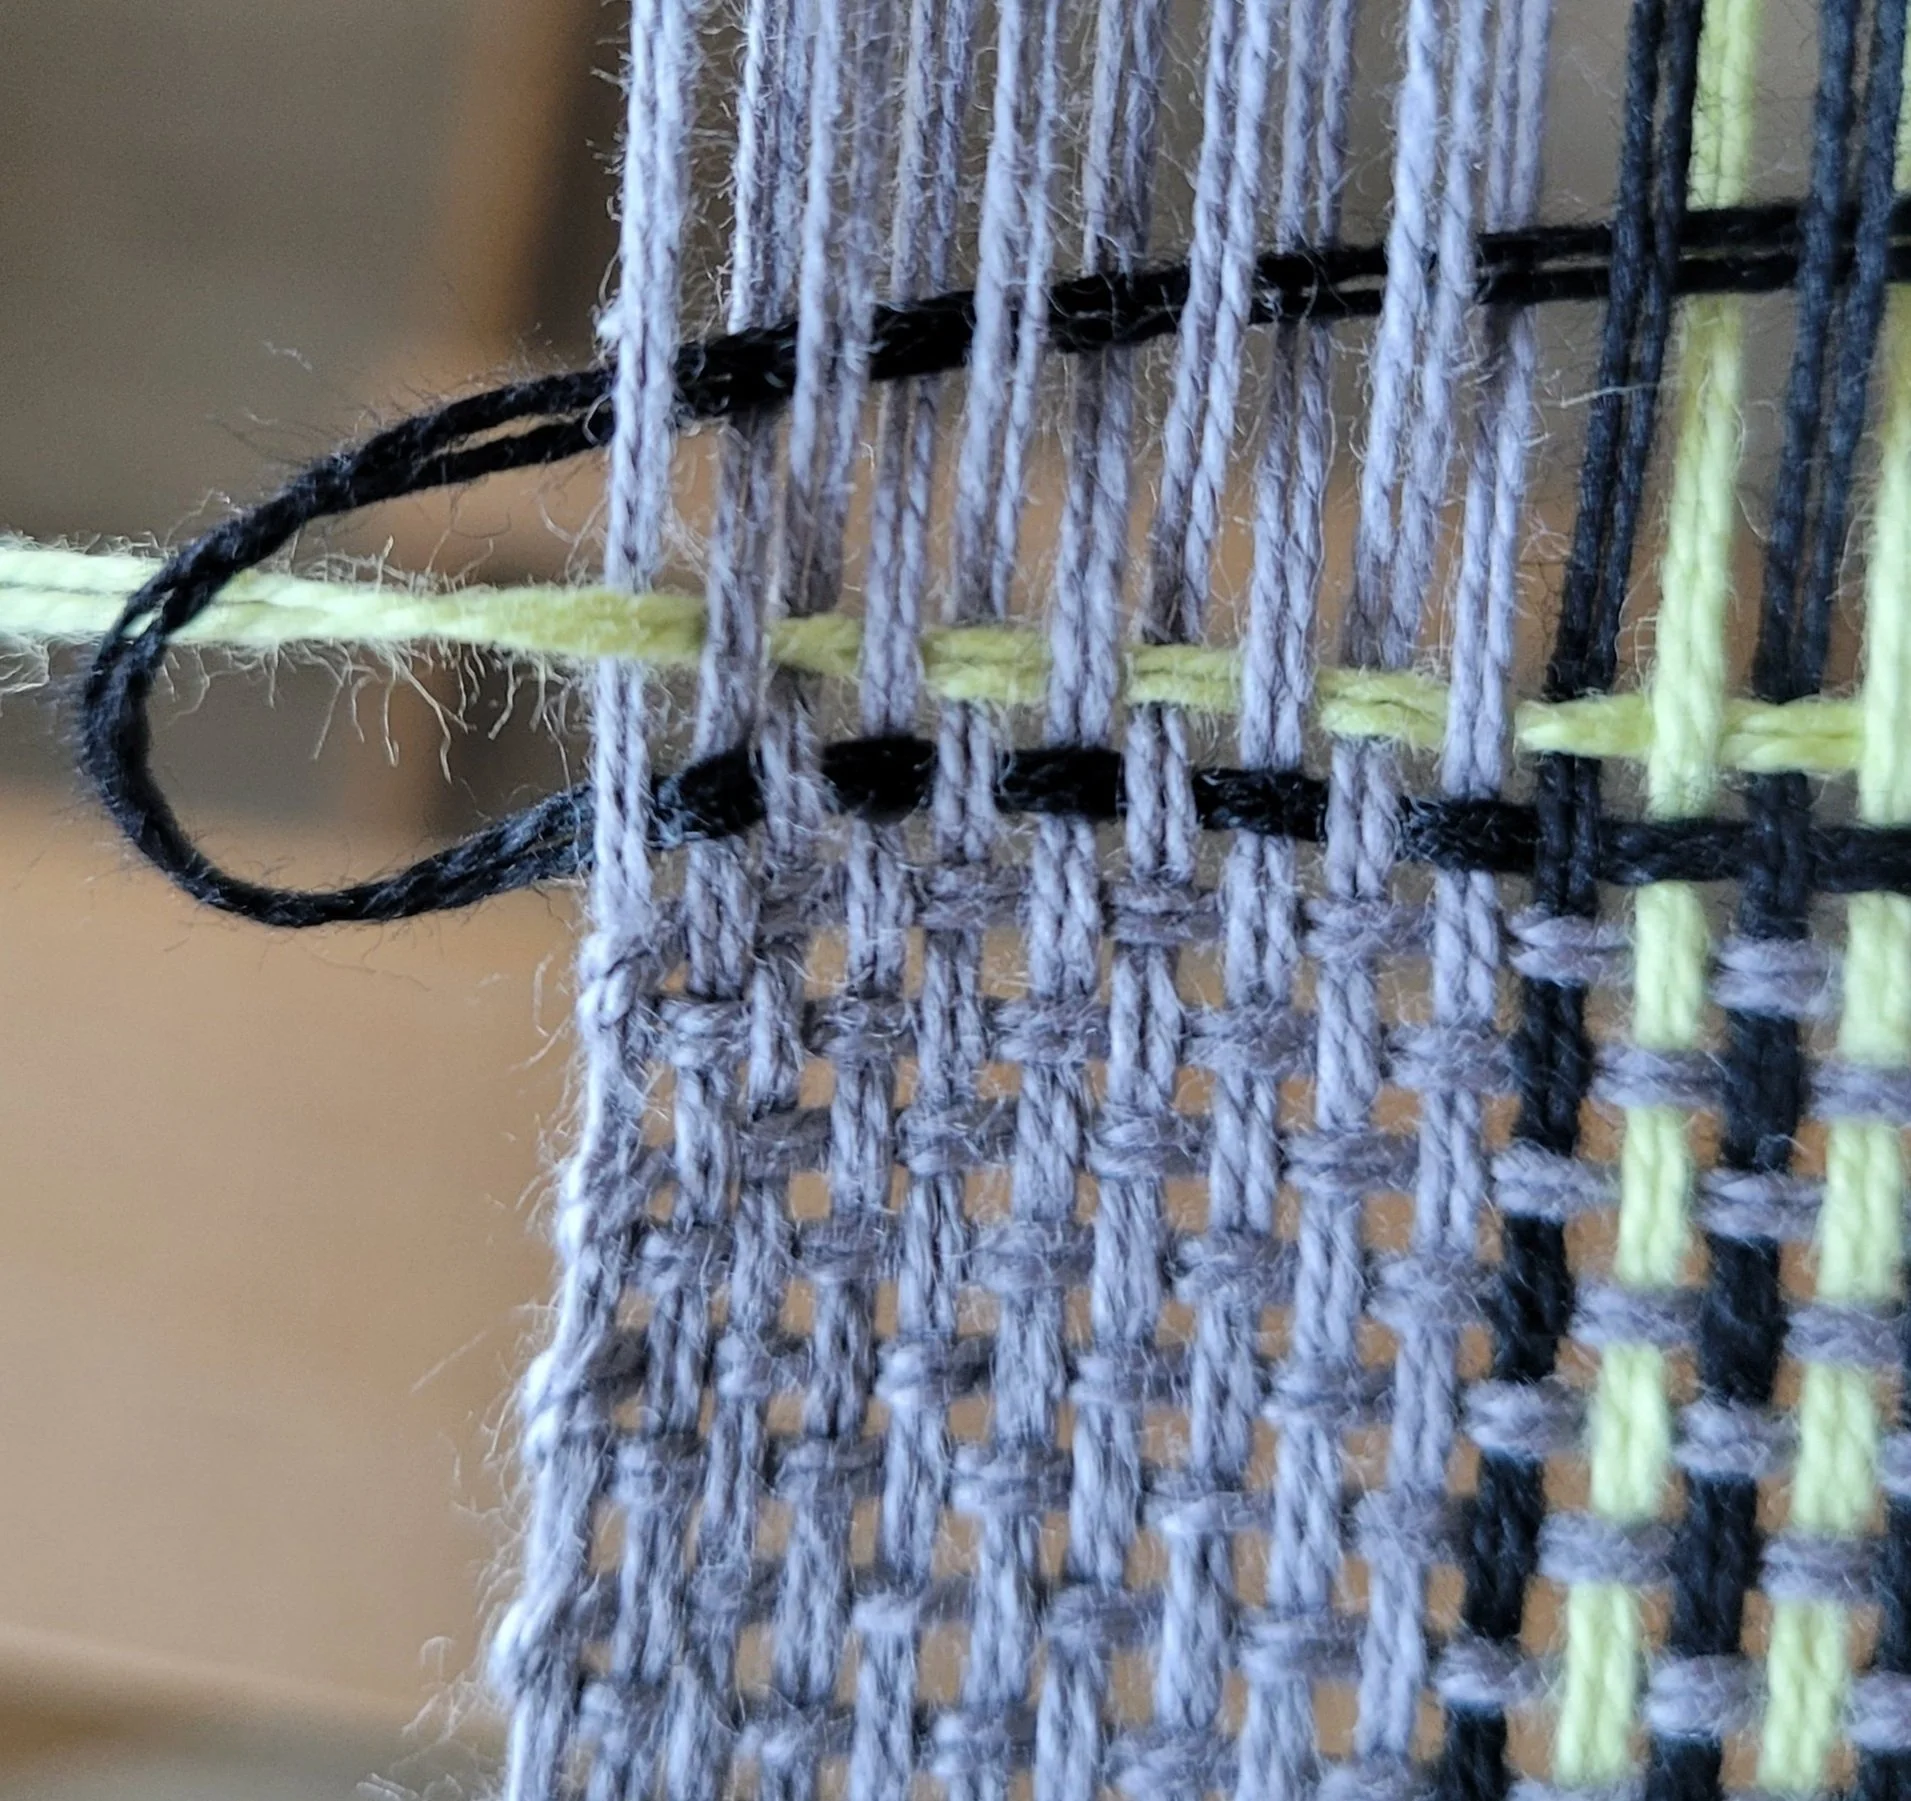
1. Warping with multiple colors: I know, changing colours while warping can seem a bit daunting at first, but trust me, it’s not as hard as it looks! When I weave a colour-and-weave gamp, I don’t cut and tie at each colour change. Instead, I let the threads cross behind the heddle. You can even warp two colours at once—it’s quicker and a lot easier than you might think. (I’ve got a video that shows you how, if you need it.)
2. Staying on track with patterns: We’ve all been there—getting into a good weaving "zone" only to realize we missed something important. A gamp helps keep you stay focused because you have to pay attention to each block change, whether it’s in warping or weaving. It’s a great way to practice catching mistakes before they turn into something you have to fix later. And honestly, learning to stop and check your work is important in any project!
3. Switching colours while weaving: Using lots of colours while weaving is fun but it can also be a bit of a hassle. A colour-and-weave gamp is the perfect way to practice changing colours smoothly. You’ll get the hang of techniques like split-plying to make colour changes almost invisible. It’s worth taking the time to learn this skill! Here’s a video.
4. Handling multiple shuttles: Using two shuttles at once is definitely a little awkward until you get the hang of it. Most of us assign a specific direction for our sheds—like, the up-shed always goes right to left. But in color and weave, you’ll need to keep a closer eye on your weaving since those usual rules fly out the window. Don’t worry—before long, your eyes and hands will learn to work together, and you’ll be less likely to get confused about which shed comes next. And here’s another video!
5. Help you really “see” how the warp and weft interact. This will give you a much better understanding of weaving and make it easier for you to visualize what will happen when planning future projects.
A Gamp as a Design Tool
Here’s a tip: don’t give away your first colour-and-weave gamp! Add it to your weaving “tool box”: you will keep pulling this out! (Try folding this up after washing and I bet you won’t be able to stop yourself from examining how the patterns were created!)
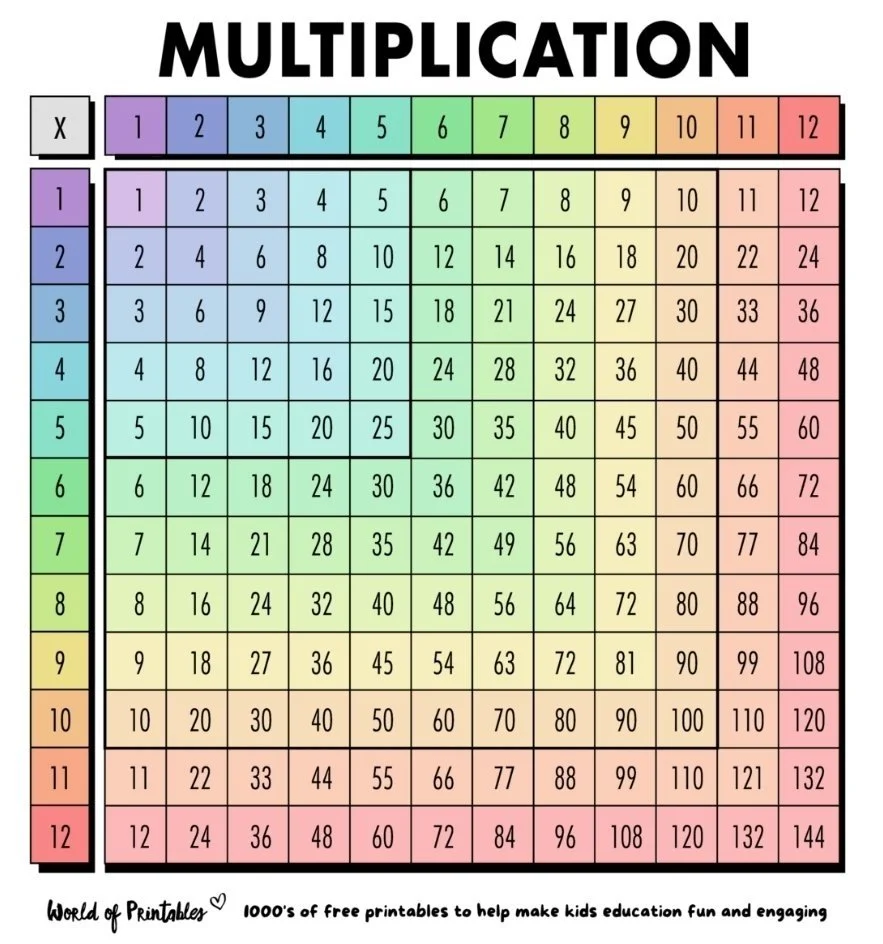
Using it to design is really simple—remember those multiplication tables from school? That’s how a colour-and-weave gamp works. Just lay it out, pick the pattern you love, and trace it horizontally to see what the weaving pattern is. Then, trace it vertically to see how the warp was threaded. If you’re like me and prefer not to repeat the same design twice, find a warp pattern you already have on your loom along the bottom and explore the vertical column for something new to try. The possibilities are almost endless! And here’s the best part: you don’t need to learn anything beyond plain weave (unless you want to experiment with pick-up sticks and colour-and-weave, which can look amazing).
If you’re looking for a project that’s not only going to boost your colour-and-weave skills but also give you a practical tool for designing future projects, weaving a color-and-weave gamp is it! It’s a project that will grow with you, letting you revisit and discover new ideas every time you sit down at your loom.
Want to weave up your own Colour-and-Weave Gamp? Check out this pattern.


