
New Tricks!
I love that you can think you’ve found the best way to do something and then you learn something new! Learning is always happening. I’ve always tied my warp onto the front warping stick the same way: take a small bundle, split it in half, go over, then under the front warping stick and tie using a surgeon’s knot. I’ve tried lashing and didn’t really like it, mostly because that long string for lashing was just annoying to me.
When I warp my floor loom, I attach the warp to the back beam using a lark’s head knot. In my head it seemed a bit (but not really) like lashing. I tried it on the back warping stick when indirect warping my rigid heddle and it worked beautifully. But you know brains, they get an idea and run with it! Mine said…what if we use the same idea on the front warping stick of our rigid heddle? So I tried it, first with wool, then with cotton. And was amazed!
I’ll walk you step by step through the process, but let me give you a little review first. This is easiest with wool that has a little bit of stretch because if the knots aren’t all perfectly lined up, the stretch in the wool will make up for it. With cotton you need to be much more careful about the knots. This method seems to produce less tie-on waste but I haven’t actually measured. It is something to keep in mind if you want a long fringe though. Also, when I got it right with the cotton, both sheds were perfect from the start! If the tension is a smidge off, the insertion of a couple cardboard warping sticks fixed any issues. If it was way off, the only way to fix it was retie some of the knots.
Ok, tying on The Rogue Weaver way! (If you try this, I’d love your feedback.)
You will need Texsolv heddles, 1 for each inch of width (so for 18” of width you will want 18 heddles. You can make your own string heddles. Be sure they are all the same size! Here’s a video to show you how to make string heddles.
Warp and wind your loom as usual. You may want to leave less warp in front of the reed than usual, just be careful it doesn’t slip through the reed!
Attach the string heddles to the front warping stick. Place the heddle under the front warping stick, open up one hole in the heddle, fold the heddle over the front warping stick and pass it through the loop that is under the warping stick. On my Schacht loom I put about 6 heddles in between each of the sections between the texsolv that holds the front warping stick to the loom.
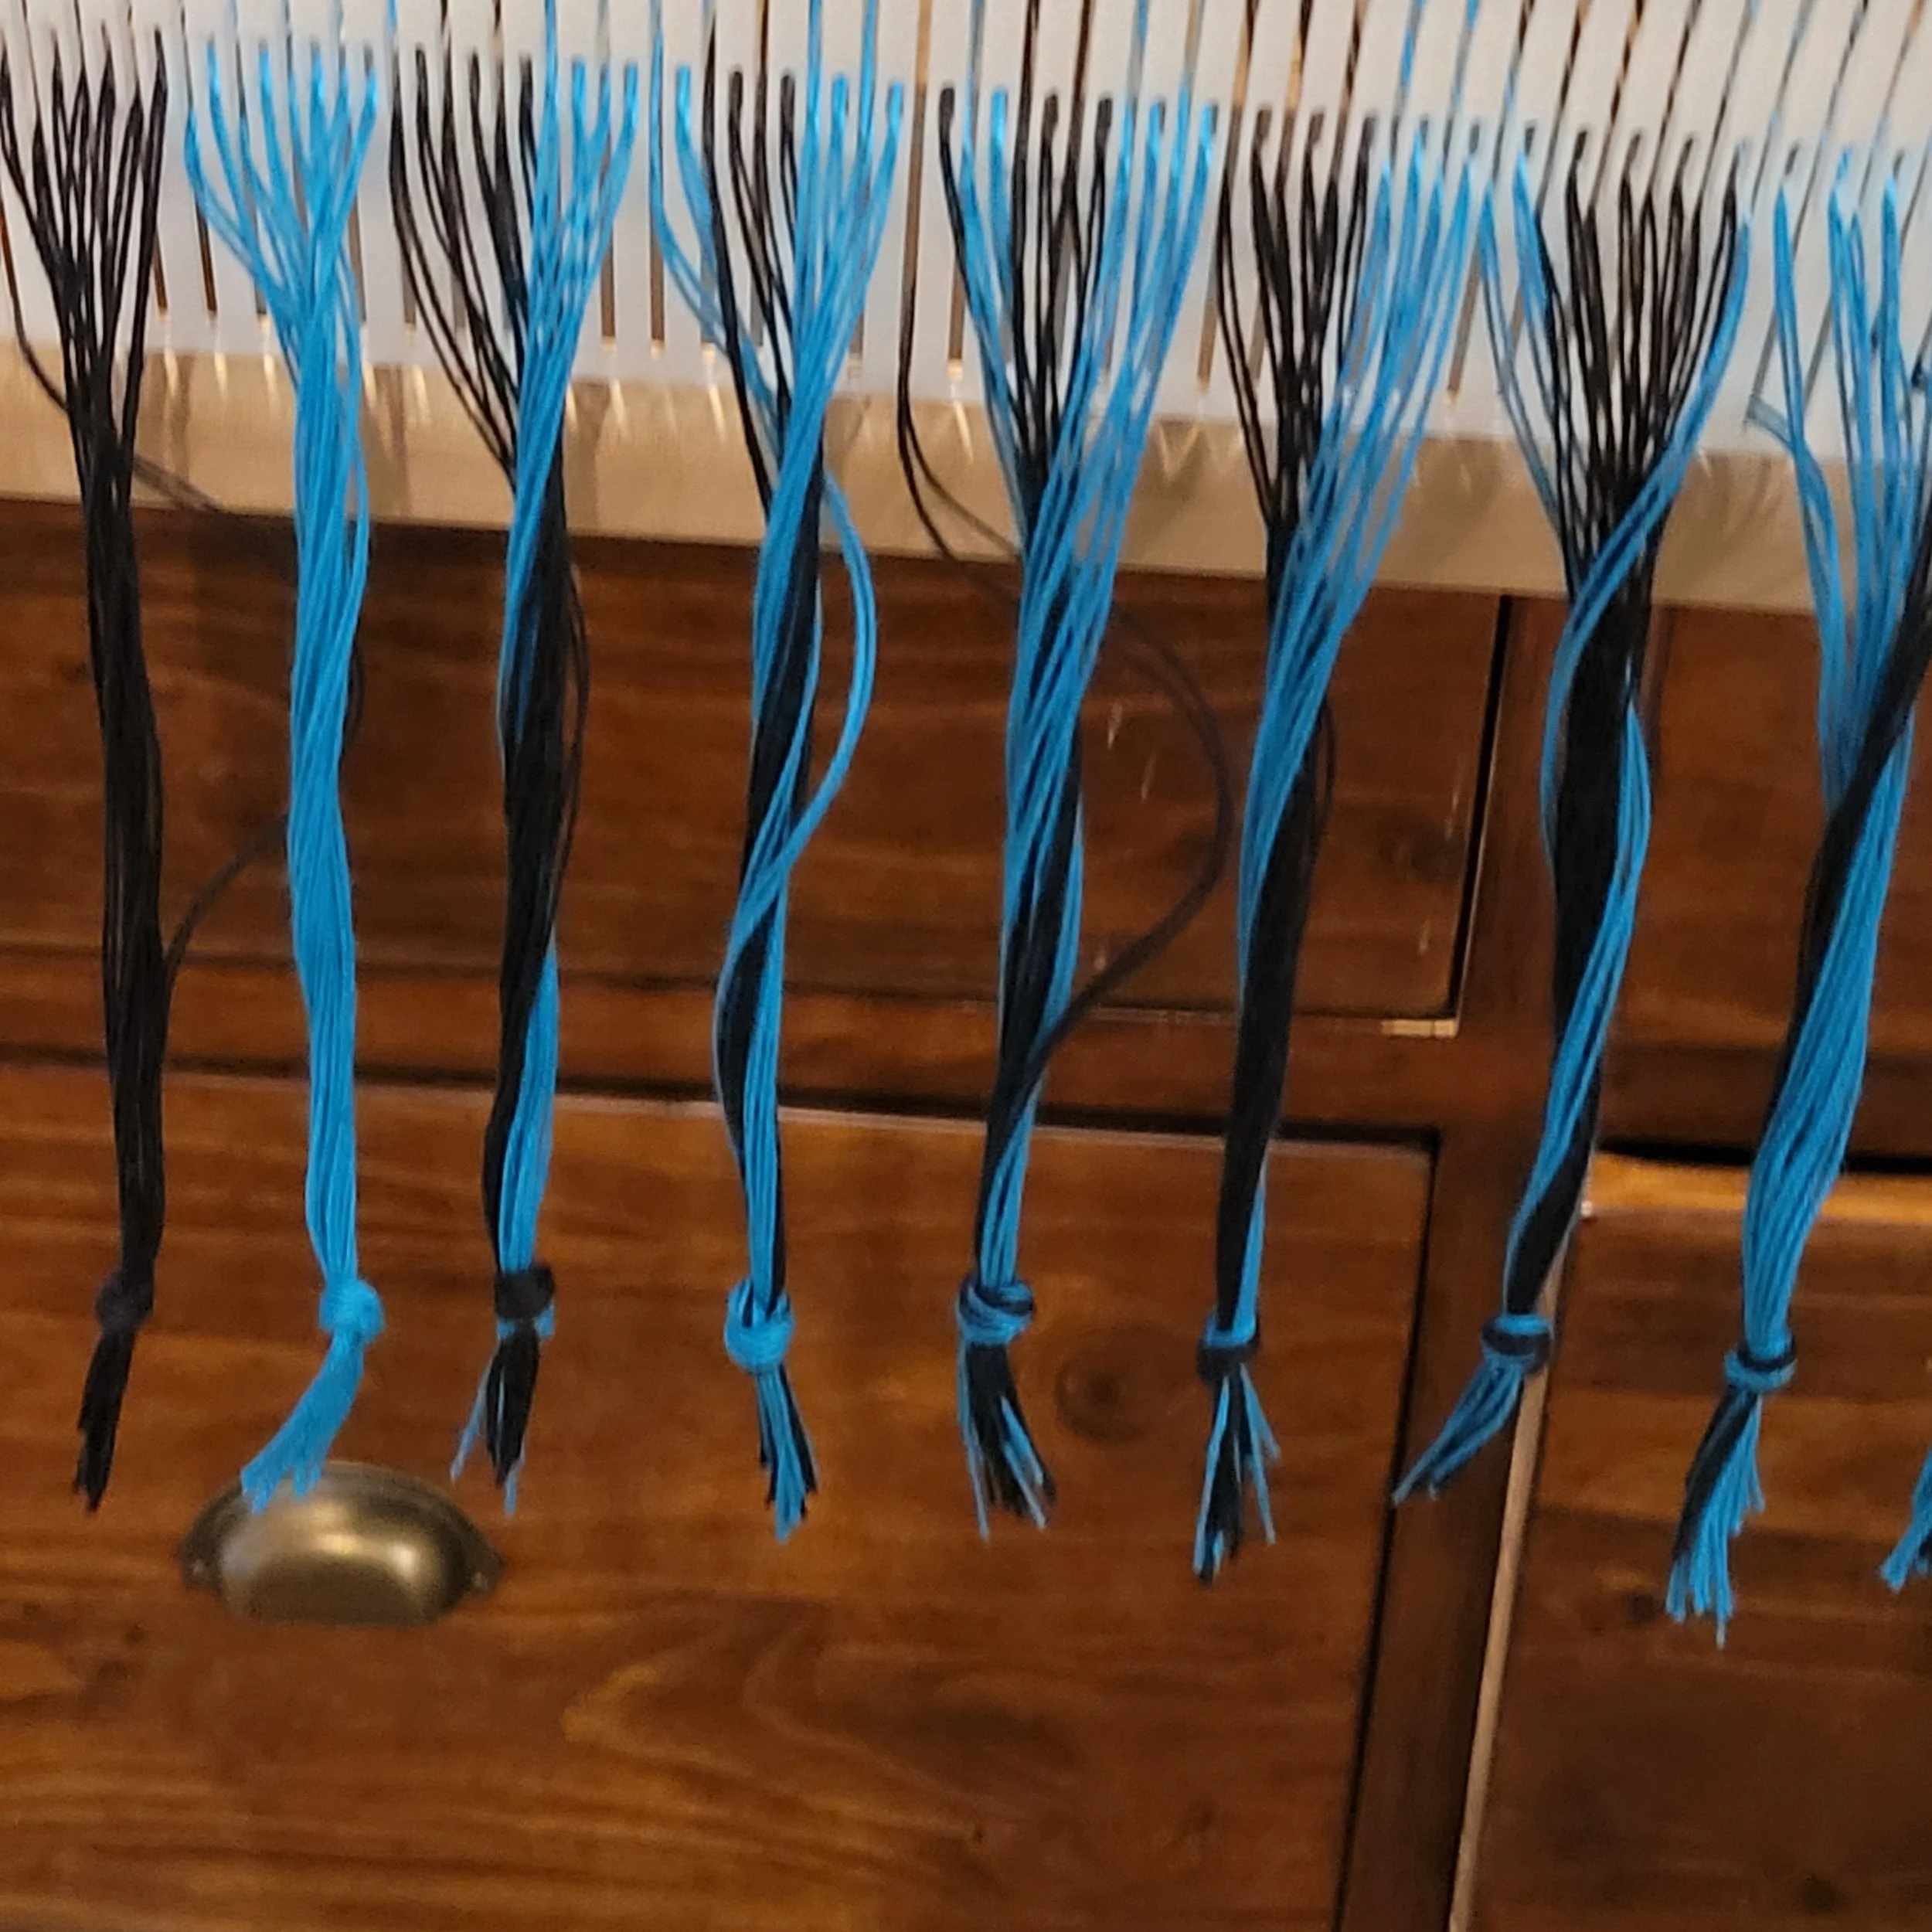
3. Take about 1” of the warp and tie a knot in the end. Continue across the loom. You want the knots to be at about the same distance from the reed in each bundle (this is very important with cotton, not quite so important with material that has a little stretch.
This part is a little tedious. It’s one reason why I’ve never really given lashing a fair chance. But this might be worth it, and if I do it enough I should get really good at getting the knots in the right place, right?
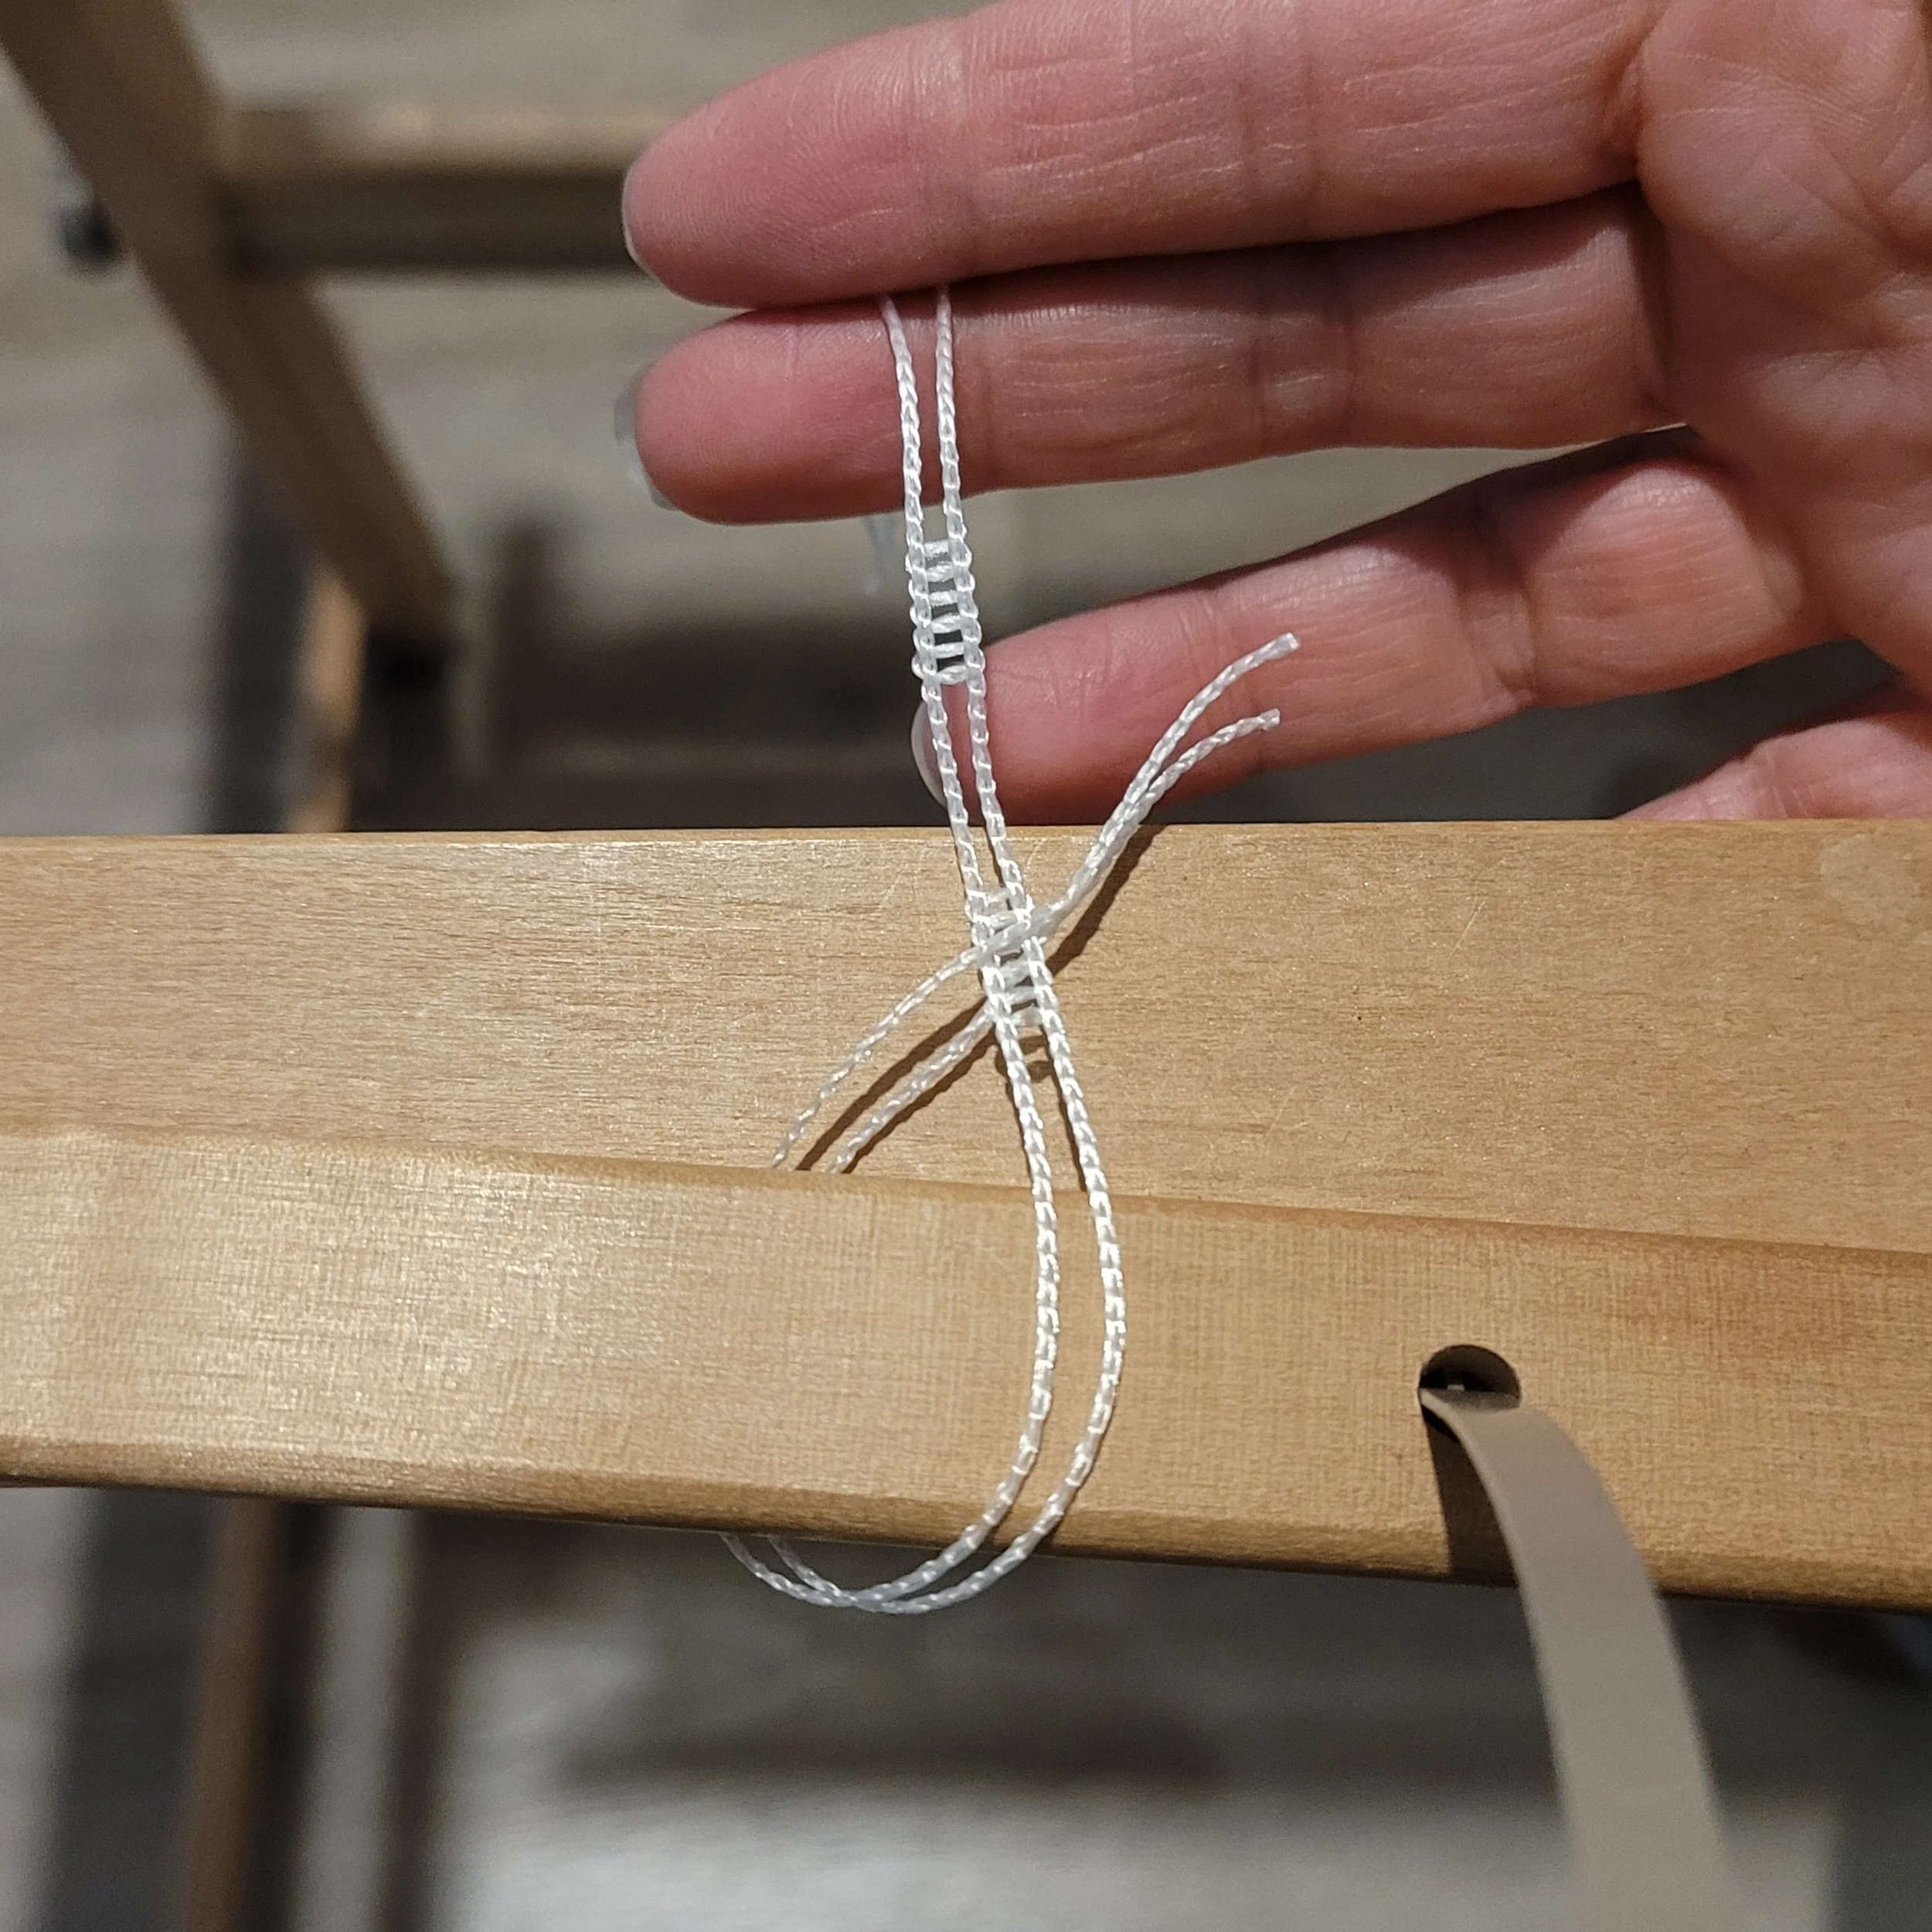
4. Attach the warp to the heddle using a lark’s head knot. It took me a ridiculously long time to figure this out because I was looking at a picture and not a video. Once I figured it out it was so obvious I felt pretty dumb! Open up the second loop of the heddle…the loop that isn’t attached to the front warping stick. Put your thumb and forefinger through the loop and grab the heddle. Pull it back through the loop. You will have a new loop! Put your fingers though this loop. Take one section of the warp and pass the knot through the loop. Pull the loop tight. It will tighten up so the knot can’t slip out. Do this across the loom.


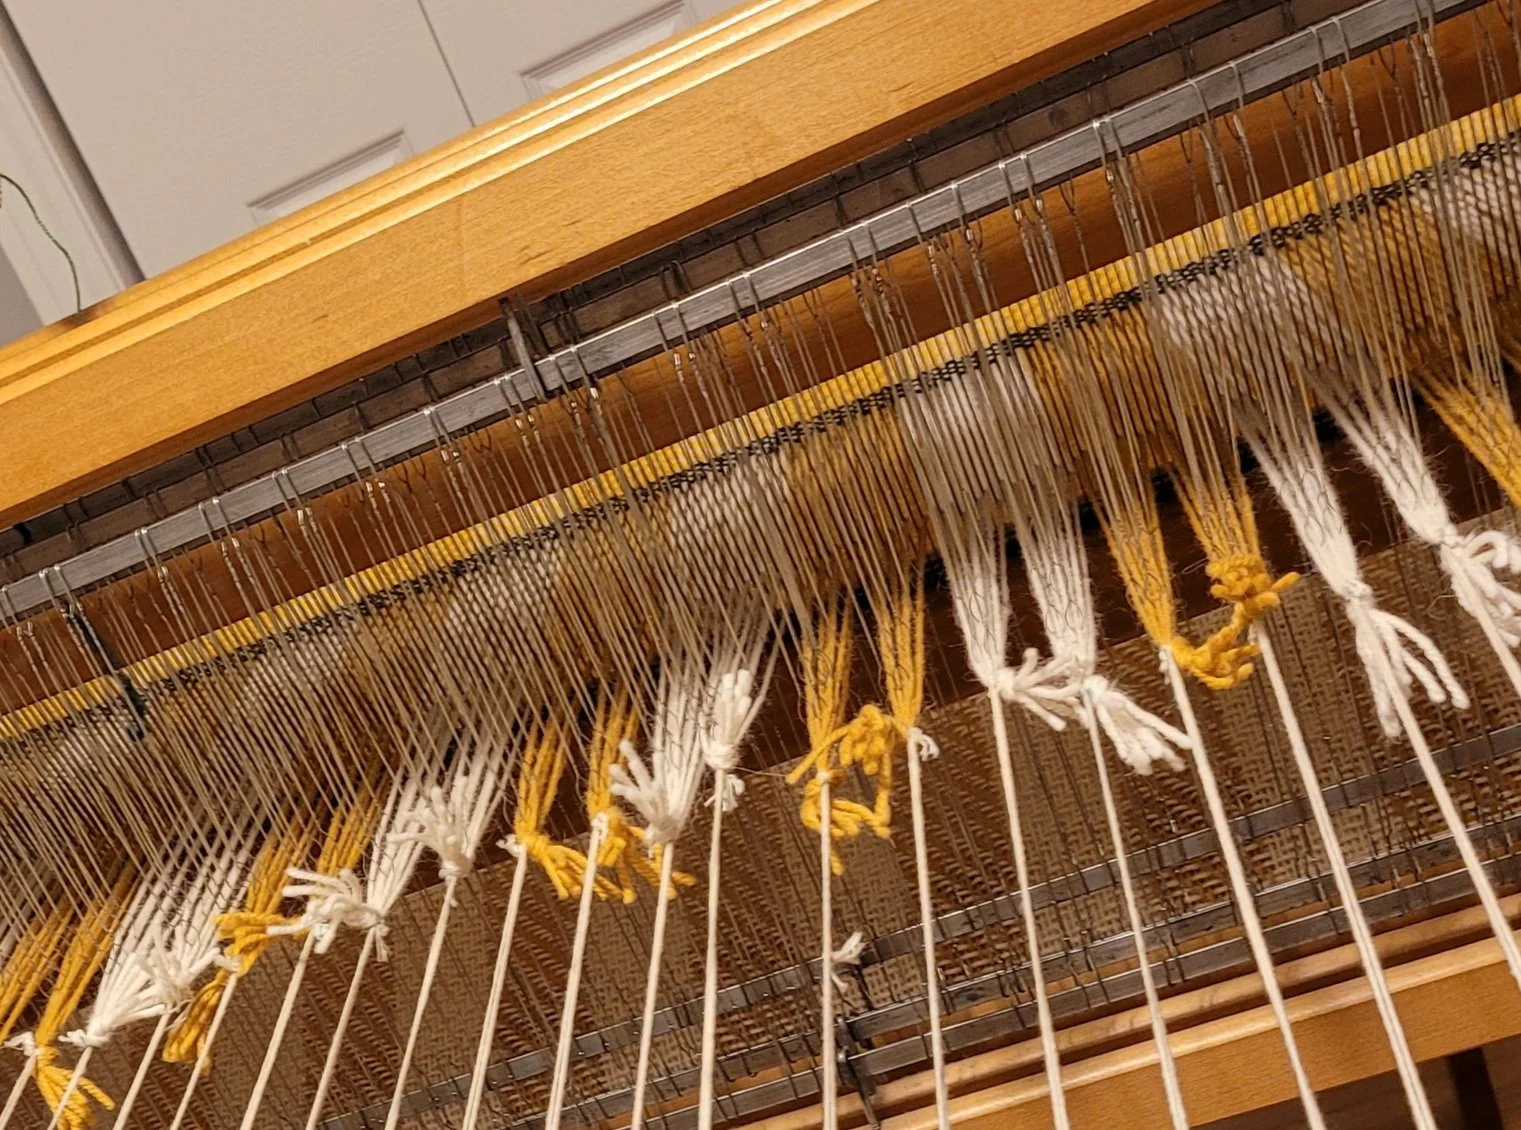
Now you can wind the warp forward to tighten everything. If you have placed your knot correctly, you are ready to spread the warp and weave! Otherwise, if you see spots that are really loose, release some of the tension and adjust those knots. Below you can see the “before” I tightened the warp and the “after”. Both my up-shed and down-shed were perfect from the start! I’ve attached a video as well showing the whole process. In it you will see I had a few “soft spots” where the tension was too loose and I had to adjust some knots. In the end, I did need the warping sticks to get the perfect sheds…but since I would add them to any project, I was pleased with the results.


If you try this and like it (or don’t), post it on social media and tag me, telling me what you liked or didn’t like. Also, feel free to share this blog with other weavers who you think might be interested! Or if you already do this, I’d love to hear your tips!