
Hybrid Warping

Let me just start this blog by saying that i don’t think I will ever like anything as much as direct warping. It is what rigid heddle looms excel at and part of what makes them so great. BUT (there is always a but!), there are some really good reasons to learn how to warp different ways. So the past couple of weeks I’ve been trying really hard to only hybrid warp. It wasn’t easy, not because it’s hard, but because it slows me down!

Direct warping
Let’s talk about what hybrid warping is. And let’s get this out of the way…it’s really *almost* the same as direct warping. So close, that I have had some people let me know that it really isn’t hybrid at all. But it’s a little different, and I don’t have a better name, so hybrid it is! The word hybrid implies that there is a cross involved (not a weaving cross, that is something different and we aren’t talking about that today). The cross is between direct warping and indirect warping. Direct warping is a method of warping where the threads are taken directly from the cone or ball, through the heddle and onto a peg or pegs set up to the full length of the project. Thus a 90” warp needs at least 90” of space to warp. Indirect warping involves winding a warp onto a warping board, then taking the warp from the board to the loom and “dressing the loom”. It means a 90” warp needs only the space the warping board takes up.
Hybrid combines the 2…using a warping board and your loom together, you can direct warp reducing the amount of space needed to warp. There are other reasons you might want to try hybrid warping over direct warping.
You can pause mid-way and not have a whole room or hallway blocked until you get back to it. In a house that has only one bathroom this could be very important! If you have young children that need attending, or animals that like string this can be very useful. Or if you can only stand or bend over for a limited time, this might save your weaving career.
Your warp is safe(r) from the other people/animals who share your space. There are no temping strings to touch or grab or chew or accidentally walk through! You can even throw a sheet or towel over it to keep it a little more safe.
If you have mobility issues this might make weaving accessible. I did a hybrid warp in a wheeled office chair from beginning to ready to weave without ever lifting my bum off the chair…just to see if I could. While it wasn’t as comfortable as direct warping, I did it!
I have a stand-up sit-down desk that allows me to adjust to the exact height I need to be comfortable. This is especially helpful for taller weavers.

Right! Now you know what it is, and why you might want to use this technique, let’s talk about how to do it. I’m going to walk you through my steps…remember I’m a little Rogue, what you read here may not be what you have heard before. That’s ok: you should adapt every technique you ever use to suit you…there are no weaving police!
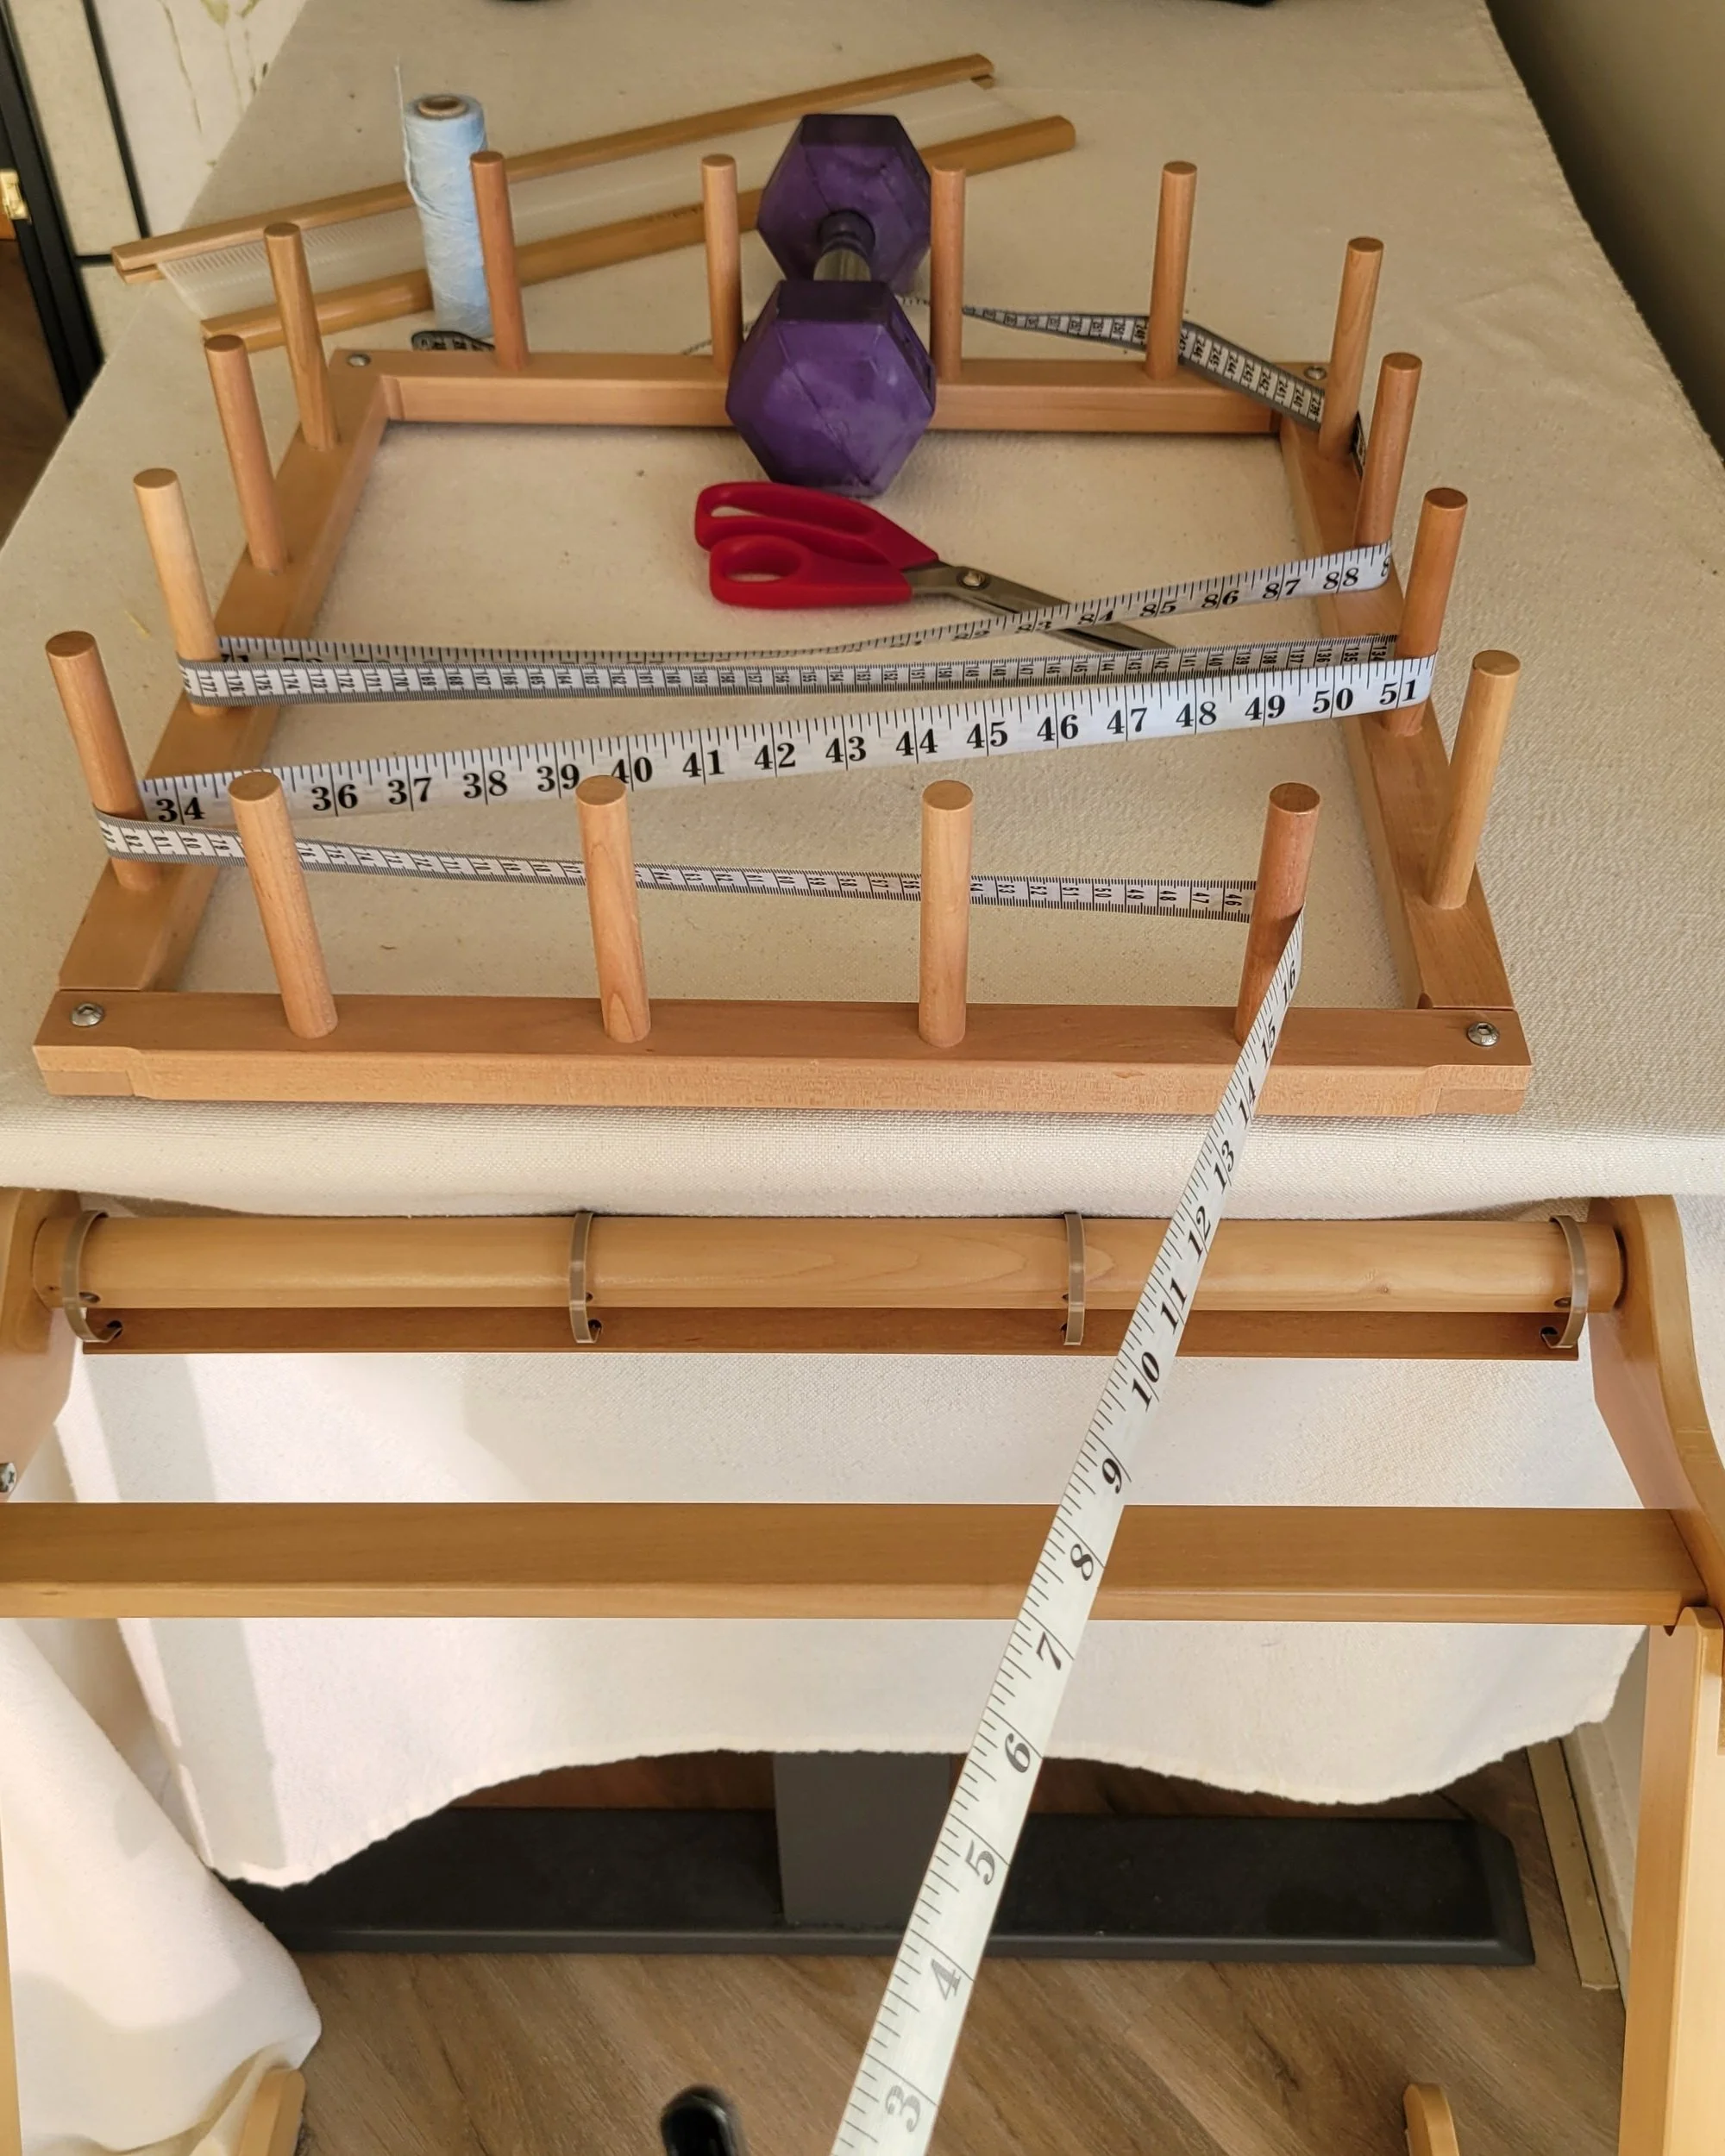
First, you will need: a warping board (I like my small Ashford warping board), a flexible tape measure, some weights and your loom. I leave my loom on its stand. (If you don’t have a stand it is absolutely worth the investment!)
This is before I learned to keep some space between my loom and warping board!
Set up your loom and warping board. I place my board on the end of a table, about 6-8” away from the edge. I use weights to hold the board in place. My board has little feet, if I place it at the end of the table and try to clamp it, the board tilts up, weights work better for me! I place my loom, with the front facing the warping board, about 12” away from the edge of the table (I’ll tell you why later).
Using the flexible tape measure, measure the the path the yarn needs travel to get the correct length. I clip my measuring tape to the back warping stick on the side furthest away from me and run the tape measure around the pegs until I get to the right length ending at a peg. If needed I can adjust the loom or board slightly closer or further apart for an easy path. The tape measure CANNOT cross over itself as you measure! Once you have the path measured, leave the tape measure as is, it shouldn’t go anywhere.
Tie the yarn to the back warping stick and pull it through the first slot you intend to warp. I always start on the far side of the loom…the side furthest away from me. follow the path of the tape measure with a single strand of yarn, When you get to the last peg, wind it around and follow the same path back to the loom. You’ve just warped your first slot! You can now slide the measuring tape out.You can follow this exact same path for the whole warp. Here’s a video that might help!
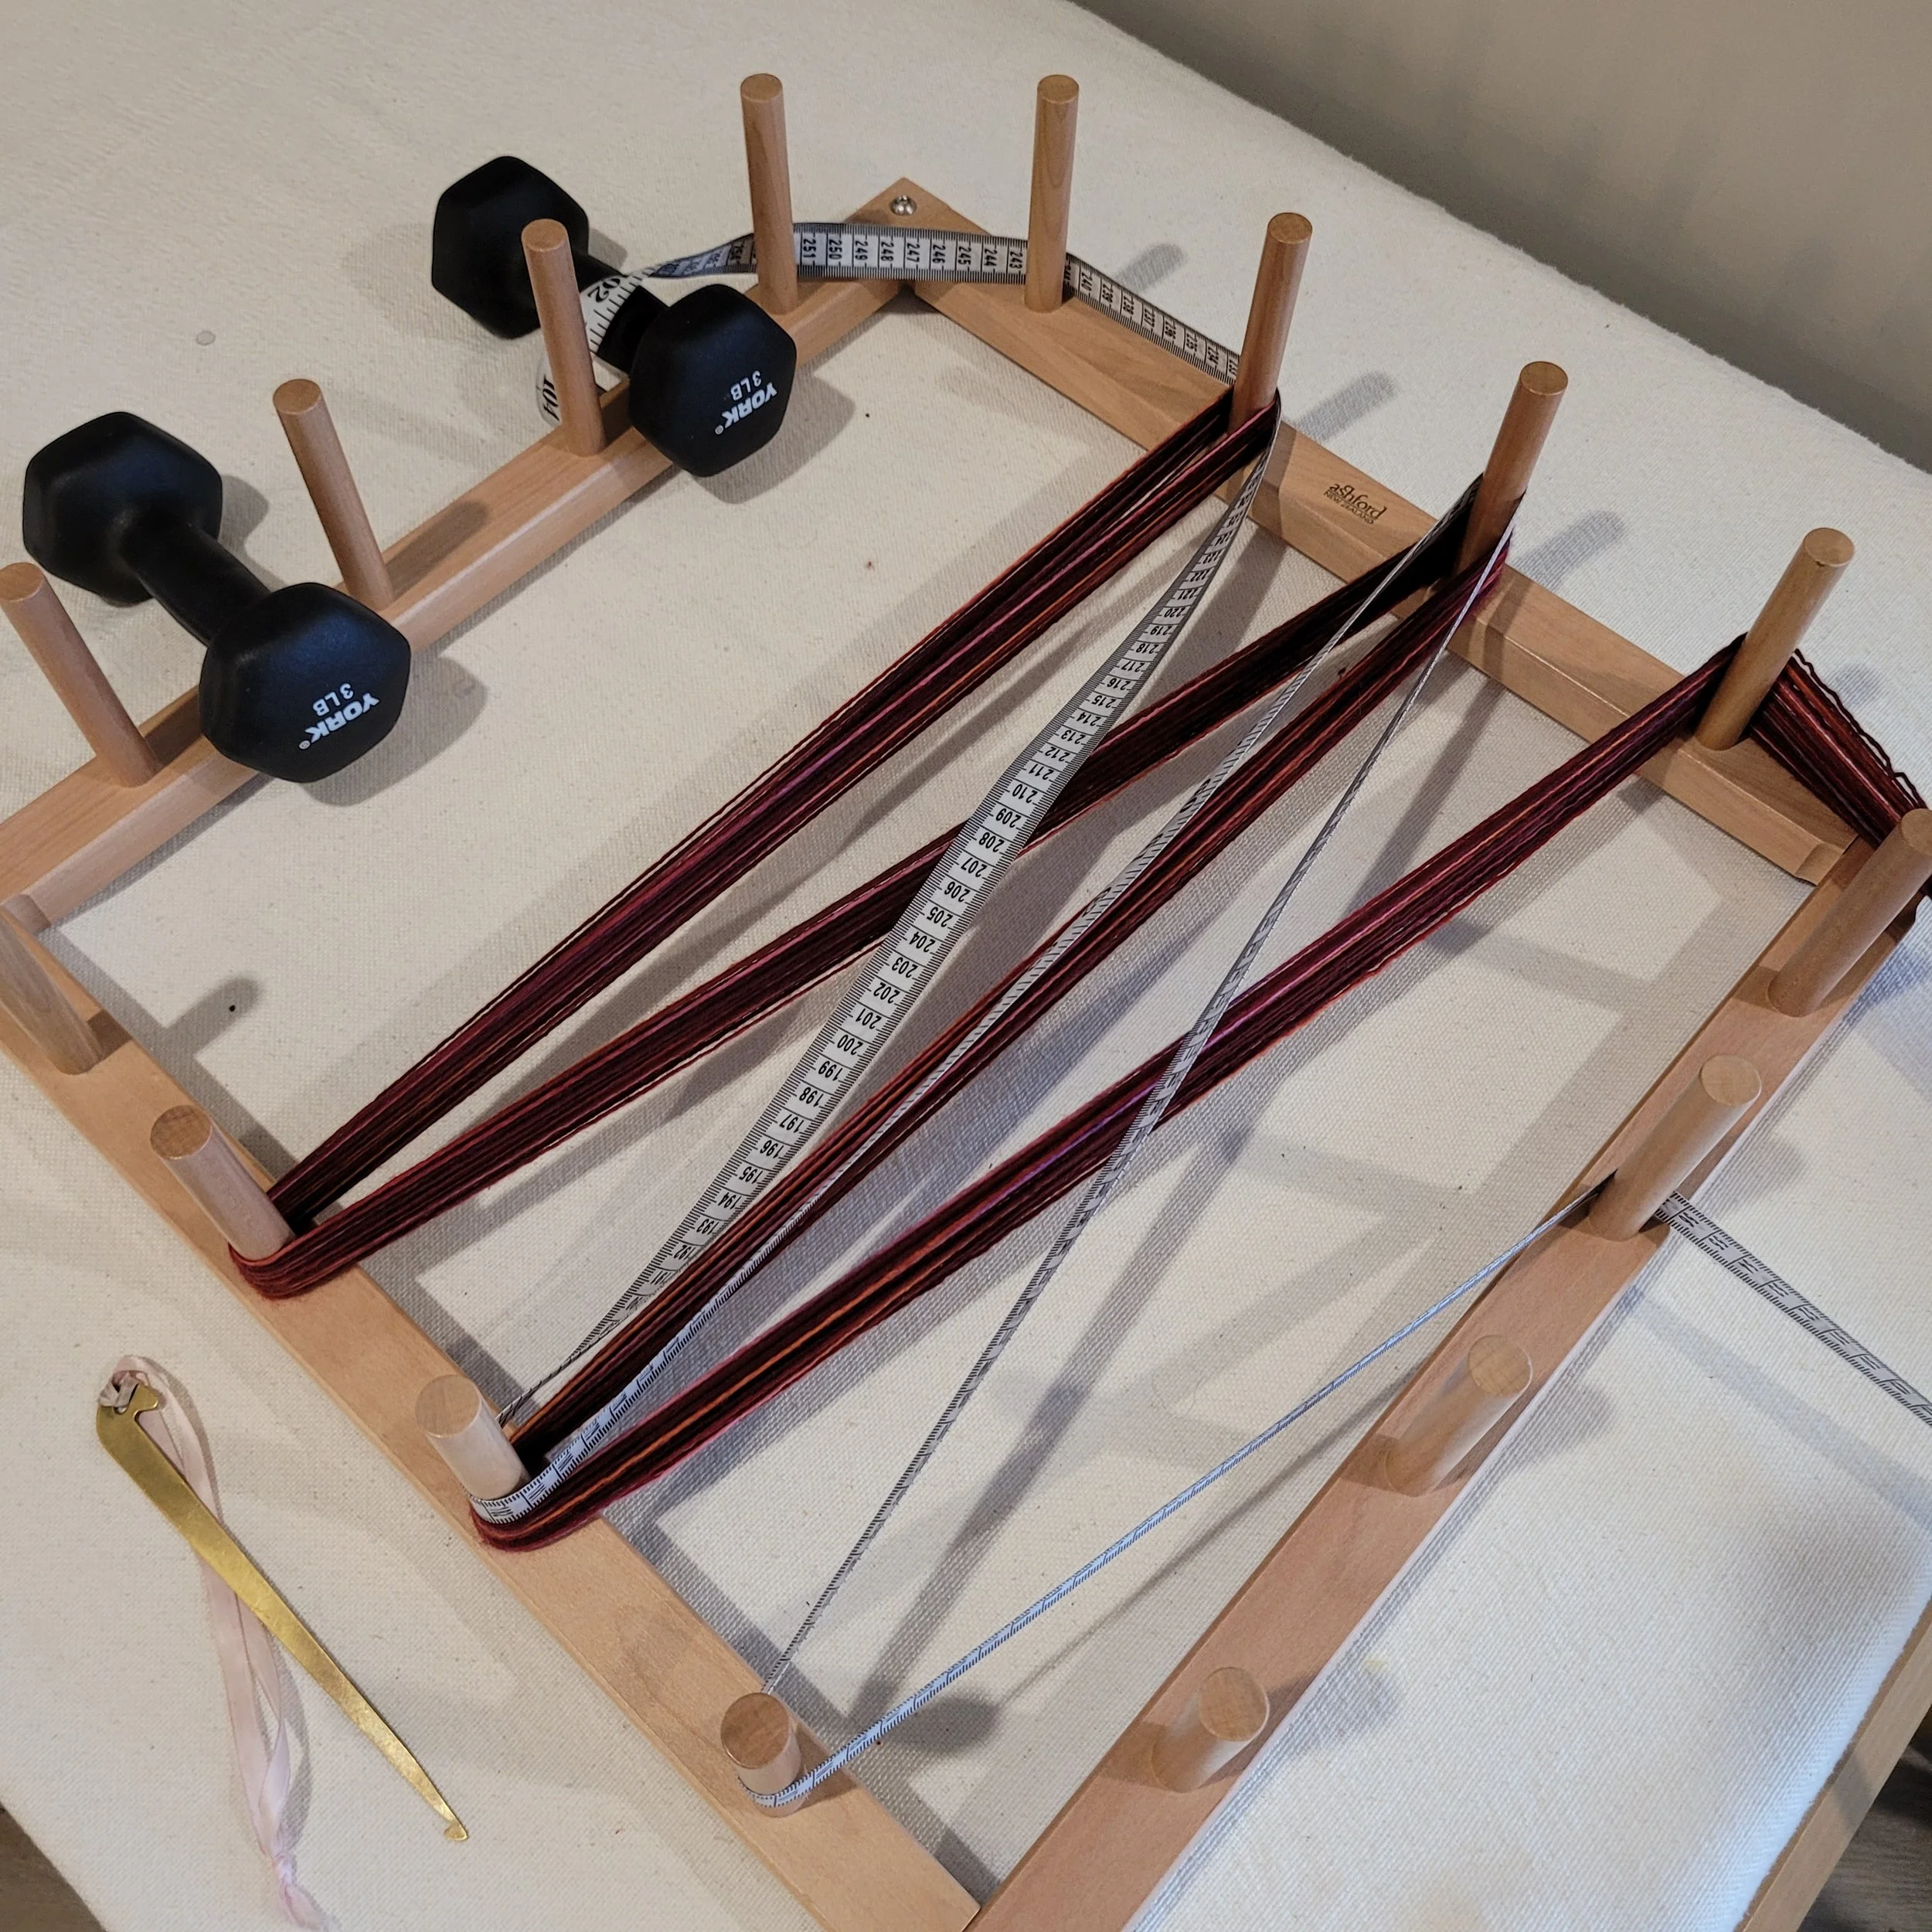
Measuring Path #2. Note that while the second path crosses over the first, it never crosses over itself!
That’s it, the warp has been wound! We still need to wind it onto the back beam, but we’ll get to that in a minute.
As mentioned earlier, you can follow this exact same path for the whole warp. However…it’s like warping with a single peg…the warp will not be even. So, if you want an even(ish) warp, follow the next steps.
For a warp that is 24” wide, I usually follow three distinct paths. So, after the first third is warped, I get out my tape measure and measure a new warp path, this time starting from where I will warp my next slot. My new path will cross over the former path and use some of the same pegs. That’s ok, what is important is the the new path DOES NOT cross over itself. Continue warping the same path until you have only a third (or so) left to warp.
Measure the third and final warp path. Again, you will use some of the same pegs (you may need to keep pushing threads down) and crossing over the first and second paths. Again, that’s ok, the key is that no path can cross over itself!
Alright, the warp is wound, but it still needs to be wound around the back beam. Here’s how I do it:

Remove the weights from the warping board. Stand behind the loom and start winding, sliding the loom forward as you wind. The warping board may slide forward a little too. Wind until the warp goes all the way around the back beam once. This is why I have a gap between my loom and my warping board…I want my warp secure before I cut the ends or remove the warp from the warping board. Once it has wrapped around the back beam once and my loom is locked, very little can happen that can’t be salvaged!
Now I can cut the warp at the end pegs. If my warp will wind smoothly through the pegs, I can continue winding, however, I find that it usually doesn’t, so I crank and yank. But ( and there’s another but!) I’ve been playing around with dowels for winding, so stayed tuned for that adventure!